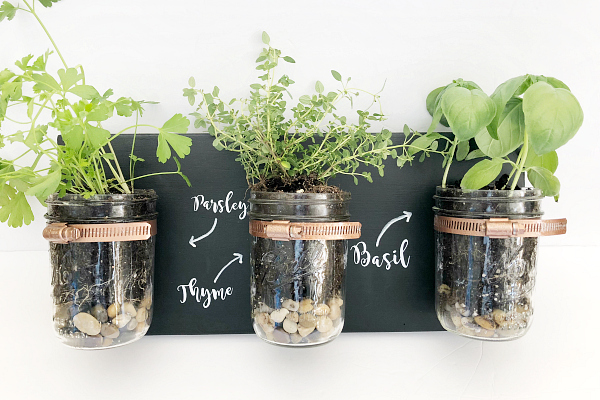
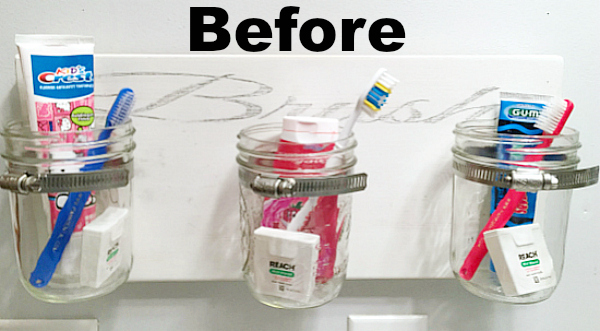
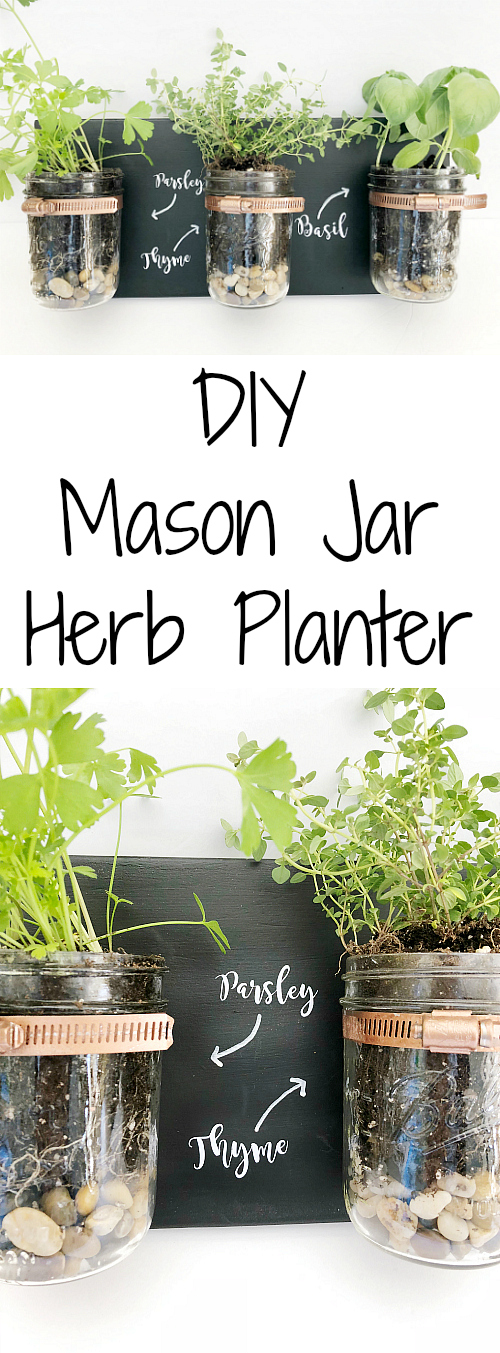
A couple years ago I made a mason jar toothbrush holder for my kids’ bathroom. It worked well… until we moved. Our new house has no great wall space where we could hang it, and I had thought of just tossing it… but then inspiration hit, and I decided to repurpose it into a DIY mason jar planter.
What You Need to Make A Mason Jar Planter
Affiliate links may be used. Please see our advertising disclosure for more information.
- One Piece Scrap Wood (if you don’t have any wood lying around your house, check for discounted wood at your local hardware store. It’s leftover wood from other peoples’ cuts; and it’s often discounted 70%, meaning you only have to spend a dollar or two 🙂 )
- Hose Clamps
- Screw Driver
- Screws
- Drill
- 16 oz. Wide-Mouth Mason Jars
- Chalkboard Paint (Optional)
- Copper Spray Paint (Optional)
- Vinyl or Letter Stickers… or a chalk pen (Optional)
- D Rings
- Bag of Pebbles (you can also find these at the dollar store)
- Potting Soil
- Herbs (Seeds or Starter Plants)
How to Make A Herb Planter with Mason Jars
I took the whole toothbrush holder apart and basically started over, so you can follow along from the beginning. Start by painting your piece of wood with chalkboard paint.
This step is completely optional. You can leave the wood raw, stain it, or paint it a different color… Totally up to you.
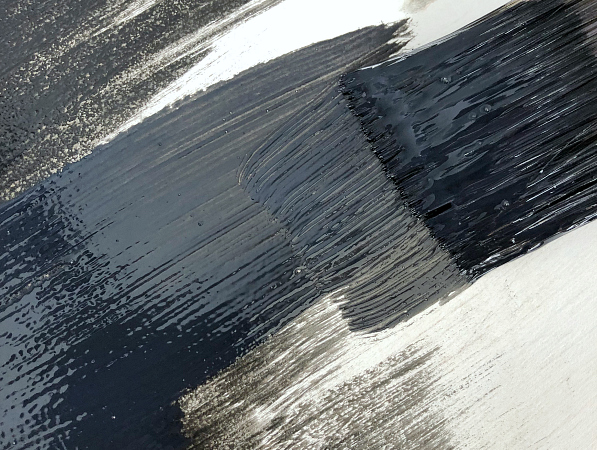
I also decided to spray the hose clamps a copper color, but you do you. If you want to leave them in their raw metal state, that works. If you want to spray paint them a different color, you can do that too.
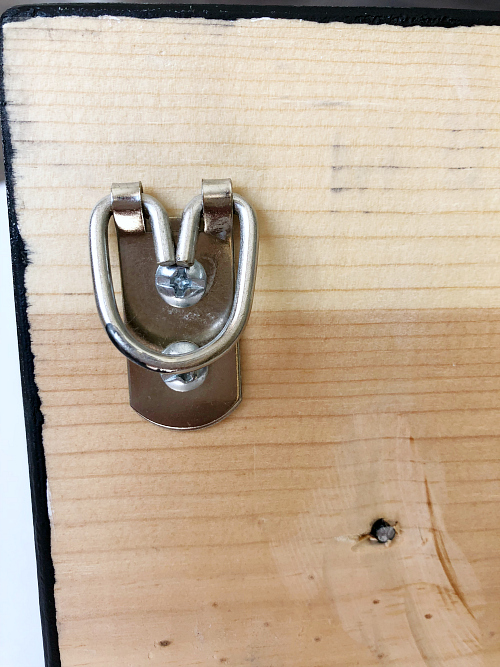
Before you add your clamps, you want to add the D Rings to the back of your wood so you can hang it on the wall. I like using D Rings vs. saw hangers because I think there’s less of a chance of it falling off the wall 🙂
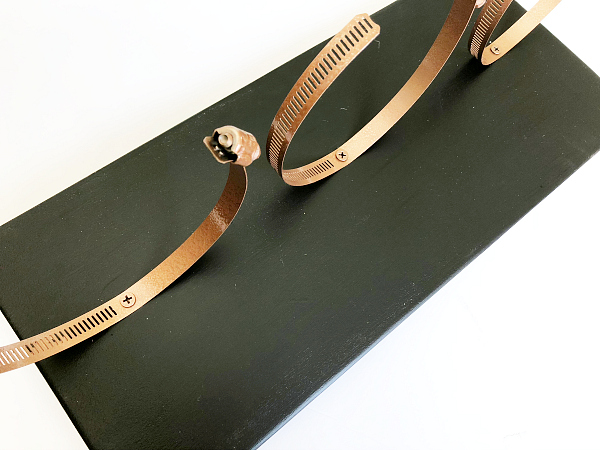
You would think that screwing a few clamps into the wood would be easy, but it’s not. The clamps are made of some seriously strong material and do not puncture easily. We discovered that you have to create a hole in the clamp using a drill bit first… and it’s no easy task. You need to put some real work into it! Once you have the hole, use your drill to adhere the clamp to the wood with a screw. Remember to measure and evenly space out your clamps.
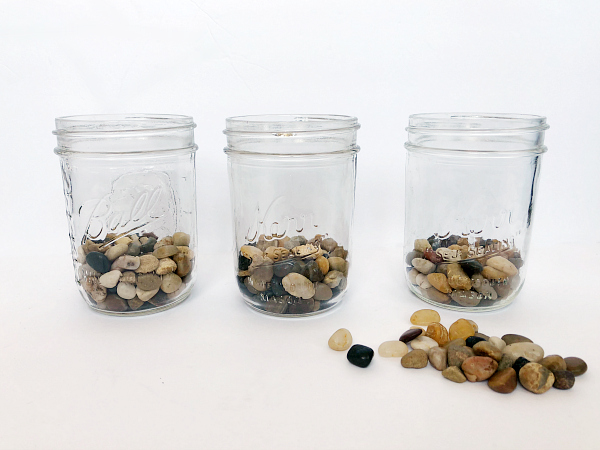
Now fill your mason jars with 1-1 1/2 inches of pebbles. The reason you need to add pebbles to the bottom is because there is no drain spout for excess water to go. The pebbles, therefore, create a drainage system for your jar.
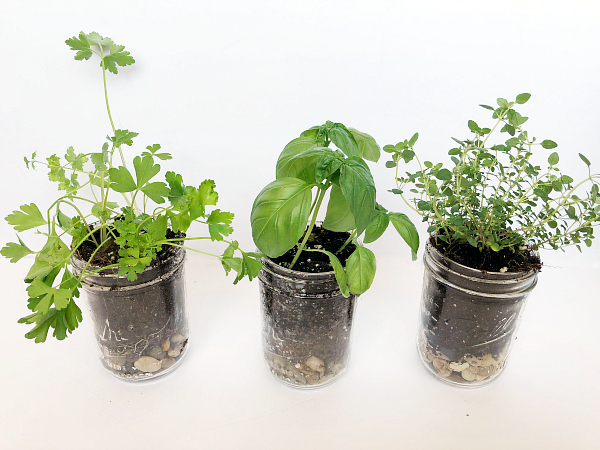
Next, add in some potting soil, and then plant your herbs (or seeds).
Now it’s time to add the mason jars to the clamps. Simply slip them through the clamps and tighten the clamps with a screw driver until snug.
If you want to label your herbs, you can do so with a chalk pen or sticker letters. I used my Cricut to create the lettering, but anything will work.
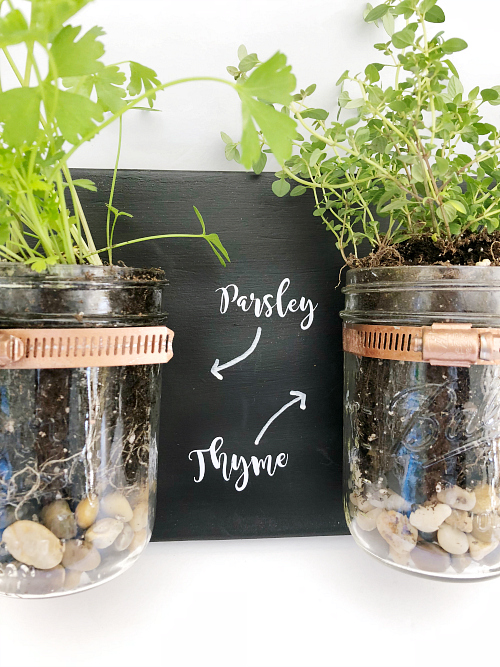
… and you’re done.

I would highly recommend using drywall anchors to hang your planter on the wall due to its weight.
Love it? Pin it!

Wondering how much sun is needed for these herbs?