Did you know there are over 3,600 different ingredients that can be used as “fragrance” in your cleaning and beauty products? (Source) And because “fragrance” is considered proprietary, companies don’t have to disclose which of those 3,600+ ingredients they use when creating perfumes, soaps, and lotions. This homemade whipped body butter recipe uses only four ingredients, with no hidden surprises as to what’s creating that wonderful scent.
If you are home right now, grab a bottle of lotion and look at the ingredient list. Did you find the word “fragrance” by chance? As mentioned above, the word fragrance means there could be any combination of over 3,600 ingredients used to make that product’s scent. Three-thousand-six-hundred-ninety-one, to be exact. I, personally, would feel better if I actually knew what was going on my skin, so I made a homemade whipped body body recipe with just four simple ingredients.
What You Need to Make Natural Homemade Body Butter
Affiliate links may be used. Please see our advertising disclosure for more information.
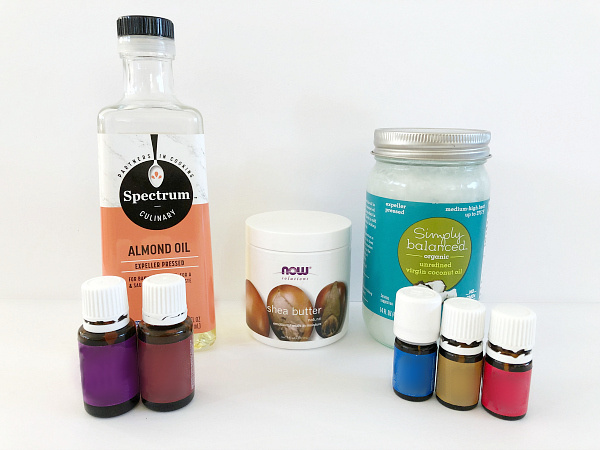
Ingredients Needed for DIY Body Butter
- Shea Butter– According to WebMD, Shea Butter “might help soften or smooth dry skin… and also contains substances that can reduce skin swelling.” This makes it a perfect ingredient in this body butter recipe
- Coconut Oil– Coconut oil is amazing for supporting healthy skin. Healthline has a whole list of benefits including antimicrobial and anti-inflammatory properties
- Almond Oil– Almond oil both moisturizes and softens the skin
- Essential Oil– Depending on how you use this body butter recipe, there are various essential oils you can use. Below, you will find some suggestions for supporting skin, muscles, and the immune system. If you are unsure where to buy essential oils, check out our guide to choosing the best essential oils. I don’t sell essential oils, so all the information is to help you find a brand that works best for you.
Supplies Needed to Make Body Butter
- Glass Mixing Bowl– When working with essential oils, it is always best to use glass, as some essential oils can break down certain types of plastic
- Mixer– A hand mixer works well for this recipe, however, if you prefer a stand mixer, that’ll work too
- Glass Jars with Lids for Storage- As noted above, when working with essential oils, you will want to store your body butter in a glass container, not plastic
How to Make Homemade Body Butter
Start by adding 2 parts Shea Butter and 1 part Coconut Oil in a glass mixing bowl. I made smaller batches with 1/4 cup Shea butter and 2 Tablespoons Coconut Oil, however, you can certainly double the recipe if you want more.
Melt the Shea Butter and Coconut Oil by microwaving it (on high) in 30 second increments; giving it a little stir each time. Once you notice things start to melt, keep an eye on it, as you only want to heat it until just melted.
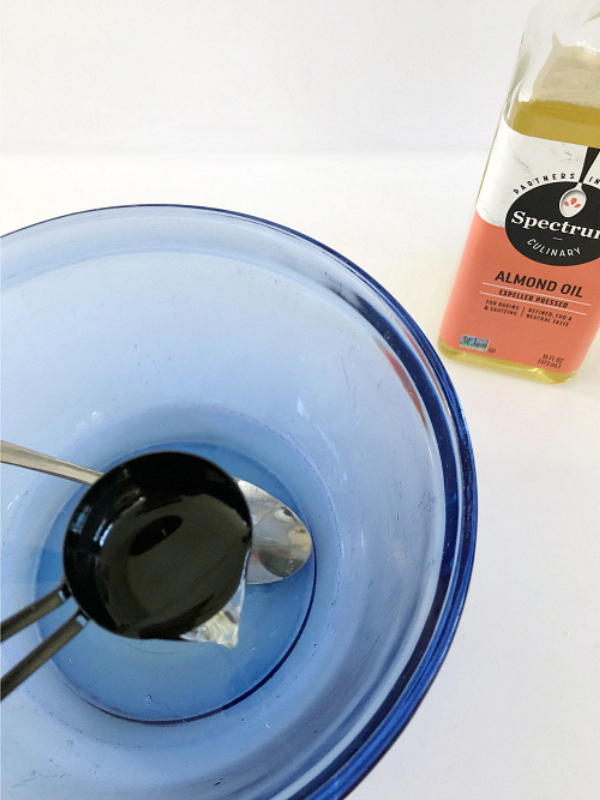
Remove the bowl from the microwave (remember it’s hot, so use caution), and add in 1 part almond oil (2 Tablespoons if you’re following the amounts listed above).
Allow the mix to cool to room temperature and then place the bowl in the freezer. Set a timer, and check it every 5 minutes. You want it to cool until a finger inserted into the middle leaves an indent (see image below). This took a total of 15 minutes in the freezer for me, but that time may vary for you.
Do not skip the step of allowing the mixture to cool to room temperature as going from a high temperature (after microwaving) to a cold temperature could crack the glass bowl.
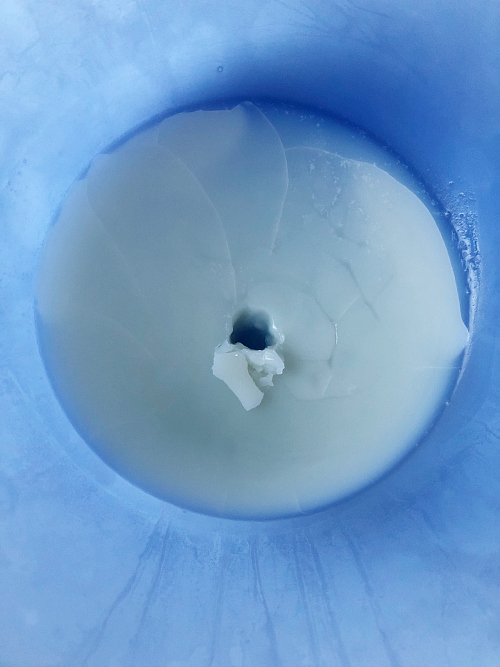
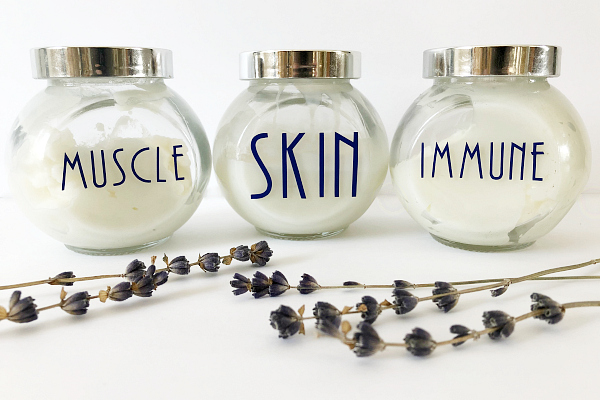
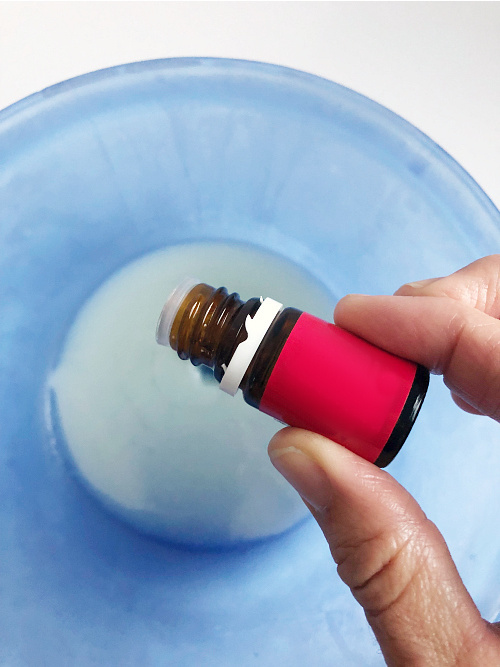
Once your mixture resembles the image above, add in your essential oils. Below are several different essential oil combinations you can try when making this DIY body butter recipe:
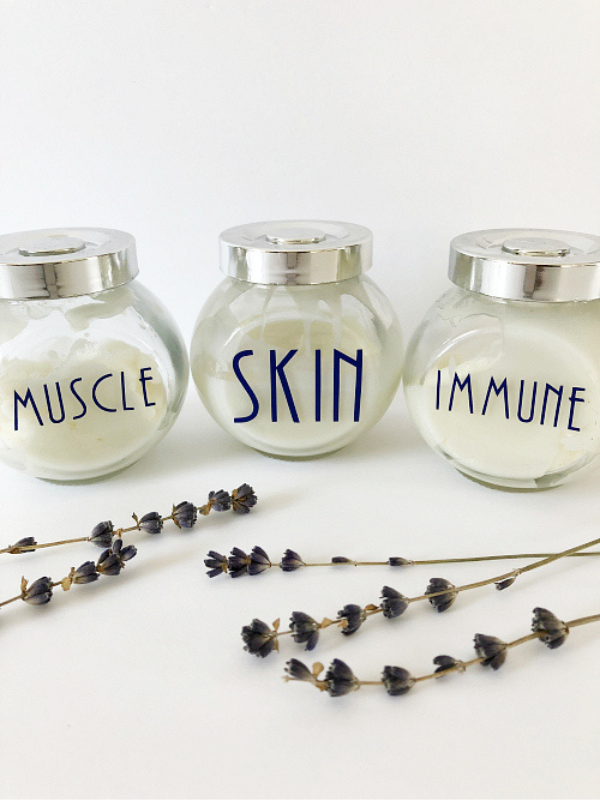
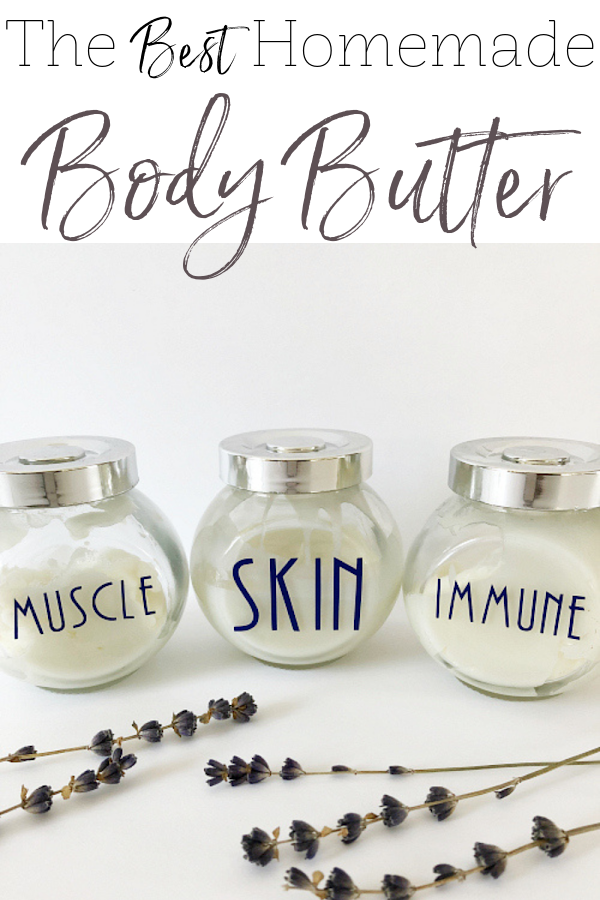
- Muscle & Joint Support: 12 drops Copaiba + 12 drops Muscle/Joint Supporting Blend
- Immune Support: 24 drops Immune Supporting Oil Blend
- Skin Support: 12 drops Lavender + 12 drops Frankincense
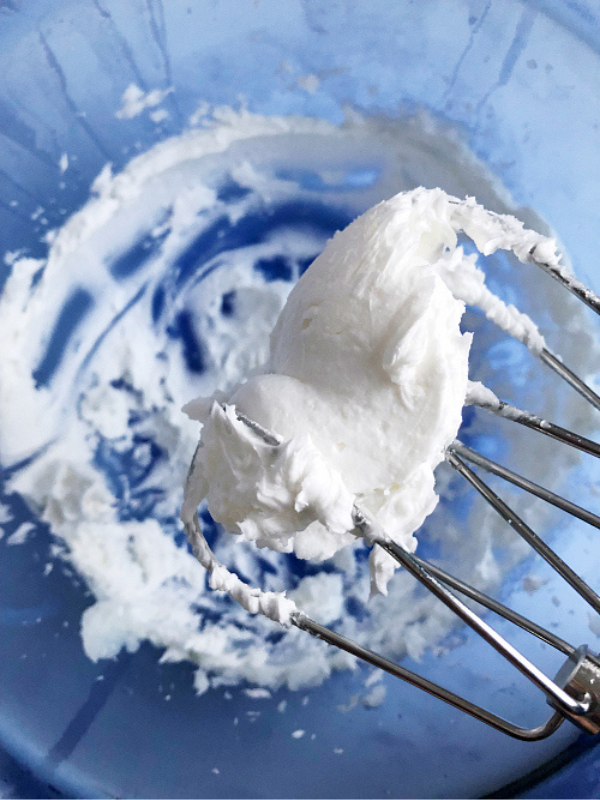
Once you have added your essential oils, use a hand mixer to whip everything together. It should start to resemble frosting.
Once you have it well whipped, put it into a glass jar with an airtight lid for storage.
Prior to trying any skin care product, it is strongly recommended that you test the product on a small patch of skin to make sure there is no reaction. Please see our disclaimer statement for more details.
To use this homemade body butter, simply apply a small amount to your skin and rub it in.
Please note: a little goes a long way.
I love using this whipped body butter recipe for oils I want to apply to my feet. I find roller balls tickle, so this is a great alternative 🙂
We think you might also love these ideas!
DIY Lavender Sugar Scrub | DIY Foaming Hand Soap | DIY Lip Balm

Troubleshooting Common Homemade Body Butter Questions
My Body Butter is Greasy… What Can I do?
Homemade body butter can feel somewhat greasy on the skin, as every ingredient is oil-based. In my experience, body butter tends to absorb into the skin with time, but if you want to try adding a little arrowroot powder to the recipe, I have read this can help reduce the greasy feel. (I have not personally tried it; though I might have to.) If you choose to use arrowroot powder, add 1/2 teaspoon to the recipe above, stirring it in with the almond oil.
Can I substitute the Almond Oil With A Different Oil?
I have never tried using an oil other than almond oil, however, you are welcome to give it a try. I am just not sure if it would affect the texture/consistency. If you prefer not to use almond oil, I would try jojoba oil as it mimics your skin’s natural oils.
My Body Butter is Melting! What Should I Do?
If your body butter is starting to melt, you are storing it at too high of a temperature. Coconut oil melts around 78° and Shea Butter melts around 90°. If you have been storing your body butter near a heat source, simply move it to a cooler location. However, if you keep your house warm, you might want to store it in the refrigerator to prevent melting. (Just make sure you don’t confuse it with your whipped cream. Body butter would not taste very good on a slice of pie 🙂 )
My Body Butter Feels Gritty… What Happened?
Honestly, I have never run into the problem of gritty body butter, but I have experienced gritty lip balm, and the reason for gritty lip balm is probably the same reason you’re experiencing gritty body butter… (Have I used the word “gritty” enough?) The culprit is most likely the Shea Butter. Shea Butter can crystalize when melted down and then slowly cooled, causing a grainy texture. From what I’ve read, the best way to avoid this would be to heat your Shea Butter to 175°F in a double broiler, and keep it at that temperature for 20 minutes. After adding the coconut and almond oils, you would then want to place it in the refrigerator for faster cooling. Again, I have never experienced this issue with the above recipe, but in case you do, now you know the reason… and what you can do about it.
Does Homemade Body Butter Expire?
Because this homemade body butter recipe is 100% oil based, it should last for quite some time as long as it is stored in a cool, dark environment. Expect it to last for up to a year.
Resource for Expiration: Humblebee & Me
Homemade Whipped Body Butter Recipe
Ingredients
- 2 Parts Shea Butter I used 1/4 cup
- 1 Part Coconut Oil I used 2 Tablespoons
- 1 Part Almond Oil I used 2 Tablespoons
- Essential Oil(s) of Your Choosing
Supplies
- Mixing Bowl
- Hand Mixer
- Glass Containers with Lids (For Storage)
Instructions
- Melt 2 Parts Shea Butter & 1 Part Coconut Oil in a microve-safe mixing bowl. Stirring every 30 seconds. Once almost melted, decrease the time in microwave as to not overheat.
- Once thoroughly melted, remove the bowl from the microwave, using caution as the bowl may be hot. Then stir in 1 part Almond Oil.
- Allow the mixture to cool to room temperature and then place it in the freezer. Check every 5 minutes (or so). When a finger inserted in the middle of the mixture leaves an indent, remove the bowl from freezer. (This should take about 15 minutes, but time will vary)
- Add your essential oil(s) to the mix. I used a total of 24 drops for this recipe.
- Using a hand mixer, whip your mixture until it resembles a thick frosting.
- Once thoroughly whipped, place it in a glass container (with lid) for storage.
Love it? Pin it!
I don’t have a microwave or mixer (handheld or otherwise) I’m assuming I could use a double boiler instead of the microwave, but would a food processor work in place of the mixer ? Or vigorously stirring?