This year I am tackling 52 “small-ish” projects around my home; which equates to one project every week. This week’s task was spice drawer organization.
I think most of us would agree that a clean, organized space feels better than a chaotic one… right?
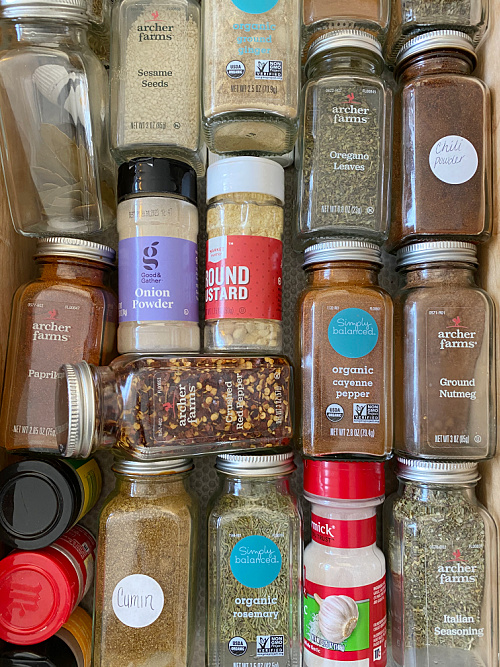
My spice drawer was not exactly the tidiest spot in my kitchen… have a look.
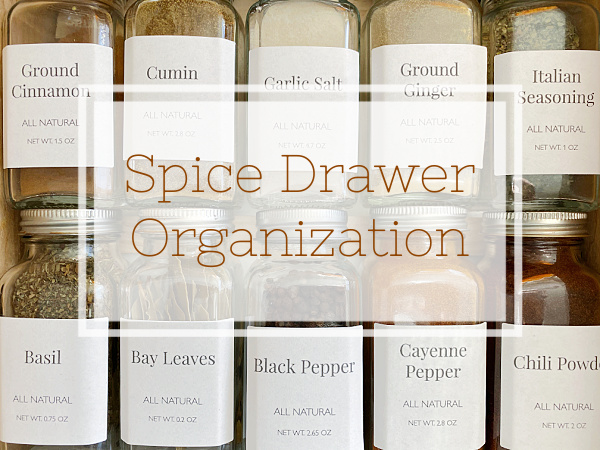
I had a vision of a beautifully organized spice drawer with cohesive glass spices jars and matching labels. Let’s see how I did.
What You Need to Organize A Spice Drawer
Affiliate links may be used. Please see our advertising disclosure for more information.
-
- Spice Jars– I love clear glass spice jars, so reused a bunch I already had. However, I needed a few more and purchased these from Amazon.
- DIY Goo Remover
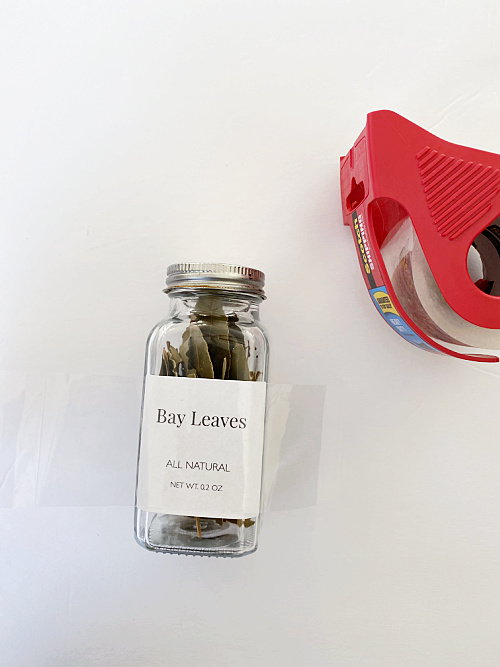
- Spice Labels- I created my own using 2″ square white labels from Avery. However, there are super cute spice labels on Etsy as well, if you don’t want to make your own.
- Clear Packing Tape
- Round Labels for Expiration Dates
- Small Wood Strips to Prop Up Spices
- Double Sided Tape
How to Organize A Spice Drawer
Step 1: Evaluate the Spices You Have
First thing’s first. Evaluate the spices you have. If you have a spice that you haven’t used in the past 10 years, chances are you’re not going to ever use it. If you have expired spices, toss them. Spices typically lose their peak flavor after 3-4 years (which is noted by the “Best By” date on the bottle). I seem to remember my parents finding a bottle of mace (the spice, not the spray 🙂 ) that had been sitting in their cupboard for 20+ years. Yep. Throw that bottle out.
Step 2: Cohesive Storage
Once you have narrowed down your spices to the ones you actually use, it’s time for some cohesive storage. I happen to love clear glass spice jars because you can actually see the spices in them. Whatever container you use to store your spices, it’s nice to have them all looking the same.
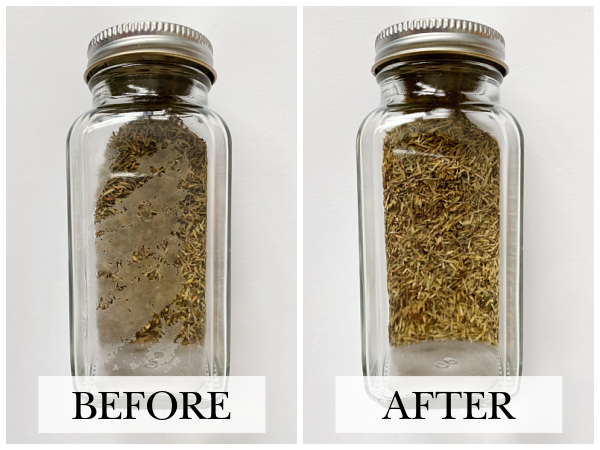
If you are reusing jars you already have on hand, you can easily remove the old labels before applying new ones, using this DIY Goo Remover. It works so well, and you don’t even have to remove the spices from their jars to use it because it only contains 3 natural ingredients.
Step 3: Label Your Spices
I love labels. To save a little money, I made my own spice jar labels using items I already had on hand, however, as mentioned above, Etsy has a ton of cute spice labels if you’d rather go that route. I simply used the free templates offered by Avery (for use with their products) and printed off a few from my home computer.
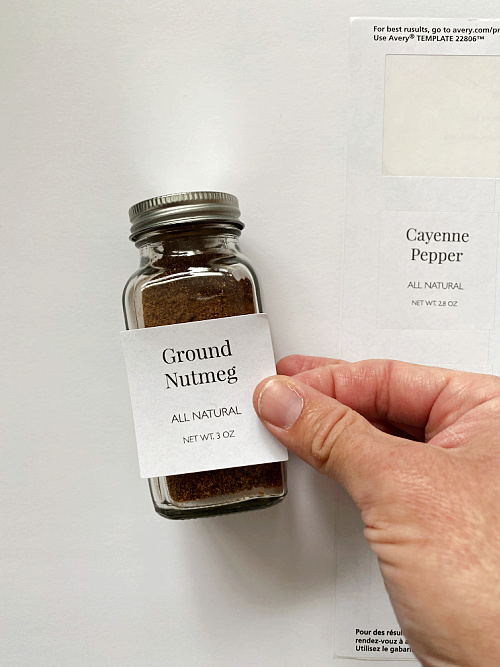
Because I transferred all my spices into cohesive jars, I needed to know when the spice actually expired, so I wrote the expiration date on a small round label, and adhered it to the bottom of the jar.
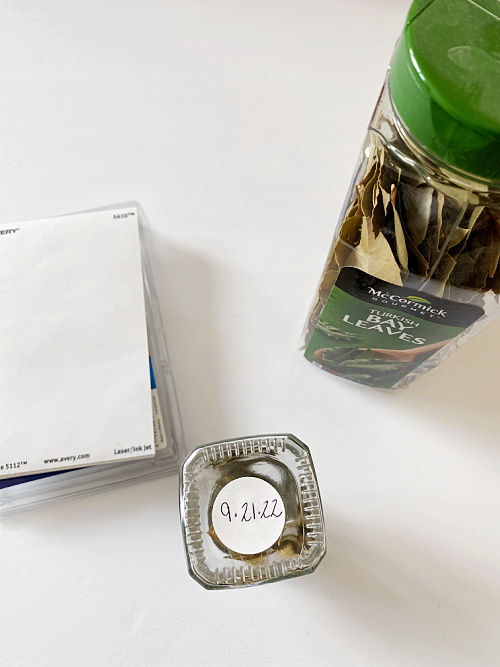
The last step was taking a piece of clear packing tape and wrapping it around the label to ensure some water and oil resistance.
Step 4: Create An Insert to Prop Up Spices
The last thing I wanted to do was prop up my spice jars just a bit because when they laid flat, the spices would pool at the top so when I opened the jar some of the spices would fall onto the counter. Because I am always trying to use what I have, I took a piece of wood from the garage and had my husband cut five pieces to the width of the drawers.
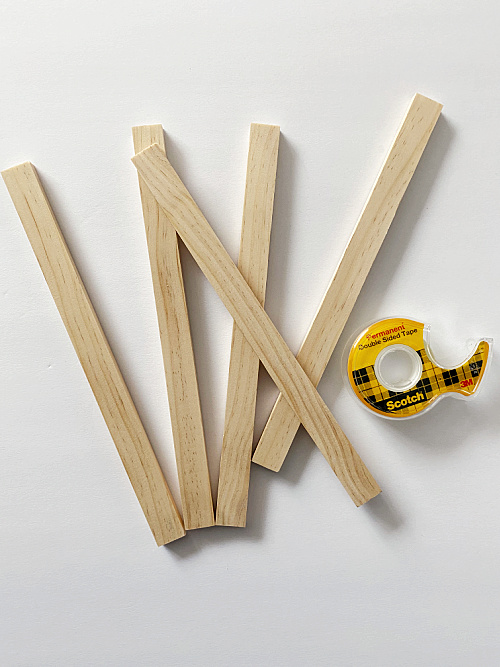
I then took some double-sided tape, and secured them to the bottom of the drawer, using the actual spice jars as my guide for placement.
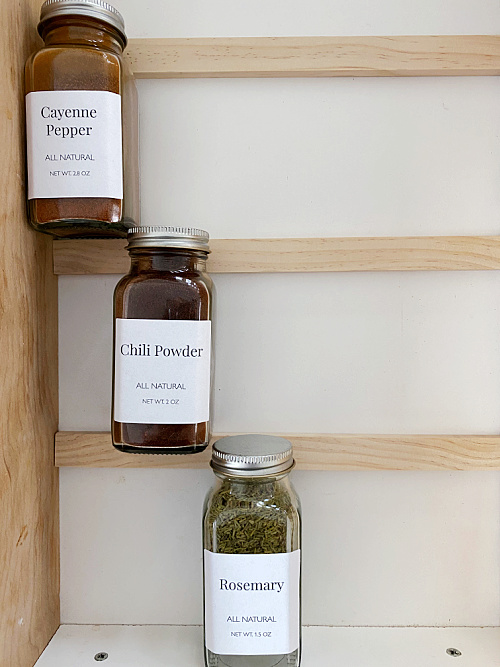
Another option is to purchase a spice drawer organizer, like this one… which I may do if the wood doesn’t stay in place 🙂
And that was all it took to get my spice drawer organized.
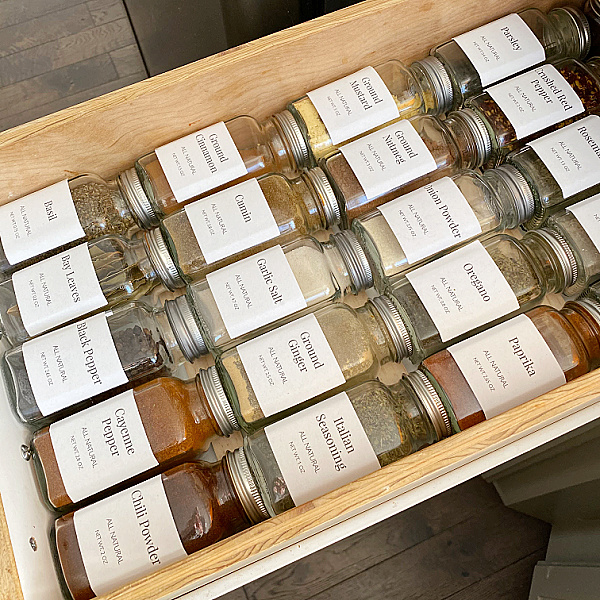
So much better!
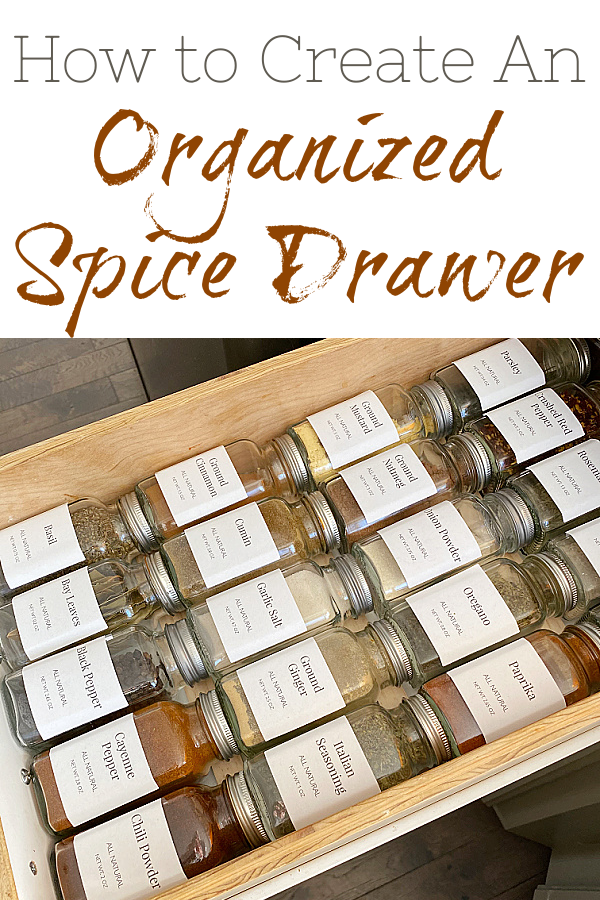
Love it? Pin it!
Lovely! Adding the expiration dates to the bottom is genius. We often don’t think of spices expiring, but they do! Good job.
Great job. This will be much easier to use when cooking up your favorite recipes!
Ah yes, getting those spices under control can be a challenge in any kitchen! You’ve done a good job here.