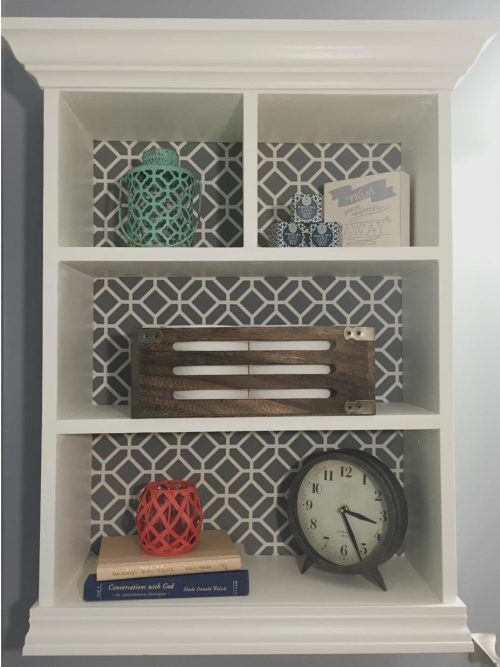
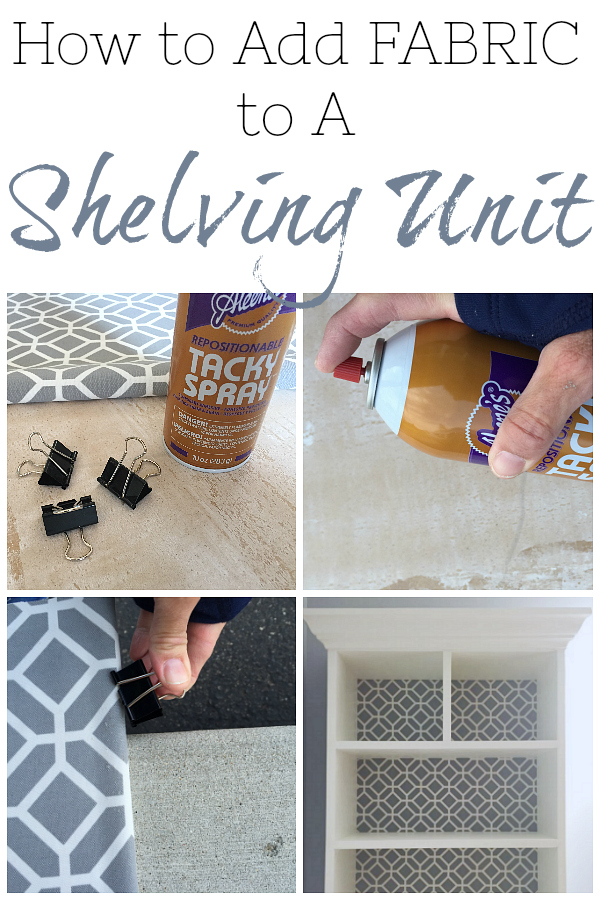
As promised in my One Room Challenge reveal, here is the tutorial on how to add a little twist to your shelving unit using fabric. I first saw the idea of decorating the back of your shelves at A House Full of Sunshine. However, she used a stencil to create the pattern on the back. During the One Room Challenge, I saw another example from Winder and Main, and she used a shower curtain for her backing. Clever, right? I’m sure there are multiple options for how you could pull off this look (I also thought wallpaper…), but I’ll tell you how I ended up doing the shelving unit for our powder room.
What You Need to Decorate A Shelving Unit With Fabric
Affiliate links may be used. Please see our advertising disclosure for more information.
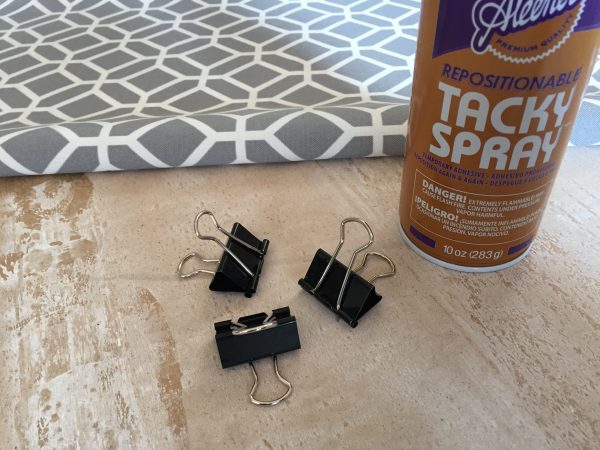
- Outdoor Fabric- See some options below. I chose an outdoor fabric as it was much more durable than other types of fabric. You want your fabric piece to be at least an inch wider than your shelf backing all the way around.
- Adhesive Spray– There are options when it comes to adhesives sprays. You can get one that will permanently hold things in place, or you can get a tacky spray that will allow you to remove/reposition your fabric. The choice is yours. I chose to go with one that I could remove/reposition because that way I can change out the fabric in the future; or… if I make a mistake when applying the fabric, no worries, I can remove and reposition the whole thing without much effort.
- Binder Clips
- Nails & Hammer
How to Add Fabric to Shelving Unit
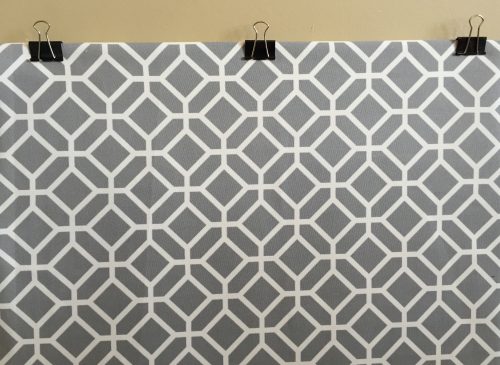
Start by ironing your fabric to remove any wrinkles. Then remove the backing of your shelving unit and secure your fabric of choice to the backing with binder clips. This keeps the fabric straight while you’re gluing it down. Keep in mind that your fabric should to be about 1/2″ longer/wider than your shelf backing on all the sides.
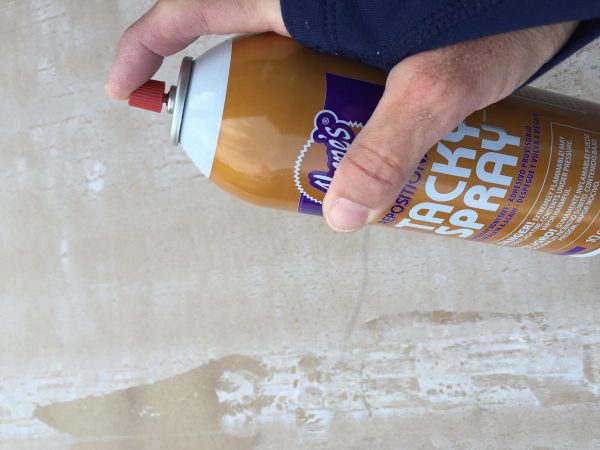
Take this outside because you probably don’t want adhesive glue sprayed all over your house. Once in a place with good ventilation, flip the fabric up over your binder clips so the entire back of the shelving unit is showing, then spray the backing with adhesive spray. If you are working on a large shelving unit, do this in smaller sections, working from top to bottom.
Once the backing has been lightly coated with the adhesive spray, roll your fabric down over the backing and smooth the fabric as you go. Once your fabric is in place, you can remove the binder clips and spray the adhesive underneath where they were so you are able to secure the fabric all the way around.

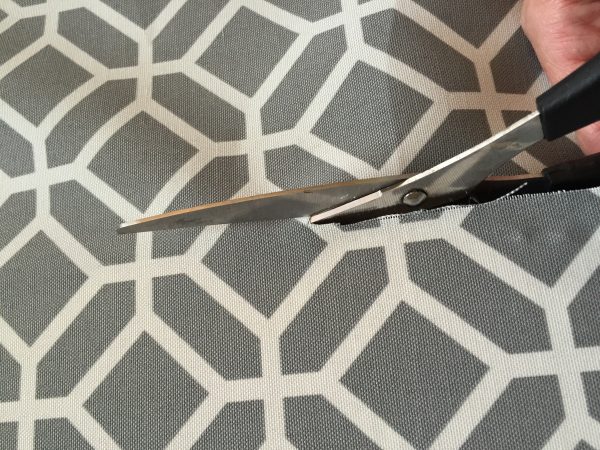
You can now cut the excess fabric from around the backing so it doesn’t show once you replace the backing onto the shelving unit. Another option would be to wrap the fabric around the backing and staple it in place. I chose to cut the fabric because when I tried to wrap it around and staple it, the backing was so dense the staples wouldn’t go in.
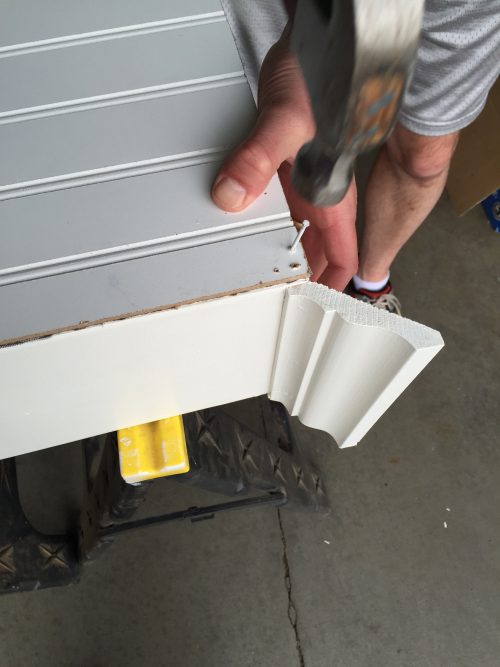
You can now nail the backing onto the shelving unit. (Got my hubby to do it for me.)
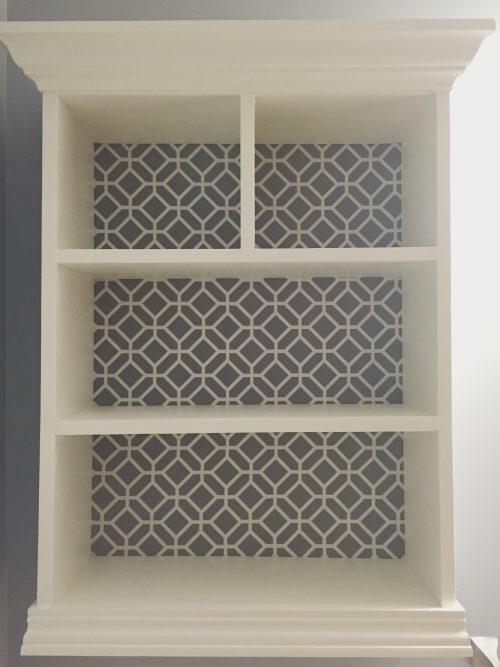
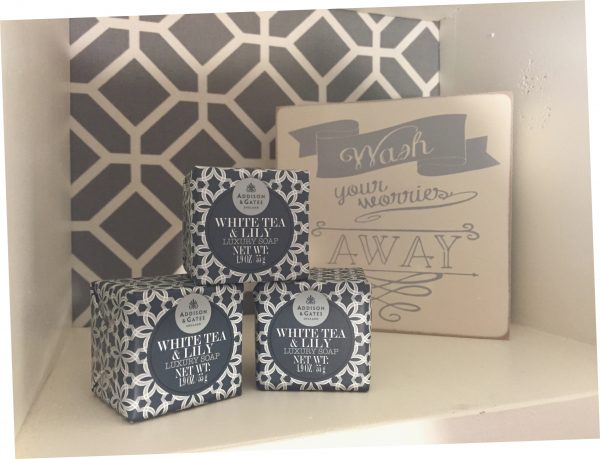
And there you have it.
Love it? Pin it!
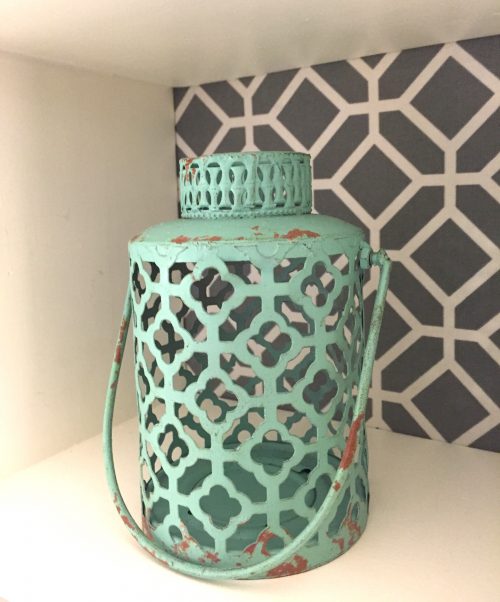
I have the perfect shower curtain for this. Thanks for sharing . Love the lanterns.
Erin,
Your shelf update looks great! I have a couple of book cases I’ve been wanting to do this to. I really love how it totally changes the look with minimal effort! Thank you for sharing on Dream. Create. Inspire. Link! I hope we’ll see you there again this week!
Cat
I really am only able to conquer simple, easy projects, but it sure is fun when it makes a huge impact. Thanks for stopping over and I plan on linking up again this week!
I love this idea! I have a blank canvas I’m planning to decorate and I think this is a marvelous way to spruce it up! Thanks for sharing
I love when one idea inspires another! Thank you for stopping over! Have a beautiful evening!
Gorgeous! And so easy to do. Pinned it! Visiting from Lou Lou Girls Fabulous Party.
Thanks for stopping over Kimberly! This was such an easy way to add a little something to a room. Thanks for pinning! Have a fabulous day!
This is beautiful- very elegantly done. Thank you for the tutorial and for sharing at the Show and Tell party!
Thanks so much Jane! And thanks for the tweet regarding this post! Have an amazing day… I need to click over and check out your blog now.
Love the looks of this. Glad you shared at #HomeMattersParty
Thanks Angela! And thank you for hosting and stopping over to comment! Have a beautiful day!
LOVE this idea! Imagine the possibilities… a little fabric, a whole lot of pop! Please come share your blog posts over at the Home Matters Linky Party! We’d love to have you for a visit. The Door is OPEN. http://lifewithlorelai.com/2015/05/21/home-matters-linky-party-38/ 🙂
~Lorelai
Life With Lorelai
Thanks Lorelai! I agree that you could do so much with this idea. Thanks for the invite over to your party. I just started blogging in February, so I’m still learning about all the great linking parties out there. I will definitely check it out. Hope you are enjoying your Memorial Day weekend!
I love doing this to my bookshelves. It makes such a difference. Thanks for sharing at The Creative Circle.
It’s nice to add a little color/pattern to a space in a fun way. Thanks for stopping over Kathy!
I love love love that fabric! This project turned out so pretty and functional! Thanks for sharing this at the Frugal Crafty Home Blog Hop (this is going to be one of the featured posts at the next party!)
Thank you so much! It would be an honor to be featured there. Have a wonderful evening Carrie!
What a great idea for an apartment where you can’t paint the walls. It makes a room so much more visually interesting. Thank you for visiting and sharing with #AnythingGoes.
I hadn’t really thought about this idea in an apartment, but you’re right, it would be a great way to bring in some color and pattern when you can’t do anything to the walls…and think of all the different fabrics one could choose from. Thanks again for stopping over Sandy!
love it! The fabric looks really great thanks so much for sharing at #AnythingGoes
Thank YOU Sue!
looks fantastic! love it – so simple and makes the space pop!
Thanks Lianna! I think it’s a fun way to add color or pattern to a room (especially one that doesn’t have curtains or pillows).
Hi there! Visiting from Meet Up Monday. This is so cute! I love the fabric you chose! Thank you for sharing!
Thank you so much for stopping by Ashley. I just found the Meet Up Monday linking party a few days ago. Always nice to find ways to meet other bloggers and get new ideas.
I might try this on some IKEA shelves in my younger daughter’s room before getting rid of them.
It was so easy to do and made such a difference! And, hey, if you are planning to throw them out anyway, you might as well try it just to see if you like it!