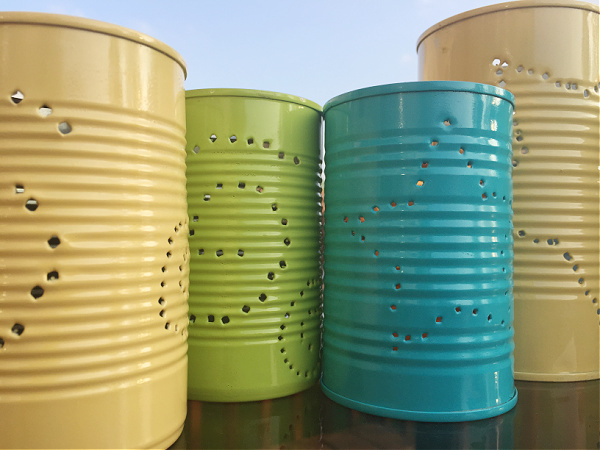
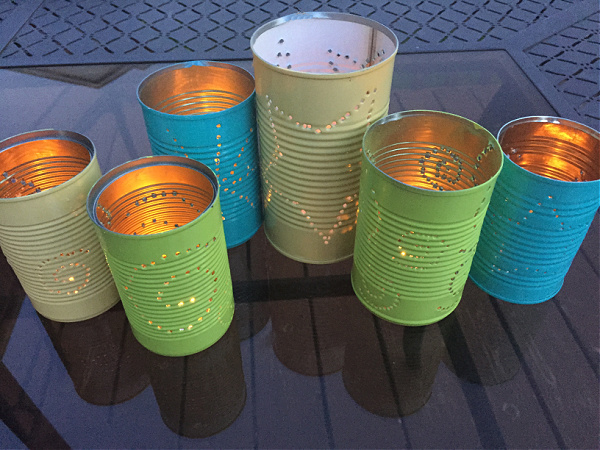
Easy DIY Tin Can Lanterns are the perfect way to add a little ambiance to your space. While the following tutorial was created with brighter colors for summer, you could also go with a earthly tones to create a cozy vibe for fall and the holidays.
During the summer, I love grilling and eating dinner outside on the deck. I recently read about making dinner time more enjoyable for the family: going the extra mile to make the table setting nicer, encouraging conversation, listening to music, etc. Let me be honest, dinnertime at our house is not always a sit-down, have-a-long-conversation type event. Many times we’re eating at different times, heating up various leftovers, and trying to hurry up and eat before heading out the door to some event or practice. Sound familiar? While I am sure we will still have those nights, I wanted to start putting more effort into the nights we are home and enjoying a meal together. So, I decided to start by sprucing up the table for our outside meals.
I was strolling through Michaels not that long ago and saw these tin can lanterns…
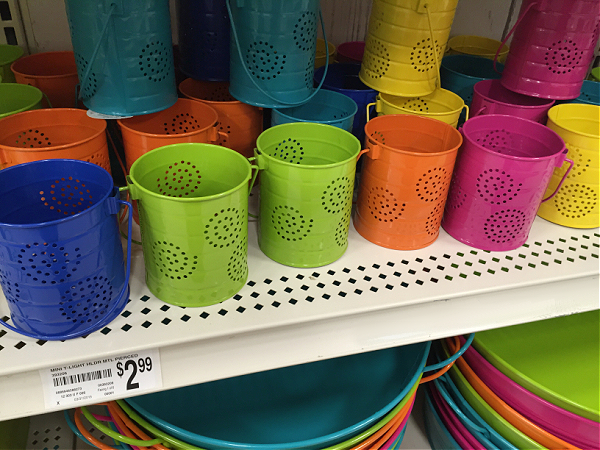
This is one of those times I thought to myself, “I can just make those!” (Well, at least something similar.)
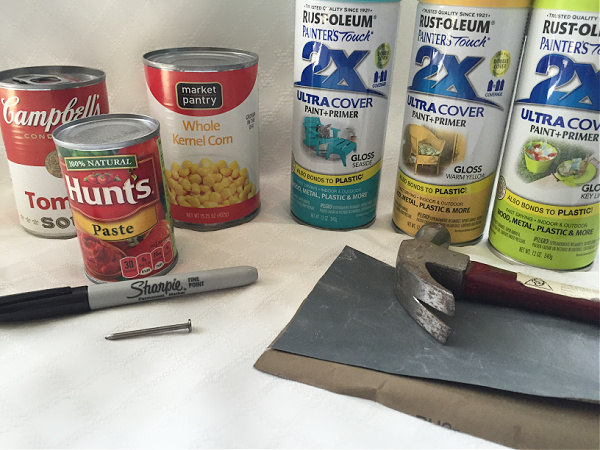
What You Need to Make Tin Can Lanterns
Affiliate links may be used. Please see our advertising disclosure for more information.
- Leftover Tin Cans (from canned veggies, baked beans, whatever)
- Can Opener– An electric can opener will do better of preventing sharp edges
- Permanent Marker
- Hammer & Nail– It’s best to use a bigger nail so the light comes through the pattern, but you could also create a design using several different sized nails for variation
- Sandpaper
- Spray Paint
- Tea Candles (or battery operated tea candles)
How to Make DIY Tin Can Lanterns
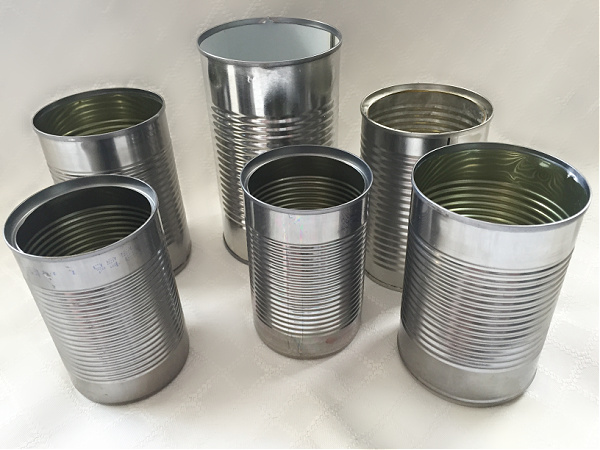
Start by taking the labels off your empty cans. Try our DIY Goo Remover if you have any sticky spots.
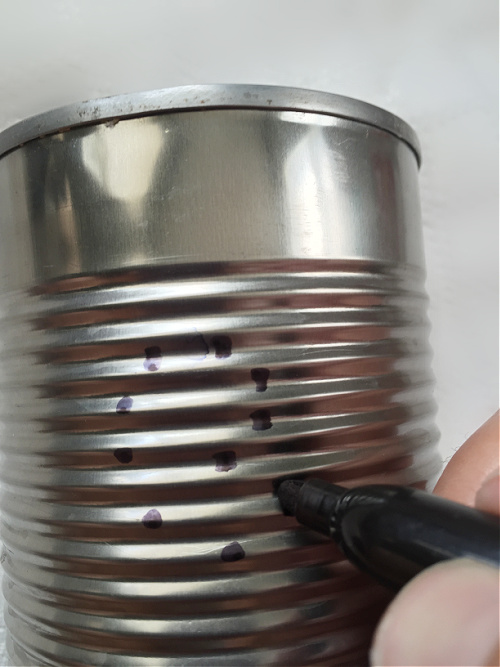
If you are going to freehand your design, do so with a permanent marker, using dots to create your pattern. The reason you want to do your pattern at this point is because once the water freezes, there will be condensation that will make it difficult to draw on the design. You can also print a stencil/pattern in which you can wait until after your water has frozen if desired.
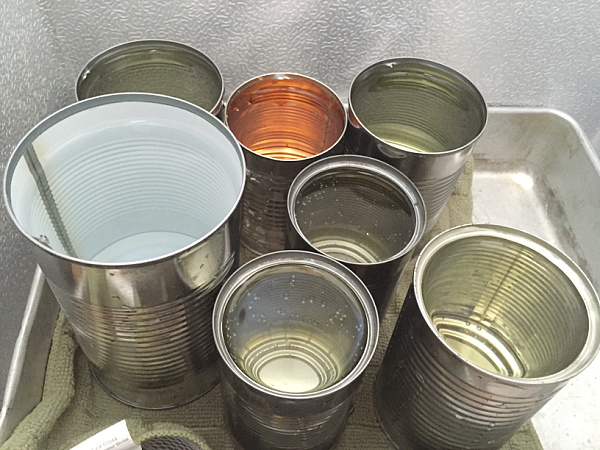
Fill each can with water and place in the freezer, allowing the water to freeze completely. I put all my cans into a pan covered with a dish towel to prevent spills. Give the cans ample time to freeze. I tried starting before the water had completely frozen (I’m impatient sometimes) and I ended up with a dented, wet can. Trust me, just wait… like 24 hours.
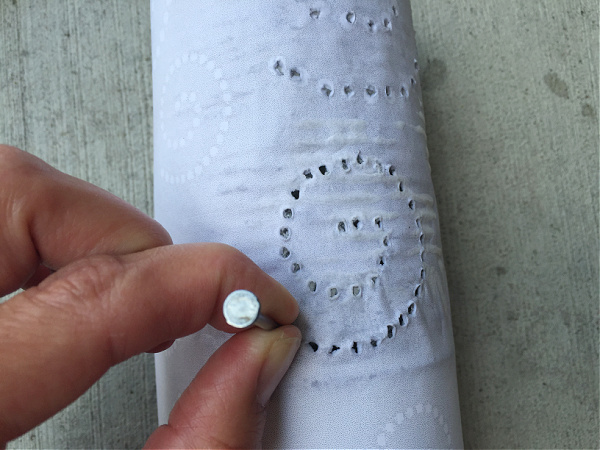
Once frozen, remove the cans from the freezer. If using a stencil, apply it to the tin can. (I just printed off patterns from Google). I went with random swirls and stars, but you can do whatever you want. Using a hammer and nail, pound the nail into the dots you created for your design, making sure the nail goes through the can.
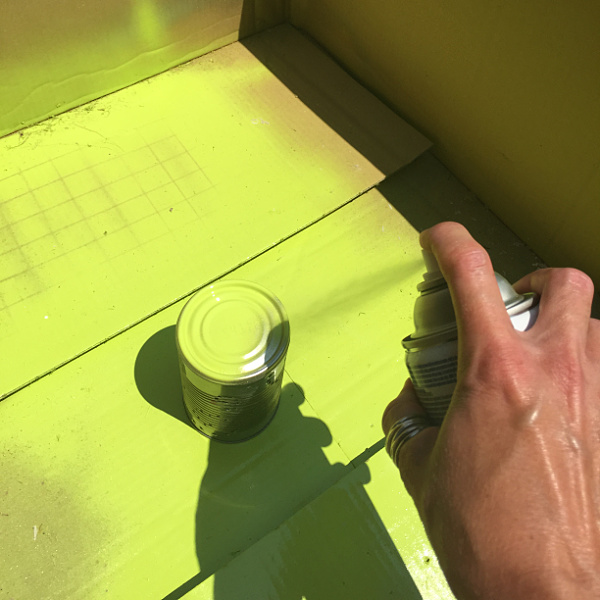
Once your ice melts (which is really fast on a 90° day), pour out the water and thoroughly dry the can. Lightly sand the outside with sandpaper to create a rough surface for the spray paint to adhere better. Pick your favorite spray paint, and spray away. I decided to go with some fun, summery colors for this project.
TIP: Use a cardboard box when spray painting to keep the spray paint from getting on your surroundings.
Once the paint has dried, you can insert the candles and use the lanterns on your table, or anywhere you feel would be a good spot.
*Be careful as you insert and light your candles as there are sharp spots from the nails going through the can!
That’s all there is to it. A simple DIY project to create a festive mood… now can I get my family to sit down and enjoy a meal together?
We think you might also love these ideas!
DIY Welcome Sign | DIY Dollar Store Storage | DIY Scented Coasters

Love it? Pin it!

These are so cute, Erin! I love all of the bright and bold summer colors. So glad to hear that my dinnertime post inspired you. 🙂 You and your family are going to have a lovely table at which to enjoy a meal together. Here’s to summer grilling/eating outside season!
I love the idea of putting holes into tins and making them into lanterns. This sounds like one of those activities that my kids would probably love to help with too. It will be like carving pumpkins, but they will(hopefully) last longer than a week.
Great project for kids, maybe they can create the design and you can pound in the nails (smashed fingers is no fun for little ones). And I’m willing to bet they’ll last longer than pumpkins 🙂
This is so smart! I would never have thought to freeze them. And they turned out so beautiful–nice work!
Thanks Debora! I actually remember making something similar to this at a church event when I was about 10. They had frozen the water into tin buckets. If you don’t have something solid inside, you just end up with a very dented can, and that’s not so pretty 🙂
Great project! I’ve always wanted to try something like this–you’ve inspired me!
Awesome! This was such an easy project (as most of my DIY ideas are). If I can do it, I am certain you can as well.
Thanks for stopping over Kathleen; have a wonderful evening!
Hey, that looks easy! Will have to try!
Super easy! And I love how they look in the evening.
I love how you turned regular boring tin cans into so fun and colorful!
Thanks Noa!
Cute project, Erin! This is a craft I would actually enjoy and be able to accomplish quickly, both evidently requirements for anything getting done around here ;). Thanks for the idea!
Thanks Sharon! Really, the only DIY I do is simple and quick, otherwise I lose my motivation. Enjoy your day! Aren’t you headed to the Haven Conference?
Yep–at the airport waiting to board. Get ready for a long email filling you in on what I learn!
Can’t wait to hear about everything! Have fun!!!
OMG that’s a great idea! i’m def gonna do this!
XO Ellen from Ask Away
http://www.askawayblog.com
Thanks Ellen! Enjoy your day!