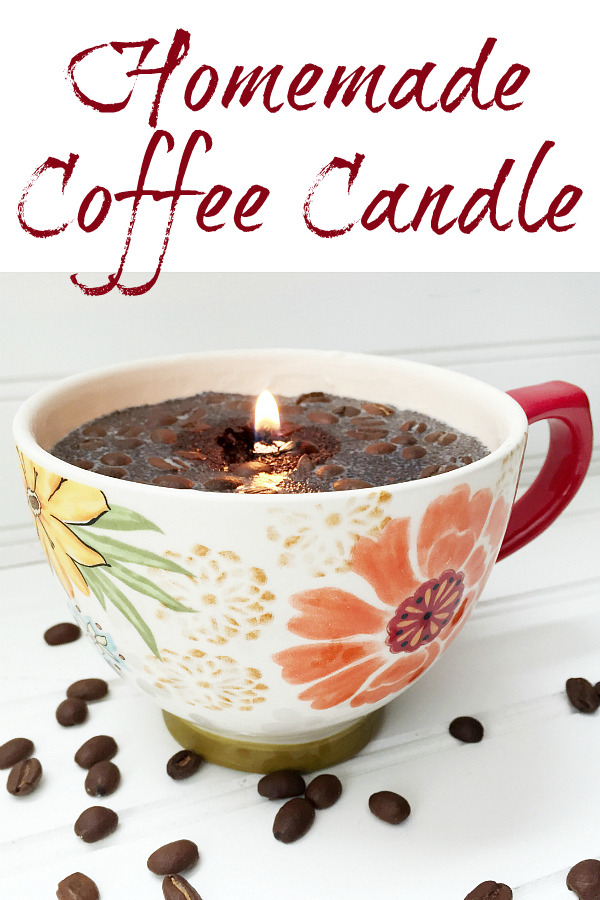
Any other coffee lovers out there? Not only do I love the taste of coffee, I love the smell; so I thought it might be fun to try making a DIY Coffee Candle. It is super easy to make and your house will smell delightful!
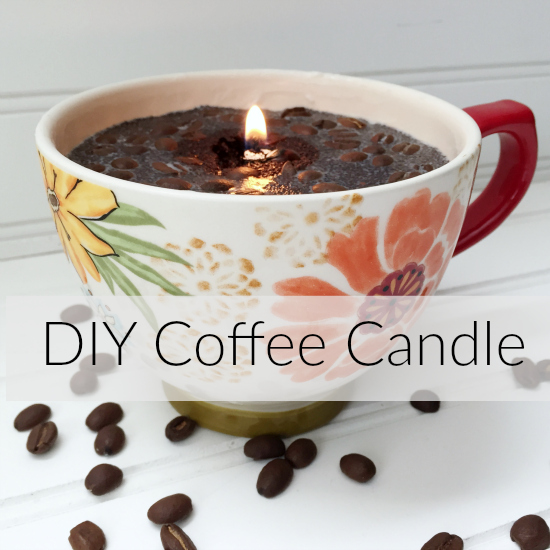
There are a lot of options when it comes to creating a candle. You can choose different colors, different scents, different containers, and even which type of wax you want to use. Since I’m a coffee lover through-and-through, I decided to try my hand at a coffee candle, using a coffee mug as the container.
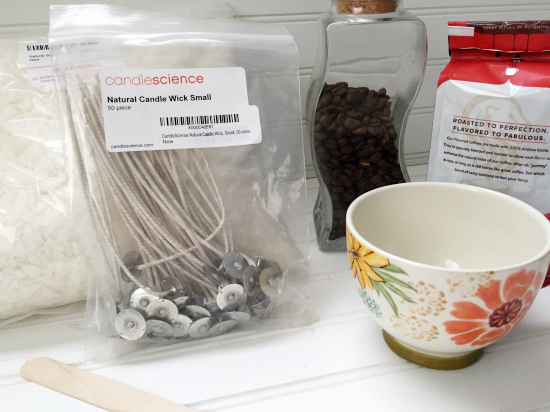
What You Need to Make A Coffee Scented Candle
Affiliate links may be used. Please see our advertising disclosure for more information.
- Soy Wax– There are other types of wax you can use as well. I chose soy wax because it’s easy to work with for a first-timer.
- Candle Wicks– Depending on the size of your candle, you will need a certain wick size. Here is a chart to help you with sizing.
- Coffee– I used both ground (because it was a caramel cream flavor which provided a great scent) and whole bean (to provide a nice visual).
- Craft Sticks– I also discovered these wick centering craft sticks that may work better!
- Mug or Other Container of Your Choosing… Just make sure whichever container you choose can handle the heat of the wax and candle.
- Double Broiler– I don’t own a double broiler, so I took a heat resistant bowl and placed it on top of a saucepan filled with water.
- Candy Thermometer (a meat thermometer would also work)
How to Make A DIY Coffee Candle
*I want to start this section by saying: BE CAREFUL! You are dealing with hot wax and boiling water. Don’t touch the hot wax with your hands. Don’t handle hot bowls with your hands. Please, please be careful!*
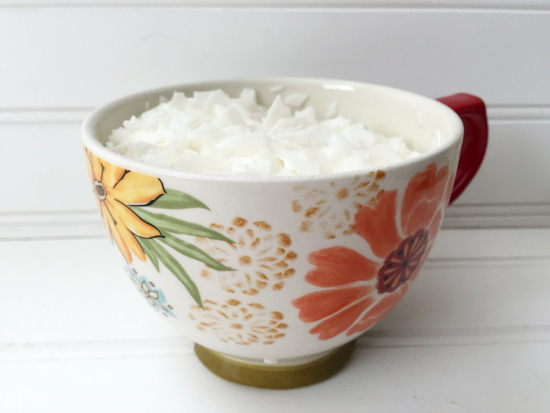
I started by filling my mug with soy wax flakes. Because I don’t own a double boiler, I poured the flakes into a glass bowl that was placed over a saucepan half-filled with water. If you go this route, be sure to use a glass bowl that can withstand high temperatures.
Note: I ended up needing more wax, so I would recommend going with 1 1/2 containers full.
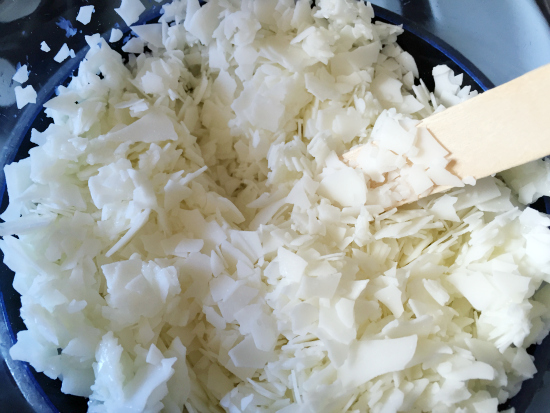
I turned on my burner, and as the water in the saucepan began to boil, the wax in the bowl started to melt. I used a wooden craft stick to stir the wax around to ensure even melting. You’ll want to heat the wax to about 185°. Do not allow the wax to heat above 200°. Remove from the heat… carefully! At this time you can add your coffee grounds and stir them in… carefully! (See Lessons Learned Below!) If you are choosing a lighter scent, like citrus, it is recommended to wait and add the fragrance once the wax is down to 160°. After adding your fragrance, allow the wax to cool to 100°.
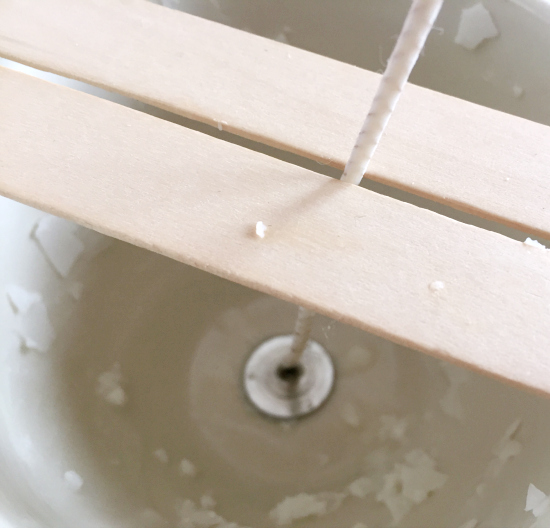
While you wait, you are going to want to center the wick in your container, and then use something (in my case 2 craft sticks) to hold the wick in place.
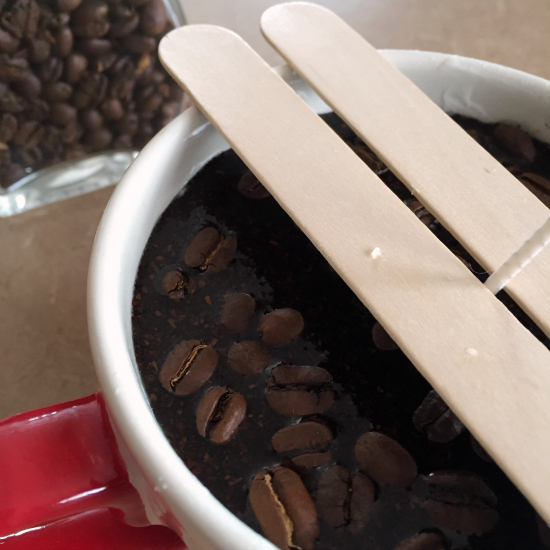
Once your wax is cooled, pour it into your container… carefully! This is the point at which I added the whole coffee beans to the top. (See Lessons Learned Below!) Allow the wax to harden at room temperature. Once hardened, you can remove whatever you chose to hold the wick in place, and then trim the wick to about 1/8″. There you have it. Your own DIY Coffee candle.
Some Lessons Learned Along the Way
- Coffee Grounds Float– This created a thick layer of coffee grounds at the top of the candle, making it hard for the flame to melt the wax. My recommendation would be to use the coffee grounds sparingly (like, don’t dump a whole bunch in like I did 🙂 ), and thoroughly mix them into the wax before pouring the melted wax in your container.
- Get the right size wick for your container– Originally, I was going to use a smaller container so I ordered small wicks. When I went with a mug (that has a much wider diameter), the wick didn’t produce enough flame to evenly melt the wax out to the edges of the mug.
- If using whole coffee beans, keep them away from the wick. Coffee beans can burn if they are in the direct flame.
Rather Buy Than DIY?

Love it? Pin It!
Did you use fresh or used coffee grounds?
ground,I made my mum one and she loves it I made it for mothers day and it was cool my dad gave me the wax I don’t know were he got it from and he forgot
I used fresh coffee grounds 🙂
Awesome explanation, I am working on producing candle in jars for sale in my neighborhood here in Nigeria, am going to give this coffee mix a serious thought (especially the grounds) and I think it’s a big plus since the smell of burning coffee also controls mosquitoes and other insects.
Coffee beans float too????????♀️
Add a small handful of beans in the bottom of your cup. Add a small amount of wax and let cool. Add more wax, add more beans and so on.
Did you put liquid coffee in it as well, or just coffee grounds? How did the colour change? Would the same thing work with tea?
I can’t find any small mugs like that. Where did you get yours?
I got the mug at Michael’s a couple years ago, so unfortunately, they probably don’t have them anymore. I actually believe this mug would be considered a cappuccino mug, so that may help if searching online.
ikea
Hey girl! I just tried this and couldn’t get my grounds evenly mixed. Any tips? Also, I used medium roast and it doesn’t have a strong coffee smell. What did you use?
I used caramel vanilla coffee grounds, which smell amazing 🙂 I like flavored coffee, as I think they’re a little stronger. As for mixing in the grounds, I didn’t have too much trouble with the grounds, but the full beans definitely floated to the top. I would recommend thoroughly stirring, and continuing to stir until you notice the wax beginning to harden a bit. Hope that helps.
I Love the way you explain everything ! I can really enjoy making all of the things that I choose. I’ve been using essential oils for 4 years now & have learned so much ! I hope you enjoy yours . They have endless uses. Thanks for all your great Info !
Thanks Joanne! I always try to be as detailed as possible. I’m definitely a rule-follower, and I need specific instructions, so I try to provide the same for my readers.