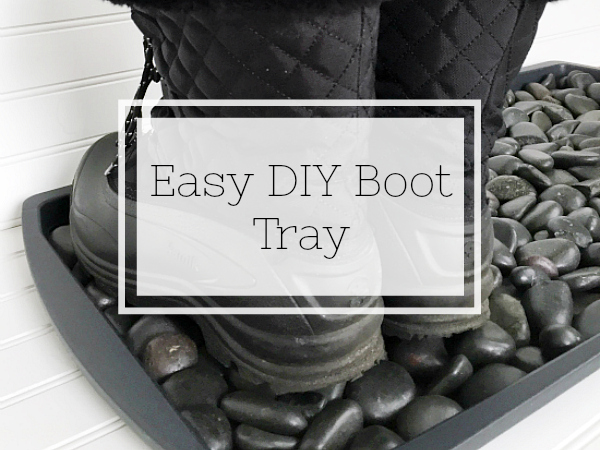
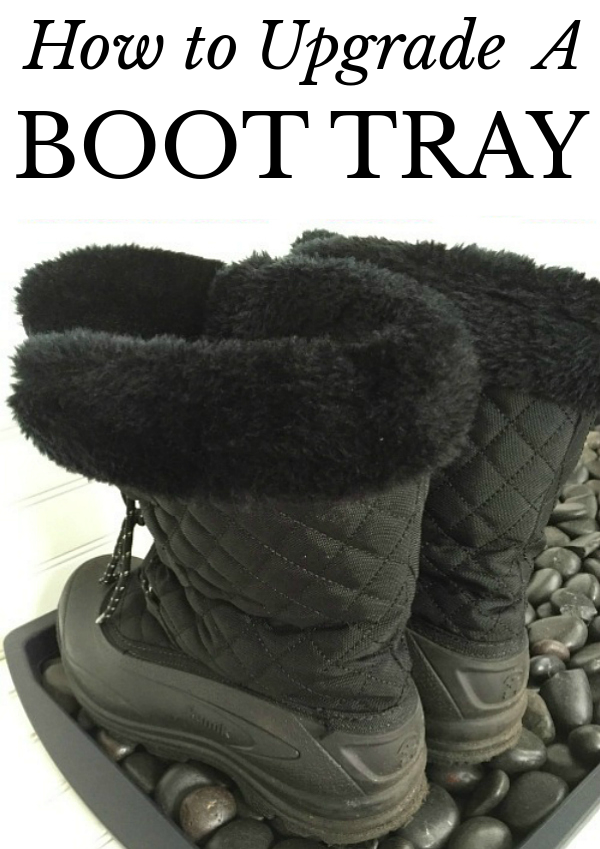
We are making an easy DIY boot tray with river rocks… and the best part is, this project only cost me $8!
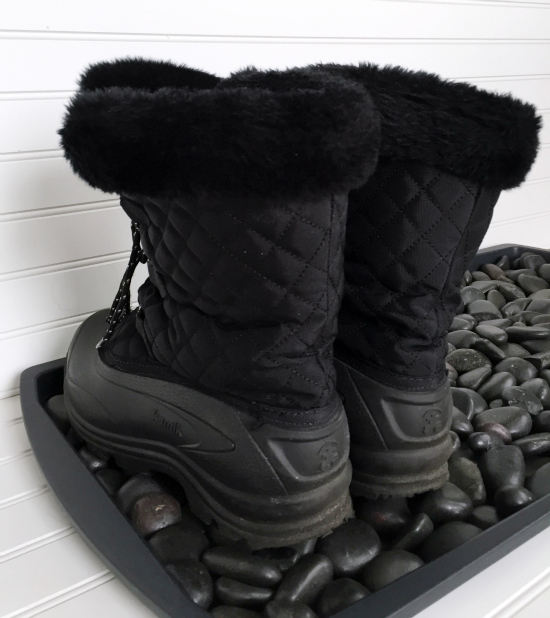
It’s Wednesday. $100 Room Challenge update day. Honestly, my progress was less than amazing this week. I did, however, manage a little update to the plastic boot tray that was in our closet. Remember this?
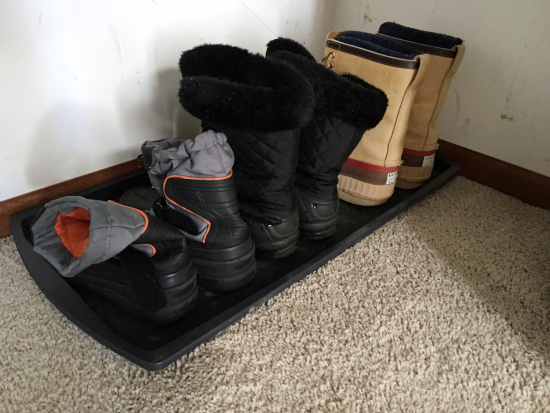
I had seen the idea of adding river rocks to a tray for a simple, inexpensive upgrade, and thought it would be perfect. The nice thing about adding rocks is they allow the moisture from the bottoms of the boots to go somewhere. When boots are set directly on the tray, the snow melts and they sit in water. With the addition of rocks, the water can seep down the rocks, allowing the bottoms of the boots to actually dry.
What You Need to Make A DIY Boot Tray
Affiliate links may be used. Please see our advertising disclosure for more information.
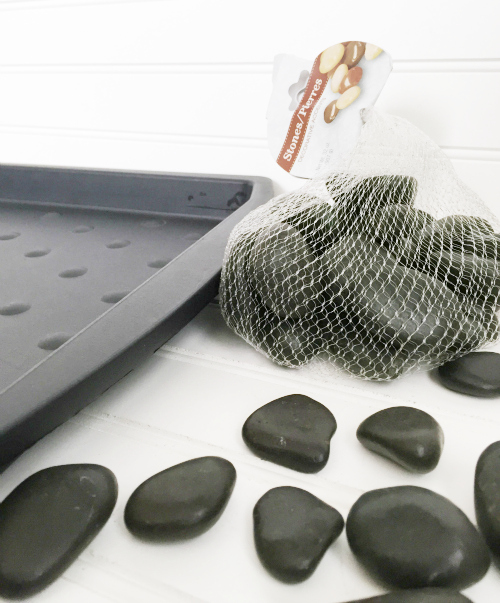
- Boot Tray– I would say plastic is the way to go because you don’t want metal to rust or wood to rot.
- River Rocks
I found river rocks at the Dollar Tree, and they had a few colors to choose from. I would suggest getting rocks that are similar in color to the tray, as you will see bits of the tray through the rocks. The other option would be to create another layer of rocks to cover any gaps.
How to Update A Boot Tray with River Rocks
Honestly, this project is so simple, it hardly needs a tutorial.
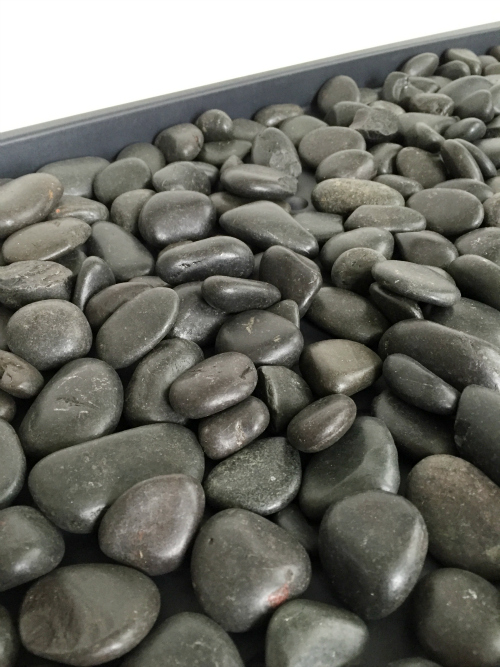
Pour the river rocks into the boot tray. I needed 8 bags to cover the entire tray. Once they are all poured in, smooth them out into a single layer. I found that some rocks needed adjusting and gaps needed filling, but it only took a minute or two to get everything in place. And that’s it.
Told you… like, how easy was this project?!
The Budget… So Far
Since not a whole lot was done, not a whole lot was spent.
Boot Tray: Free (Already had.)
River Rocks x8 Bags: $8.00 ($1.00 per bag)
Total Spent: $8.00
Wanna Catch Up or Jump Ahead?
Week 1 // Week 2 // Week 3 // Week 4
We think you might also love these ideas!
$1 Solution to Cover Wire Shelves | How to Hide Cords in the Office | DIY Bench Cushion

Love it? Pin it!
Oh man, I feel ya! My little guy has the stomach flu, too, and we’ve been doing the dreaded vomit clean up over here as well. Ugg. No fun and so hard to see them so sick! Love your boot tray! I’m impressed you got anything done besides sanitizing everything. Wonder woman!!
Sorry you’re dealing with the stomach flu as well. Not fun. Hope your little one feels better soon.