This tutorial for DIY drawer liners is super easy, and it’s a great way to add a pop of color and/or pattern to your drawers.
I am updating an old post today. I originally shared this idea back in May 2015 (2 months after starting this blog). It’s been tucked away in the archives for so long I thought I’d bring it to the forefront and give it a little life (like actually edit the pictures 🙂 ). Not only is this an easy project, the drawer liners have really held up over the years. In fact, they are still in use today (seven years later)! Let’s take a look at how you can make DIY drawer liners for yourself.
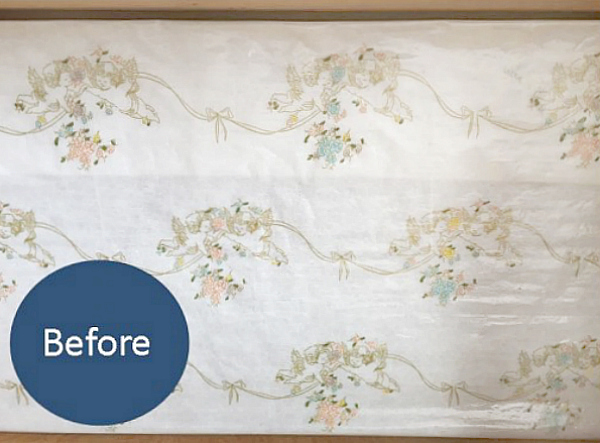
This project was done in my youngest son’s room. He inherited the dresser I had growing up; and with it, the drawer liners I had growing up: golden angels flying through patches of peach flowers. If you knew my son, you would know this is pretty much the exact opposite of his personality.
***Bear with me, I am still using the original images from 2015 when I was a new blogger and had zero idea what I was doing 🙂 ***
Let’s make a change, shall we?
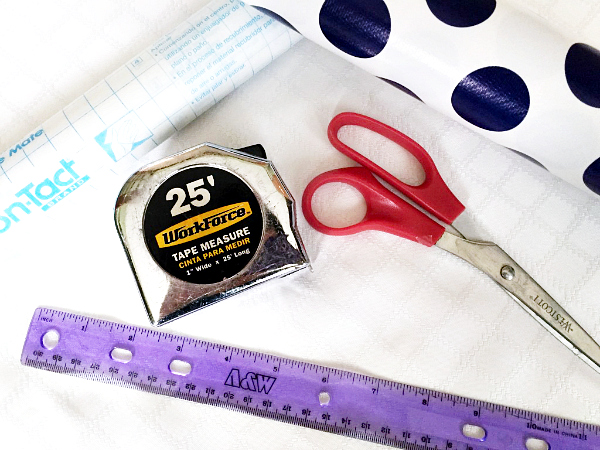
What You Need to Make DIY Drawer Liners
Affiliate links may be used. Please see our advertising disclosure for more information.
- Wrapping Paper I would recommend a higher quality wrapping paper. As much as I love dollar store wrapping paper for gifts, I’m afraid it would rip in this case.
- Clear Contact Paper
- Tape Measure
- Scissors
- Ruler
How to Make DIY Drawer Liners
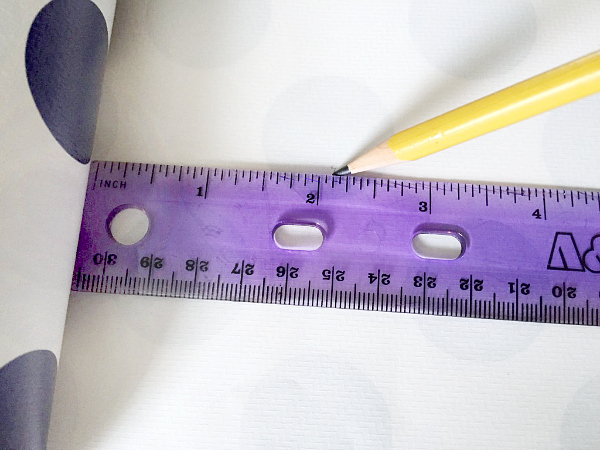
Start by measuring the inside of your drawer with a tape measure. Then mark the measurements on your wrapping paper, using a ruler to make sure you have straight edges.
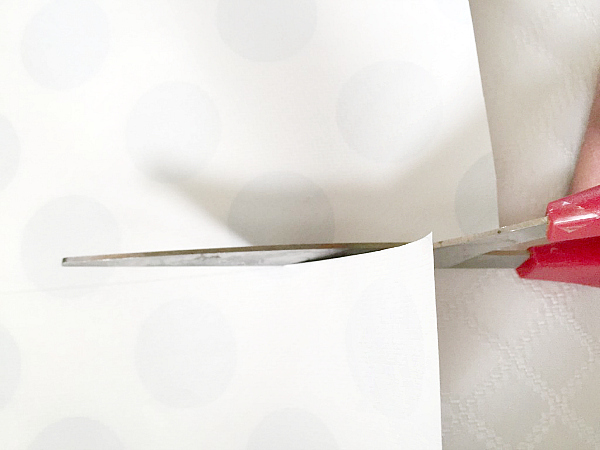
Cut the pattern from your wrapping paper.
Roll out your contact paper and cut a piece that is approximately 1/2 inch wider (on all sides) than your wrapping paper piece. You can certainly eyeball this by placing your wrapping paper piece on top of the contact paper when cutting.
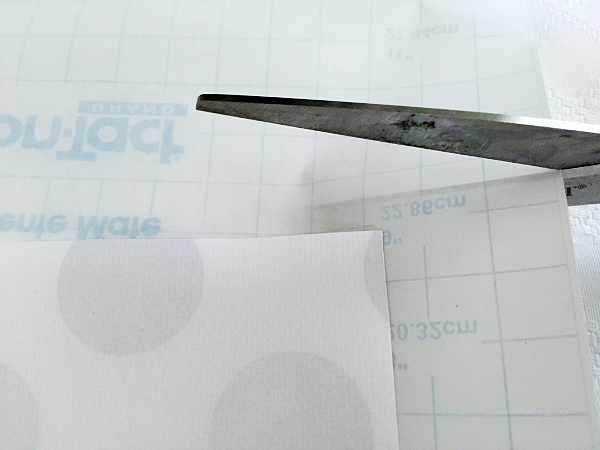
After you have everything cut to size, take the backing off the contact paper and lay it on a flat, hard surface with the sticky side facing up. Then place your wrapping paper on top of the contact paper with the color/pattern side down. Smooth it out with your hands and then trim the excess contact paper from around the edges. You now have a drawer liner.

Repeat this process for each drawer.
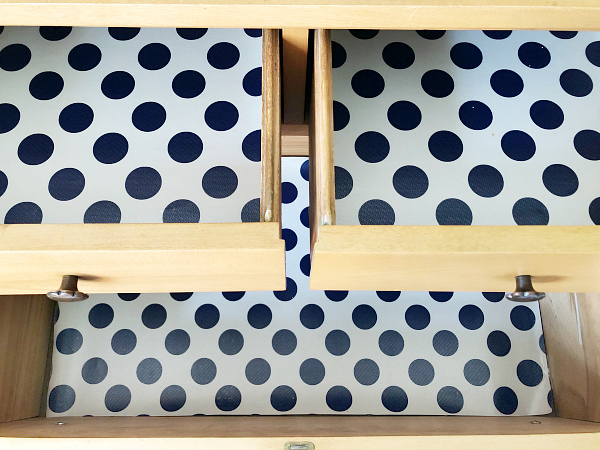
Here is the end result in my son’s room.
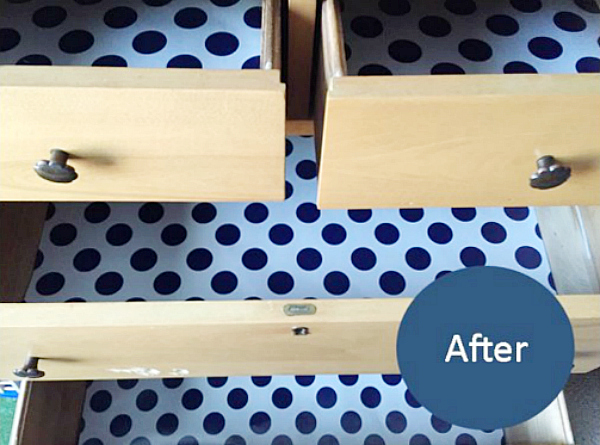
So. Much. Better.
For another budget-friendly drawer liner idea, check out this post in which I used contact paper from the dollar store.
Love it? Pin it!

I saved the wrapping paper used on gifts at my baby shower and used it to line my daughter’s dresser. Happy memories. 🙂
Sheila
Why wouldn’t you simply use a patterned contact paper, thereby eliminating having to stick the wrapping paper to clear contact paper?
There’s just a lot more variety with wrapping paper. More patterns and color options. Of course, choosing actual drawer liners or patterned contact paper is definitely a option… this is just a way to get creative and personalize it a bit.
For the drawer liners, wouldn’t you put the back side of the wrapping paper down on the sticky contact paper, so that the design is up?
Since I used a clear contact paper, you would put the wrapping paper design against the sticky part, so the design shows through the clear contact paper, but is also protected. Hope that makes sense.
This is an area I’m seriously deficient in! I dread changing out the clothes, even though all I have to do is move them from the high rod to the low. If something doesn’t fit, we have a family donation bag. When it’s full, I’ll drop it off. Not much of a system!
We tend to do a garage sale first before donating. Although donating would be SO much easier, I just love hosting a garage sale… I like interacting with all the people that come through. Hope you enjoy your day!