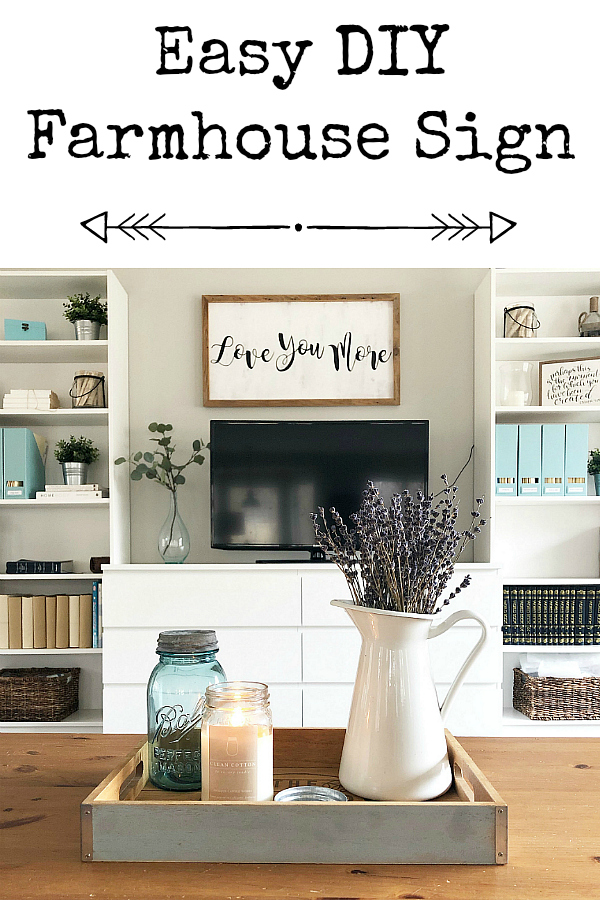
If you love the farmhouse style, then I’m sure you have seen all those amazing signs to match this style. Problem is, these signs can be rather expensive to buy; especially if you want a rather large size. I figure out how to make my own DIY Farmhouse Style sign for about $9. Here’s the tutorial…
I don’t know about you, but I love these farmhouse style signs that you see everywhere these days. I really wanted to add one to our living room, but when you’re making over a room on a $100 budget, you can’t afford to spend half of it on a sign, so I decided to make my own for a grand total of $9. (Not bad.) Here’s exactly what I did.
What You Need to Make A Farmhouse Sign
- Underlayment- I choose to use a 2′ x 4′ piece, as I wanted my sign to be 20″ x 36″
- White Chalk Paint
- Sponge Brush
- Wood for Framing- I used some barn wood from our stash in the garage, but you can also buy some. The pieces we used were approximately 1″ wide and 1″ deep. Then cut to size for the length.
- Stain (Optional)
- Staple Gun & Staples
- Vinyl Cutting Machine- I use a Cricut Explore
- Vinyl– I find vinyl easier to work with, but contact paper is cheaper
- Transfer Tape
- Black Paint for Lettering
- Round Sponge Brush
- D-Rings
- Screwdriver
If you do not have a vinyl cutting machine, no worries… you can find lots of vinyl wording on Etsy, with many shops allowing you to customize your order.

How to Make A Farmhouse Style Sign
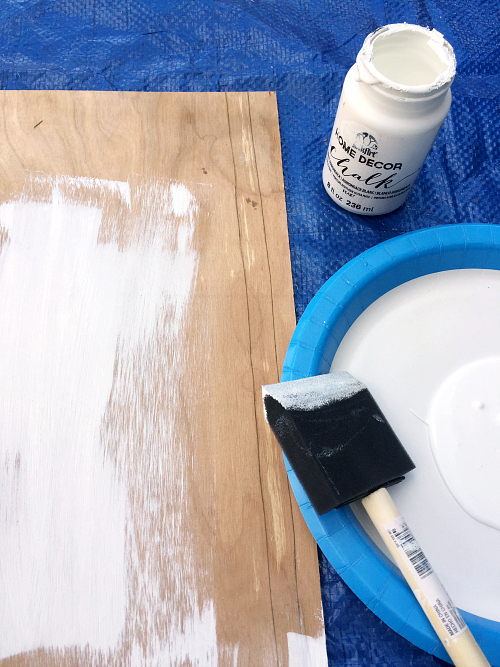
Start by cutting your underlayment to the size you want your sign (Mine was 20″ x 36″). You can ask your local hardware store (where you buy the underlayment) to do this for you if you’d like. Once cut to the appropriate size, use your sponge brush (or paintbrush) to paint the white background with chalk paint. In order to give it a little more worn/rustic feel, blot off some of the paint before applying it to the wood, and do quick strokes, allowing the wood to show through.
While the paint is drying, cut the wood for your frame. The length is going to vary, depending on the size of your sign. If the wood is rough, you can sand it before moving onto the next step. You may also choose to stain the wood, depending on your preference. I like the look of naturally weathered wood, so I chose not to stain.
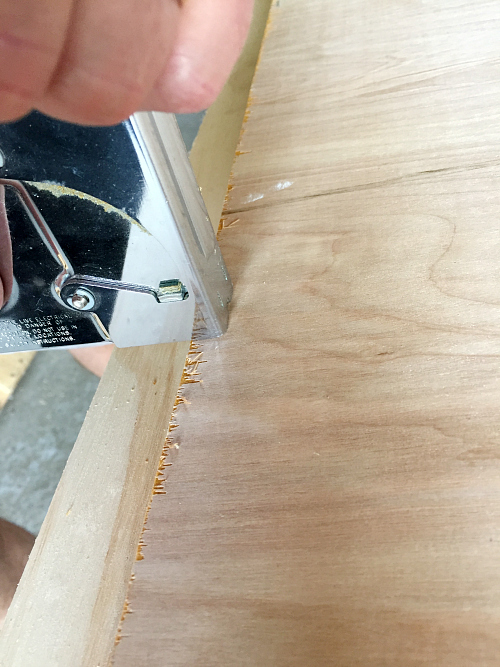
Once everything is dry, use a staple gun to staple the frame onto the underlayment, from the underside of the sign. Please use caution when using the staple gun.
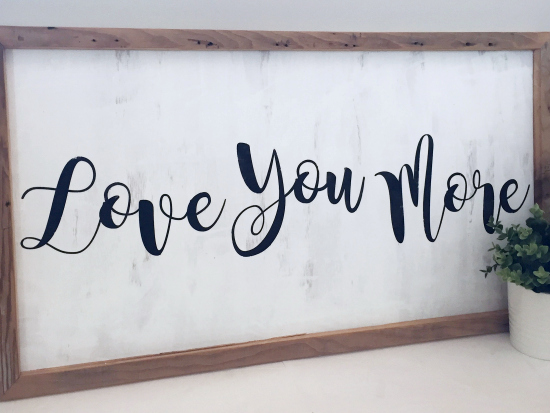
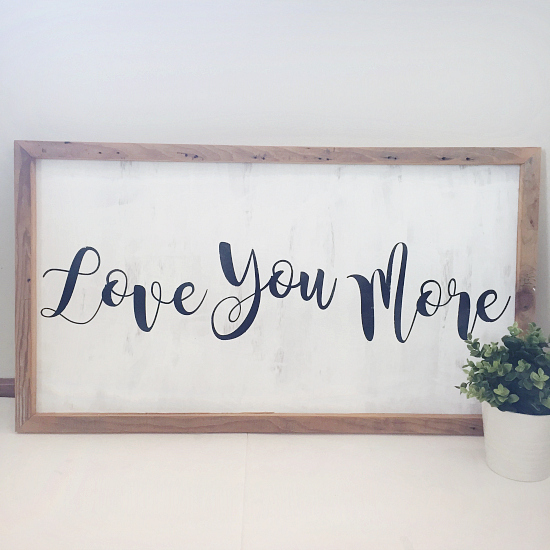
Now that you have the basic structure of your sign, figure out the saying/word you’d like to add. For as long as I can remember, when someone in our family says, “Love you” and the response back is always, “Love you more”, so that is why I chose this for our sign. You’ll also want to find a font that you like. I chose to use Magnolia Sky. Use your vinyl machine’s program to create the stencil for your wording.
Remember that you are creating the outline of the wording, so peel out the letters, and use transfer tape when adhering to your sign. Transfer tape helps to keep all your lettering aligned. You don’t want to leave behind pieces of your letters.
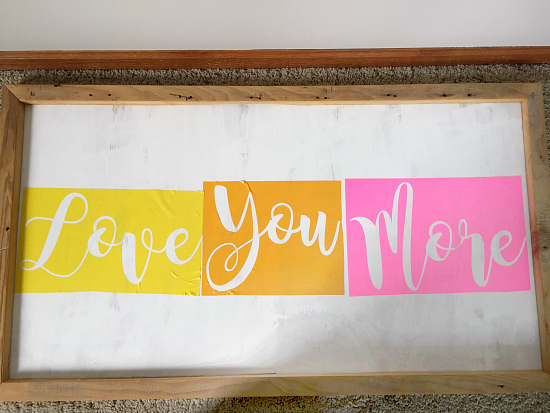
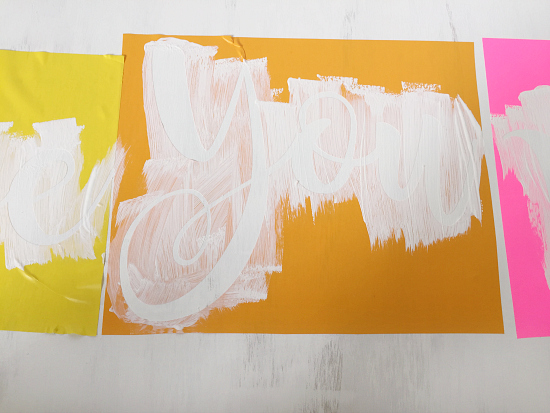
Arrange your words onto your sign in whatever fashion you’d like, and then remove the transfer tape. To prevent bleeding, use a sponge brush to fill your stencil with chalk paint first. This way, if any color is going to bleed under your stencil, it’ll be the white chalk paint, not the black paint.
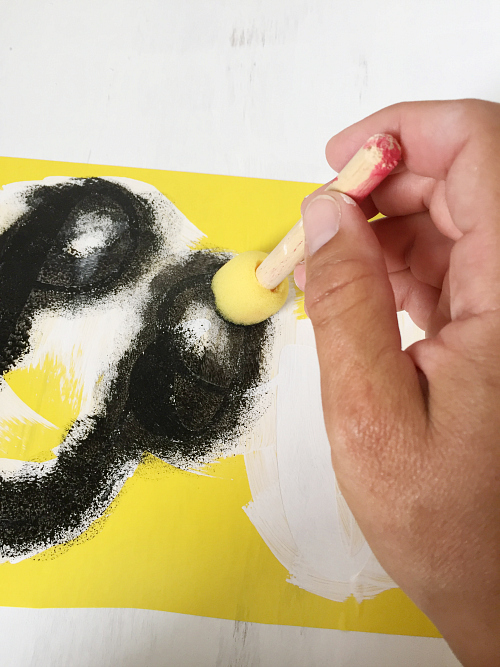
Once the chalk paint is thoroughly dry, use a rounded sponge brush and black paint to fill in your stencil. Remember to dab the sponge onto a paper towel before applying it to the sign. This removes excess paint so it doesn’t get blotchy.
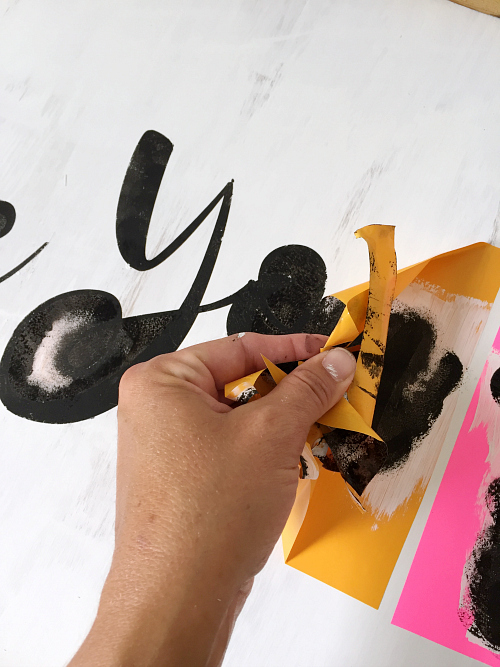
When you are done filling in your stencil, simply remove the vinyl. Do this very carefully so you don’t smear the paint.
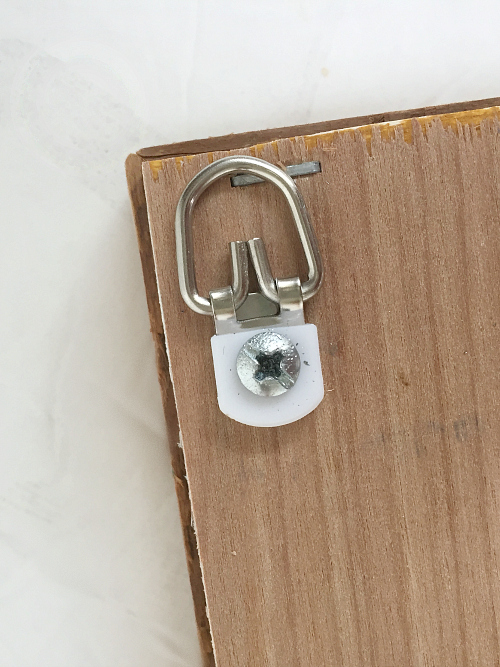
Allow everything to dry completely, then turn the sign over and add the D rings onto the back. I put them in the upper corners, one on either side. This is how the sign will hang on the wall.
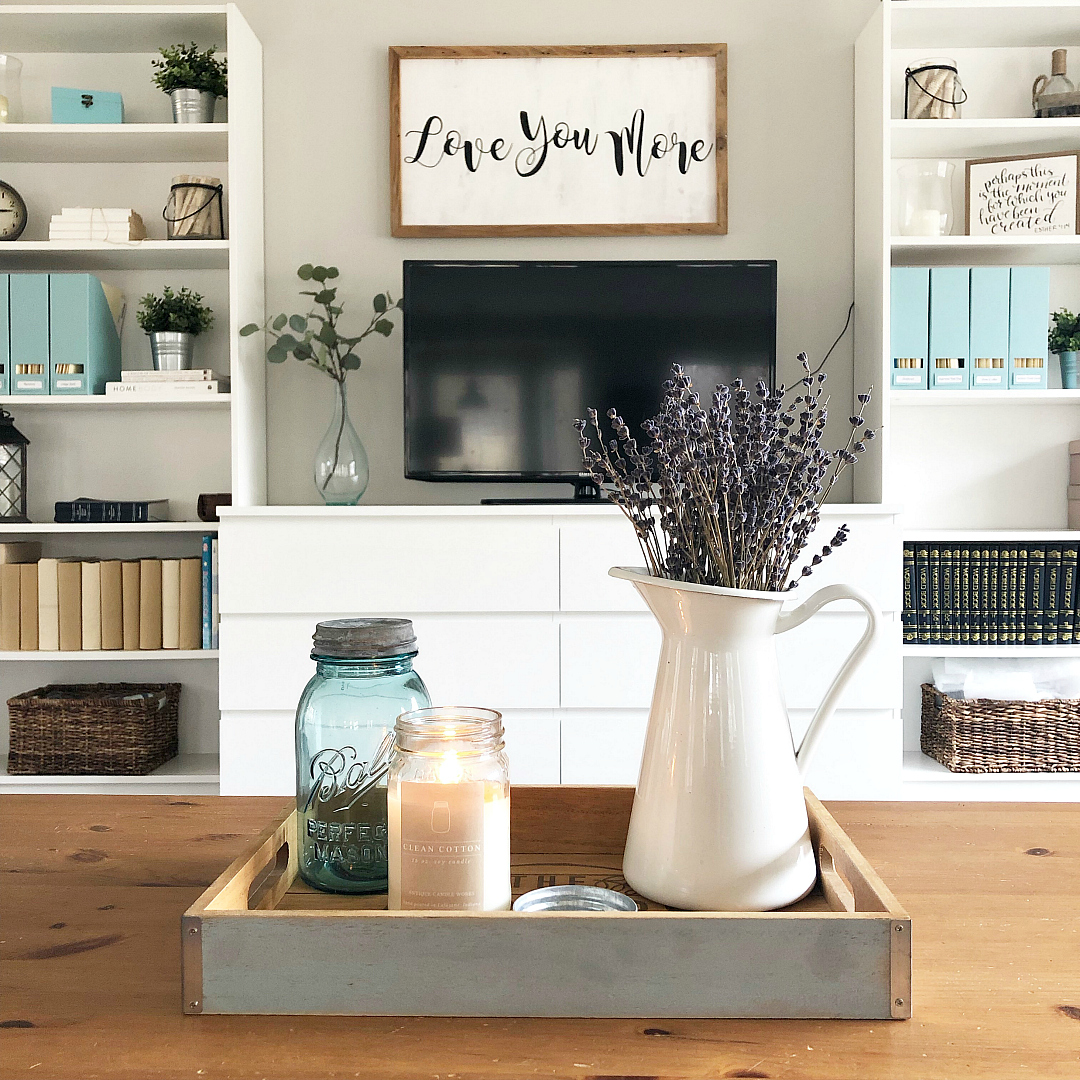
Done. You can now find the perfect place for your sign to hang, adding a little farmhouse style to your home.
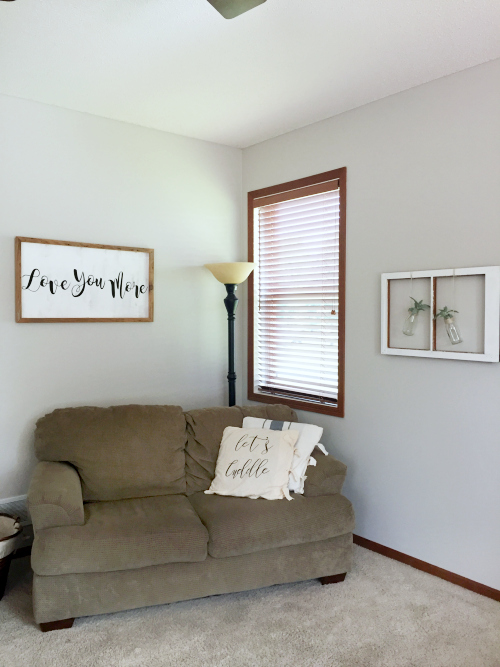
We moved a few months after redoing our living room, so here’s how the sign is displayed in our new house.
Rather Buy Than DIY?
Click on any image for more information.
Love it? Pin it!
Where do you find the stencils?
I actually made the stencil using my Cricut vinyl cutting machine, but I found some that are similar on Etsy. Here are a few affiliate links:
http://rstyle.me/n/ct9e2xb9gd7
http://rstyle.me/n/ct9e62b9gd7
http://rstyle.me/n/ct9e73b9gd7
Such a cute DIY and you made it look so easy! I need to get my hands on a Cricut ASAP, I absolutely love how you use it to make stencils for your projects!
I hesitated on purchasing a Cricut due to cost, but when I wanted to create a football field wall in my son’s room, I knew purchasing the necessary decals was going to cost half the price of the machine, so I went ahead and ordered one. Best decision. I use it all the time. I think it’s probably SAVED me money in the long run because I can make so many things vs purchasing them from stores.