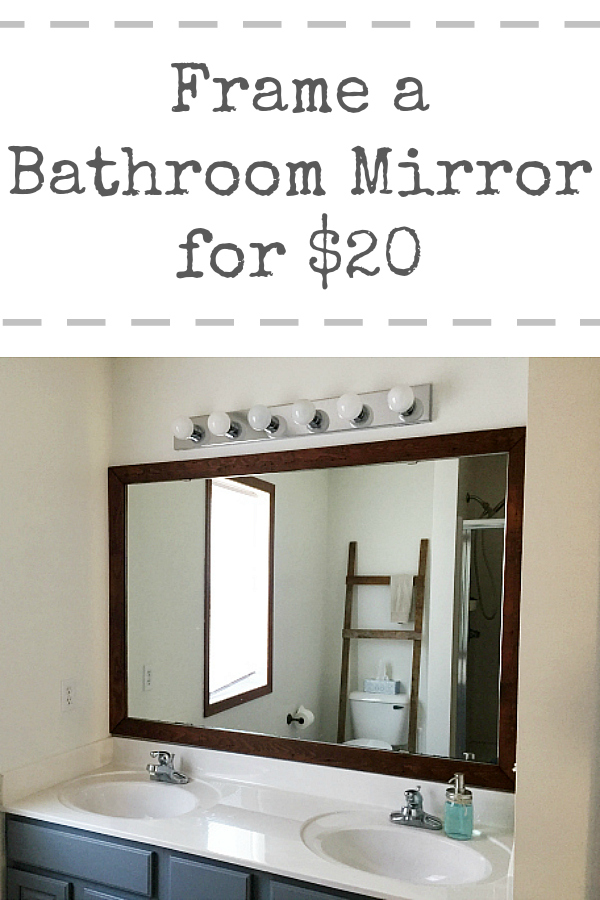
We had one of those builder-grade bathrooms… you know what I’m talking about, right? Cheap laminate flooring, an oak vanity… and that big boring mirror over it. We decided to give this space a farmhouse makeover for $100, and one of the things we did was frame the bathroom mirror. While we were able to do it for free, anyone can do this project for less than $20*!
*$20 includes the cost of materials, but does not include the price of the power tools needed.

I am so excited to be joining an amazing group of bloggers that are passionate about budget-friendly ways to decorate their homes. We’ll be coming to you the second Monday of each month to share easy, inexpensive ideas for different spaces around your house. This month we’re talkin’ bathrooms.
Let’s take a stroll down memory lane and take a look at our master bathroom. In March of this year, I made over this room for the $100 Room Challenge. I promised some tutorials and how-tos… but never got around to doing them, so I figured now was the perfect time to share just how much money you can save by simply DIYing a few things in your bathroom (instead of buying them from a retailer).
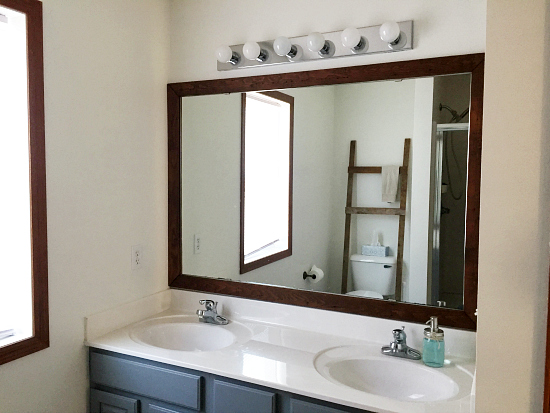
One of the things I hated about our bathroom was the huge builder-grade-boring, “no personality” mirror that hung above our vanity. Take a look…
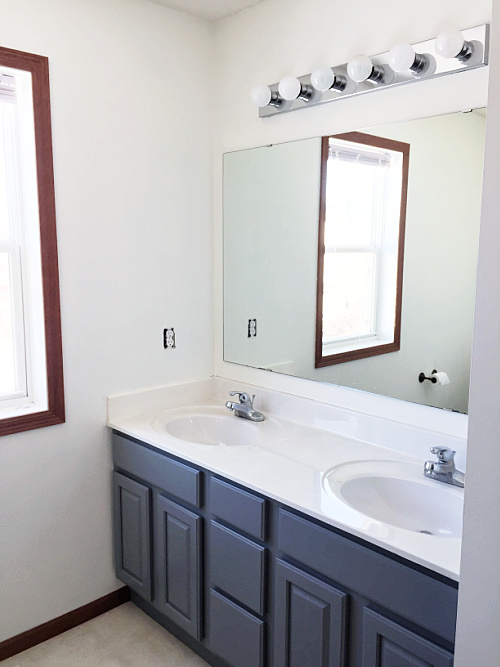
Many assume, if you want to change the look of the mirror, you need to purchase a new one… but barn wood framed mirrors of this size run hundreds of dollars. Take a look…

You truly do not need to spend hundreds of dollars to update a mirror. Instead, you can use scrap wood (or buy wood… it’s pretty cheap) and simply frame your existing mirror.
What You Need to Frame A Bathroom Mirror
Affiliate links may be used. Please see our advertising disclosure for more information.
- Tape Measure
- Wood- I used wood that was 2 5/8″ wide and 7/8″ thick, then cut the length according to my mirror’s dimensions, which happened to be 54″ x 36″. I actually had wood already, however, purchasing wood of this size only runs you a few dollars. (Helpful Hint: If your mirror is less than 6 ft in length, you can buy picket fence posts and cut them to size. They only cost $1-2 each, so for all four sides, you’re looking at a cost of $4-8.)
- Miter Saw
- Sander (or Sandpaper if you’re willing to sand the wood by hand)
- Stain– Optional. You can also leave the wood raw, depending on your preference.
- Polycrylic– This will help to seal and protect the wood, especially being that it is near water from the sink. You can choose which finish you’d like, ranging from matte to gloss.
- Paint Brush
- Nail Gun and Brad Nails- This is what we chose to do, however, we also realized we were taking a bit of a risk because the power of the nail gun could cause the mirror to crack or break. I found a couple other ideas (that had I researched my options, I probably would have done instead 🙂 ): Liquid Nails or Command Strips (I have had a hard time using command strips on stained wood, but if you leave that side unstained, you could certainly try it).
How to Frame A Mirror
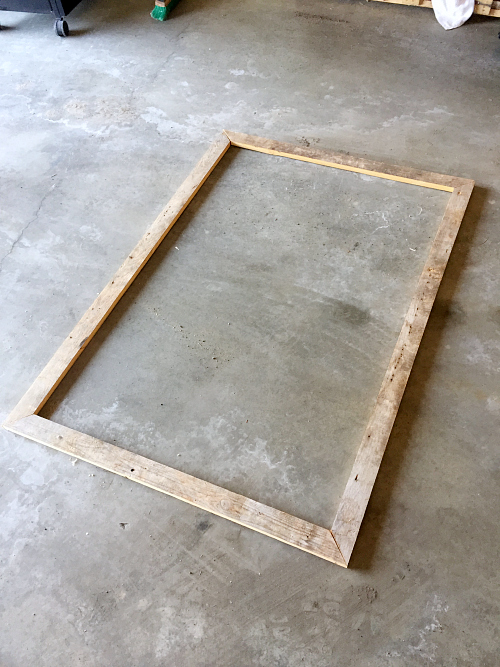
Start by measuring your mirror, length and width. Remember that the measurements you are taking will indicate the inside of your frame, so the wood pieces will be longer than your measurements.
Next, make your wood cuts, creating 45° angles at the corners with your miter saw. Lay the frame out to make sure all the corners match up and all measurements are correct.
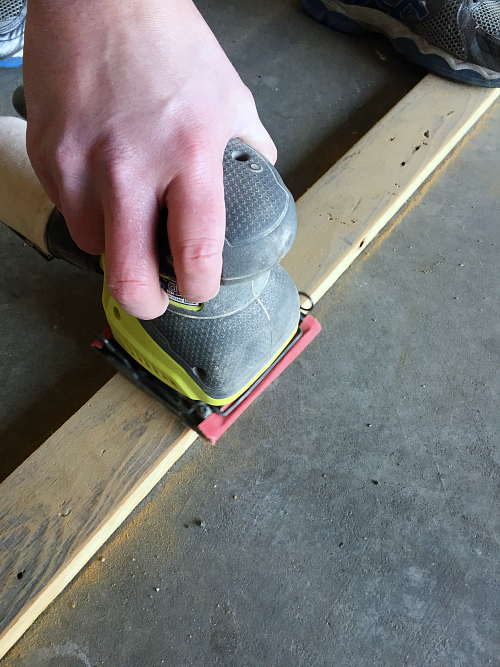
Simply sand your wood pieces using a sander or sandpaper, and wipe clean before applying stain (if using).
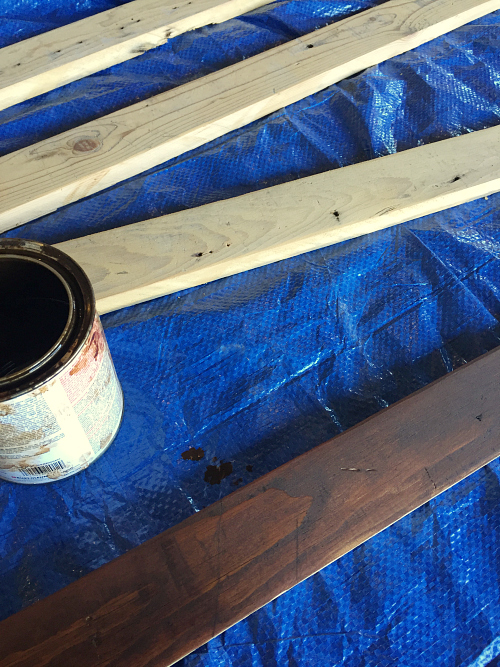
After the stain has dried, apply two coats of polycrylic, allowing the first coat to dry before applying the second coat. Once everything has thoroughly dried, adhere the frame to the wall… or have your husband do it, like I did 🙂
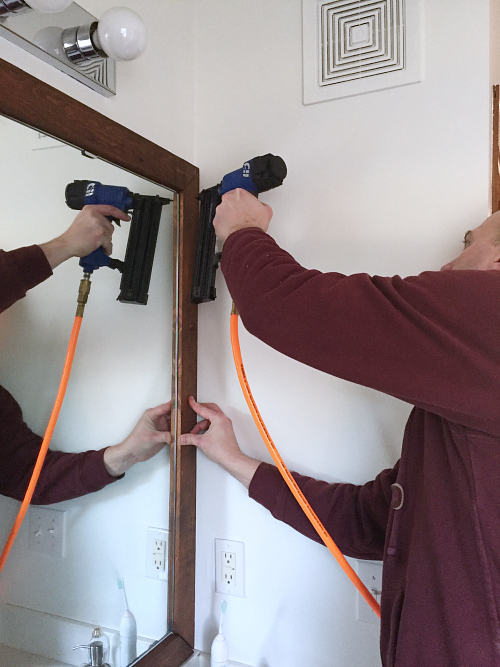
As mentioned above, I would probably forego the nail gun method if I were to do it again. We knew we were risking a broken mirror, so in the future I would go with liquid nails (just know this would be permanent and could cause wall damage if you were to remove it). Otherwise the idea of using strong Command Strips is a great option that would not cause any issues if you wanted to remove the frame at some point.
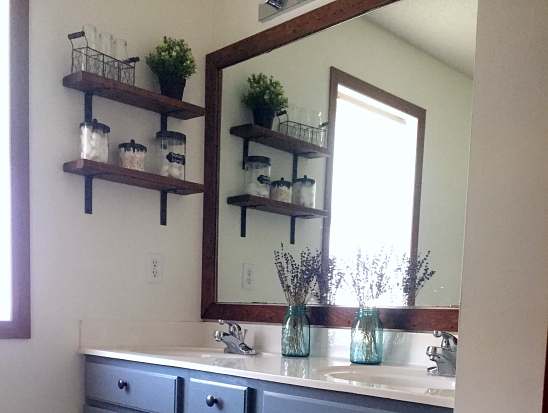
Stand back and admire your work…
I was actually able to frame our bathroom mirror for free because I already had everything I needed, but let’s break down the cost if you needed to buy your supplies (minus the power tools):
- Wood: For this size mirror, I would buy picket fence posts, which I found (in natural wood) for $1.06 each at our local hardware store.
- Stain: For this project, a 1/2 pint of stain is all you would need. I found some for $4.82.
- Polycrylic: An 8 oz. can of Polycrylic should be more than enough for your frame. Cost at our local hardware store: $7.45
- Liquid Nails: $3.47
Total Cost if you Buy: $200-400
Total Cost if you DIY: $20 (give or take)
That is a huge savings!
Love it? Pin it!
How did you attach the frame to the mirror?
With the liquid nails?
Love the impact it made – so simply! I have to remember these.
How did you get around the little things that hold up the mirror? Thanks!
I know exactly what you’re talking about, and lucky for use, ours were small metal clips and sat over the mirror and didn’t interfere with the frame. However, if your clips are in your way, you can niche out the back of the frame when the clips are located using a chisel.
That frame made such a big difference in the look of your bathroom! Plus it was my favorite price – free!
Free really is the best part of this project 🙂
That is such a great idea to reuse the old and boring mirror. It looks just like the super expensive ones for a fraction of the price.
I was pretty excited by how well this project turned out. Expensive look for free… can’t beat that!
Erin, it’s so amazing how such a simple project can totally transform a boring mirror! Anyone could do this too, which is the best part!
Have a great week!!
I am not a seasoned DIY person, so I am constantly learning as I go, which just means, if I can do it, so can you 🙂 This framed mirror was easy to do and didn’t take very long to complete.