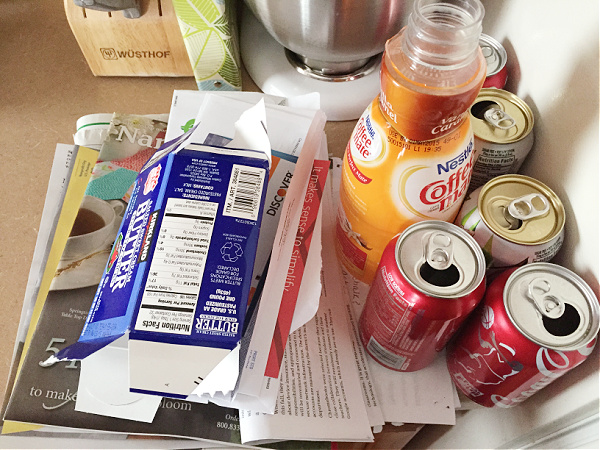
Since creating this blog, my husband has been putting in requests for places he’d like to see more organized. His first request: find a better spot for our recyclables. We would just put all our items on the counter and toss them in the recycle bin each night. The problem: during the day we had an ever-growing pile of paper, cans, and bottles.
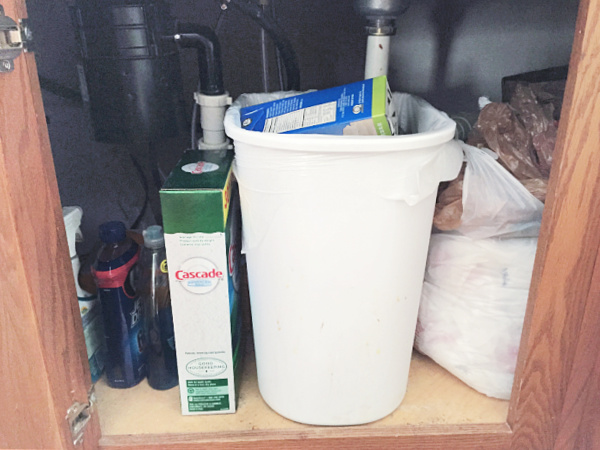
I decided the best spot would be under our kitchen sink, but there was really no room for anything under there. (Those silly pipes, who needs ’em?)
The process of creating a space for our recyclables became a little of an “If You Give A Mouse A Cookie” situation. We started with one simple goal and ended up organizing the entire kitchen sink space.
Kitchen Sink Organization
Trash Bag Storage
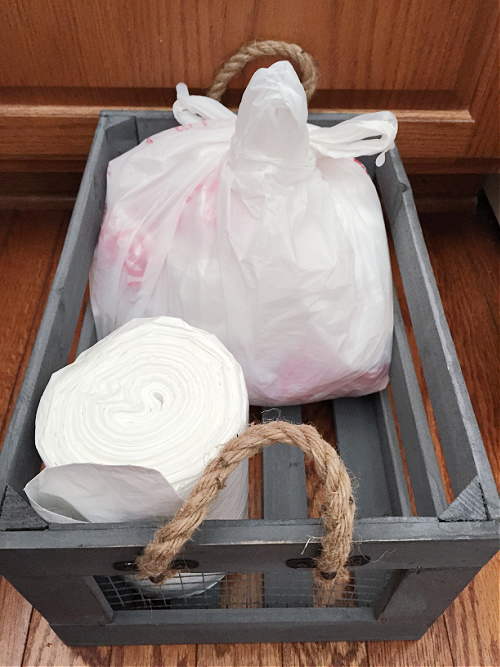
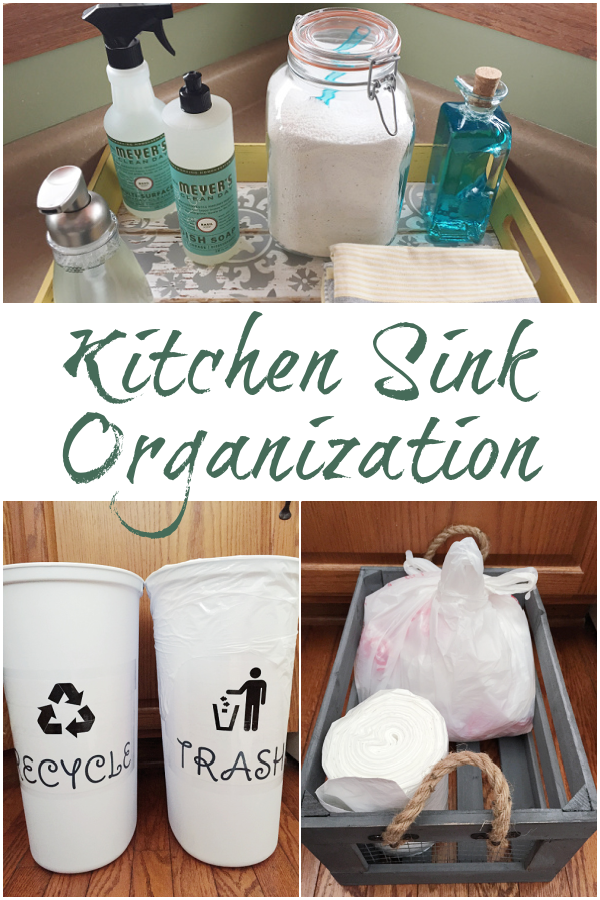
My wheels started turning and I decided to remove everything from under the sink. I realized I had an enormous amount of space dedicated to bags: paper bags, plastic bags… trash bags. I also kept our kitchen cleaning items under there. I needed a solution for the bags and cleaning supplies in order to create enough space for a recycle bin. First, I found a wooden crate at Home Goods (here’s something similar) and put the roll of trash bags in it, as well as a few plastic grocery bags. (I decided I really don’t need 200 plastic bags, so I recycled the rest. I rarely, if ever, use paper bags, so I decided those could also be recycled.) This created so much space already.
Trash & Recycle Bins
Now I needed bins for the trash and recycle. I found some narrow garbage cans at The Container Store and labeled each can so my family would know where to put their items. (Unfortunately, it doesn’t seem these exact garbage cans are available anymore, but these cans are approximately the same size if you are looking for something narrower.)
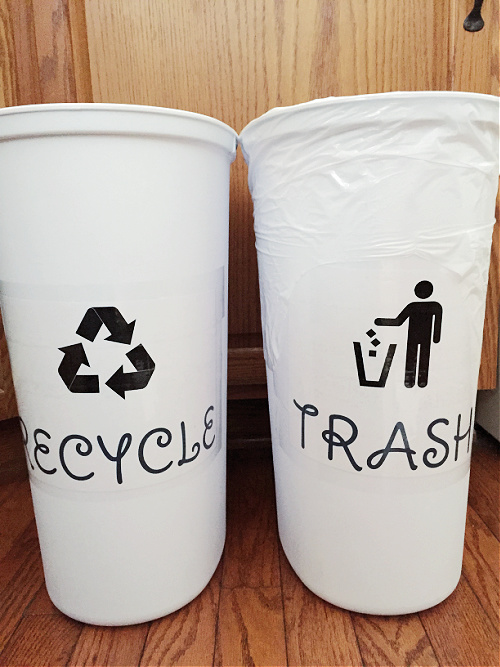
The labels were made by downloading “free for personal use” clip art and adding text to a plain piece of printer paper. I then used packing tape to adhere the label to the can, ensuring it covered the entire label to create a water-resistant seal.
UPDATE: Seven years later and I am still using these bins… and the labels look as good as the day I made them!
Kitchen Cleaning Supply Organization
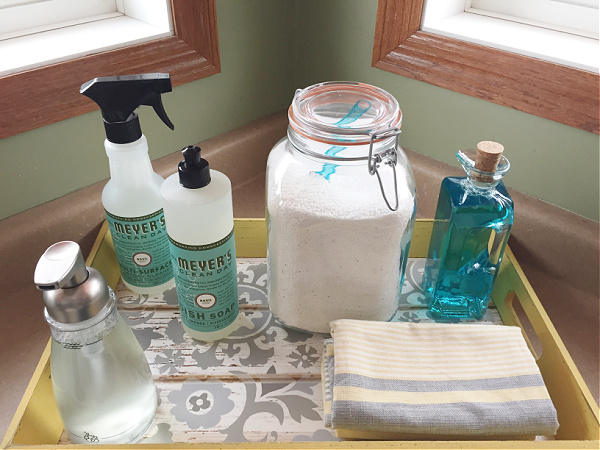
Now I needed to figure out what to do with the cleaning supplies. I was inspired by a recent blog post I read on the use of trays to contain similar items for an organized look. So, I thought I’d give it a try for myself. You would not believe the time I spent looking for a tray that fit my space and that I loved. I literally looked everywhere! I finally found the perfect fit at Hobby Lobby.
Now I needed a better way to display my cleaning items ’cause a box of Cascade sitting on a tray really isn’t that pretty. I found a canister (similar) and poured all my dish detergent in there. Then I found a little scoop (similar) I could use to get the detergent out.
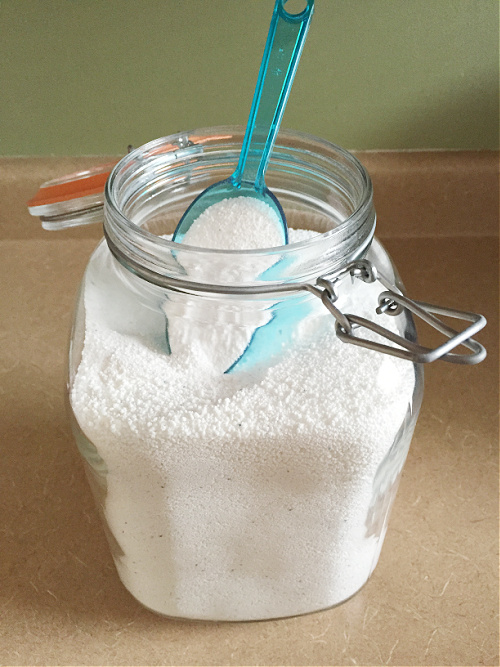
Or go with a super cute wood or metal scoop instead.
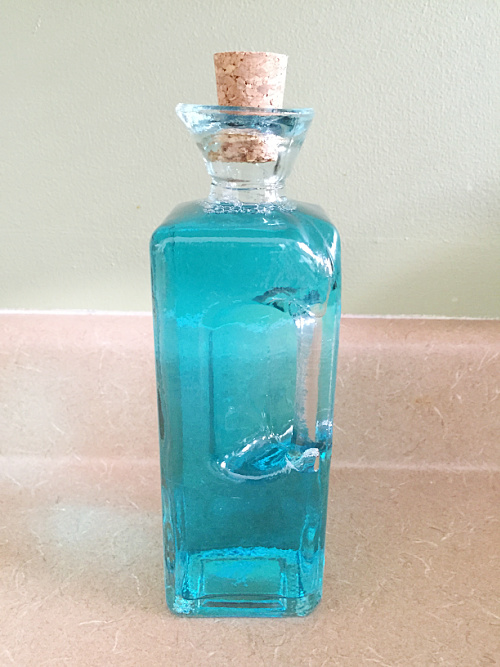
For my Jet Dry, I found a glass bottle with a cork top (similar). I love it because it has a handle and pour spout, making it easier to get the Jet Dry into the dishwasher. I’m not sure about you, but I am horrible at getting Jet Dry into the dispenser, it always sloshes out of the bottle all over the place. Hoping this will help.
So, here’s my wonderful tray with all the cleaning supplies I got out from under the sink.

And now the space under our kitchen sink has a total of 3 items: a recycle bin, a trash bin, and a bin to house bags.
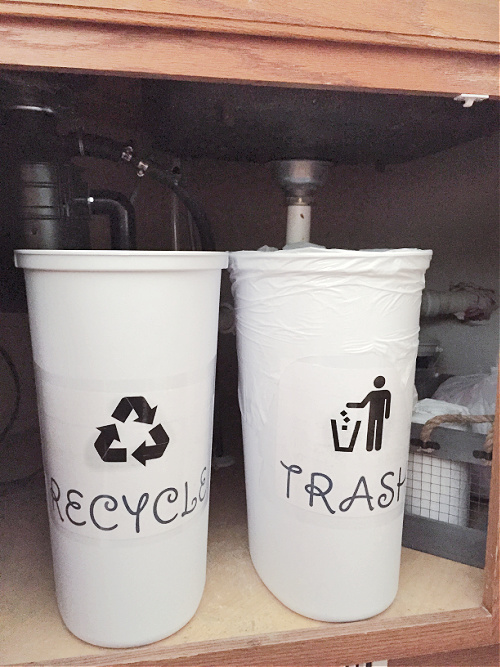
I think it’s a little funny that all this came from one simple request to find a spot for our recyclables- that’s just how I roll. Hope the hubby’s happy when it sees the finished space!
Love it? Pin it!

So pretty! And I love that you found the scoop for the detergent at a party store 🙂
I looked everywhere for a scoop. Finally Google led my to Party City. Not where I thought I’d find what I needed. Thanks for the comment. Have a good evening!
You have the prettiest under the sink I’ve ever seen! Thanks for sharing your post at the #AnythingGoes Link Party.
Thanks Sandy! I have my hubby to thank for that!