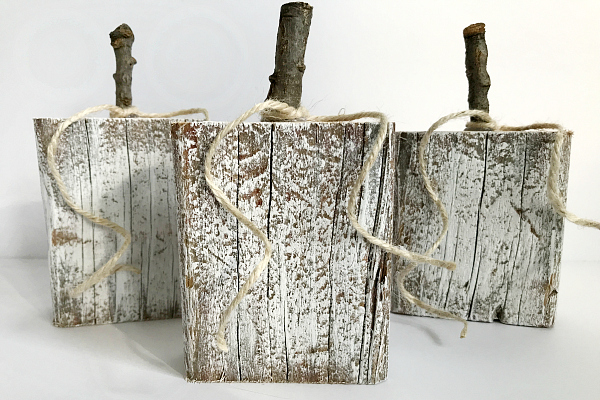
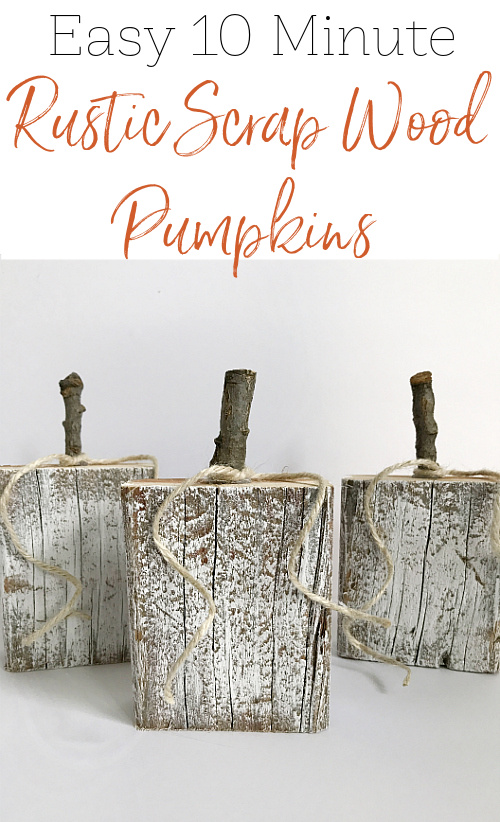
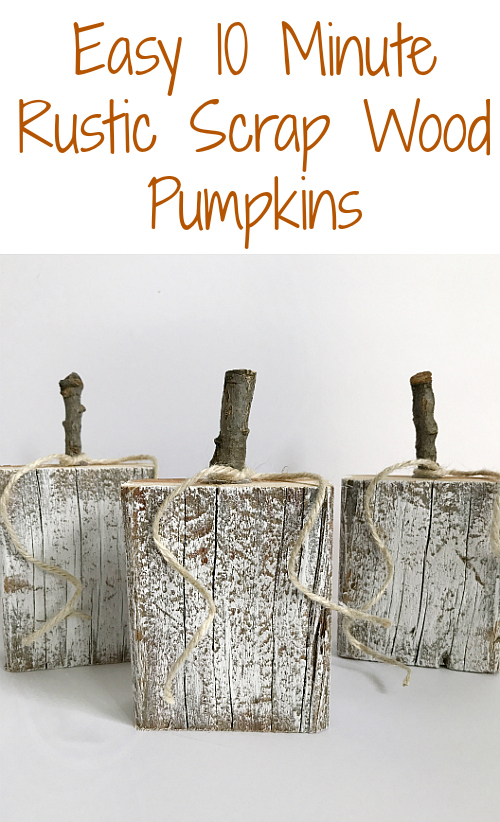
Add some fall vibes to your home with these Rustic Scrap Wood Pumpkins.
You guys… where are all the white pumpkins this year?! Is there some kind of shortage? I literally went to five stores yesterday looking for white pumpkins and I couldn’t find any. (Luckily I bought four a few weeks ago, but I need more and now I can’t find them 🙁 ) I decided to stop driving all over town and just make some for myself from an old picnic table. Yes. You heard me right… from a picnic table.
This project took me all of 10 minutes to complete. Difficulty level: easy peasy. Ready?
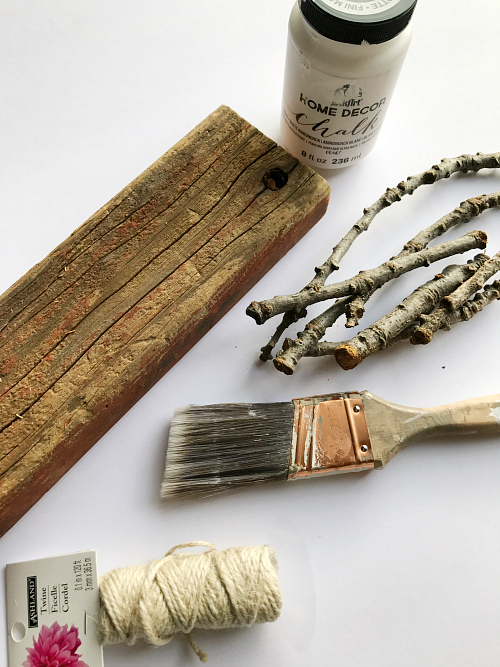
What You Need to Make Wood Pumpkins
Affiliate links may be used. Please see our advertising disclosure for more information.
- Wood: I literally found a piece of wood from an old picnic table out in our garage. It was rustic and weathered and worn. Perfect. You can buy a piece of wood as well if you don’t have any scraps lying around.
- Chalk Paint (Optional)- I am using these wood pumpkins on my fireplace mantel and without paint, they would blend in too much, so I opted to paint on a light coat of chalk paint.
- Paintbrush– If you decide to paint
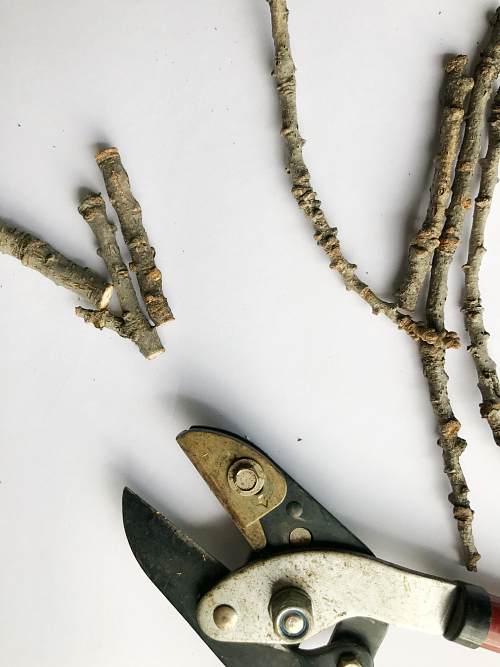
- Sticks- Grabbed some while walking the dog 🙂
- Pruning Shears (or similar)
- Hot Glue Gun
- Twine
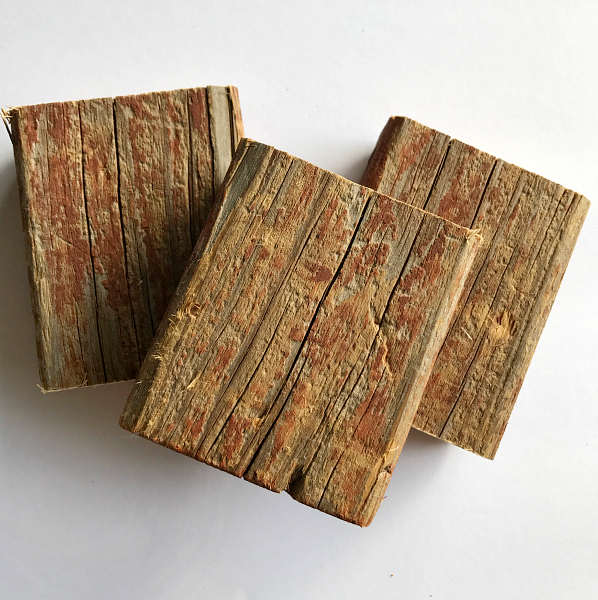
How to Make Scrap Wood Pumpkins
Start by cutting your wood. You can certainly vary the sizes, making some tall and some short, or you can cut them equal sizes. It’s totally up to you.
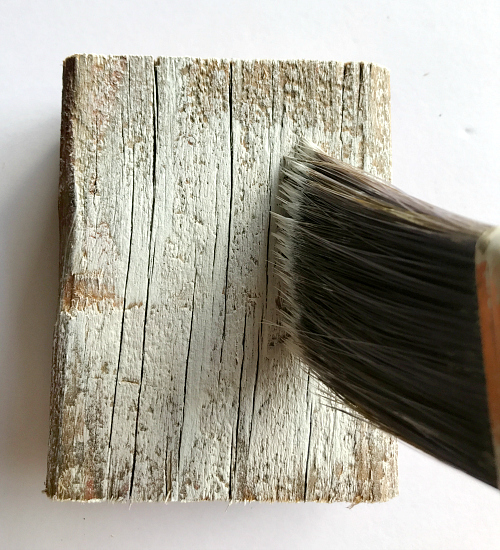
If you decide to paint, you can (again) choose how you’d like to paint them. I wanted the rustic elements in the wood to stand out, so I applied a very light layer of white chalk paint. I started by dipping my paintbrush into the paint, and then I brushed the paintbrush onto a paper plate to remove the excess paint. (Did I just use paintbrush and paint and brush too many times in that sentence? #notanenglishmajor)
While the paint is drying, cut your sticks to the length you’d like them. These little sticks will become your pumpkin stems, so you’ll want them to be trimmed down to the appropriate size.
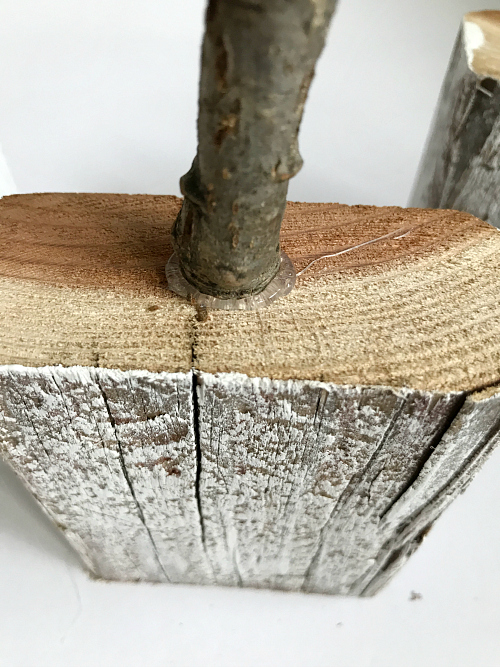
After the paint has dried on your wood, and your sticks are cut to size, apply a small amount of hot glue to the top of your wood and add the stick, holding it for a few seconds to secure.
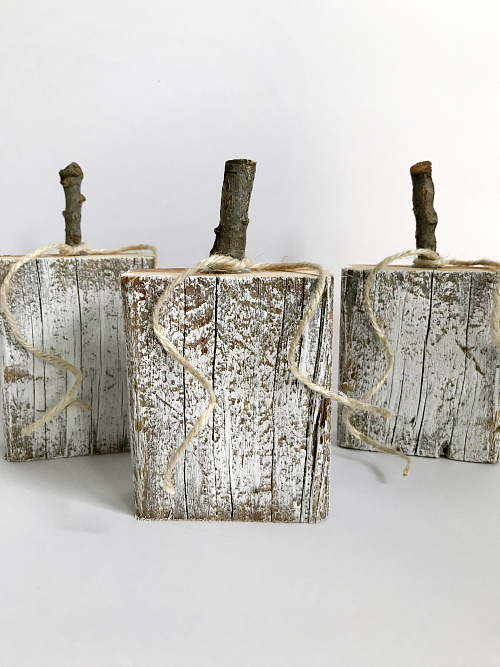
Add a little twine around the stem and you’re done.
Love it? Pin it!
These are so simple and cute!
Thanks Crystal! Love when you can create cute decor in just a couple minutes 🙂