It’s the second Monday of the month which means I’m teaming up with some amazing thrifty bloggers to show you how to DIY for Less. Each month we share about a different way to save a little money by DIYing. In September, we tackled bathrooms, and I shared how you could frame a mirror for $20. In October, we’re takin’ on furniture… Don’t get scared. You can totally do this!
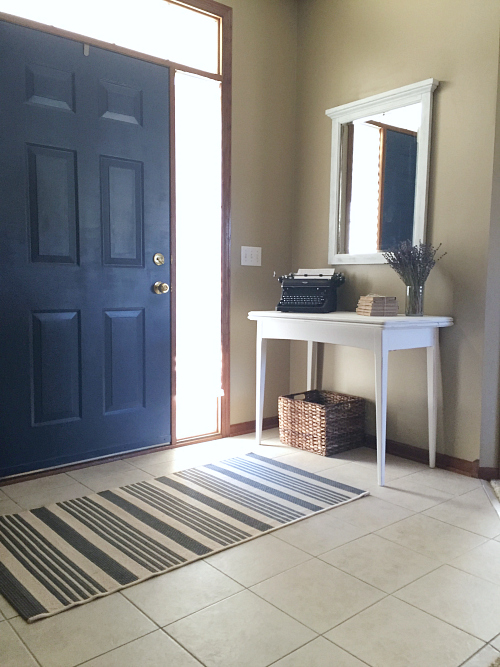
Before I started blogging, I had not once attempted to makeover a piece of furniture. The very thought terrified me because: ” What if I ruin it?!” Then, I started making over rooms with $100 and I had to dig deep and find a bit of courage… It started in the entry with an old table gifted to me from my grandfather. Honestly, there wasn’t a whole lot I could do to make it worse. It was incredibly worn and stained, so I painted it white and weathered it a bit around the edges.

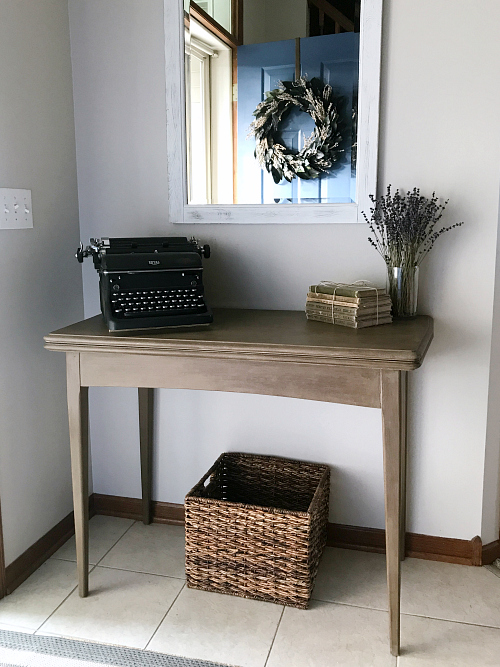
Then, I decided to redo the entry (again) last month, but wanted to redo the table because the white was getting kinda grungy. (Kids. Need I say more?) This time I went with a weathered look using chalk paint and wax, and I love it. (You can find the full tutorial here.)
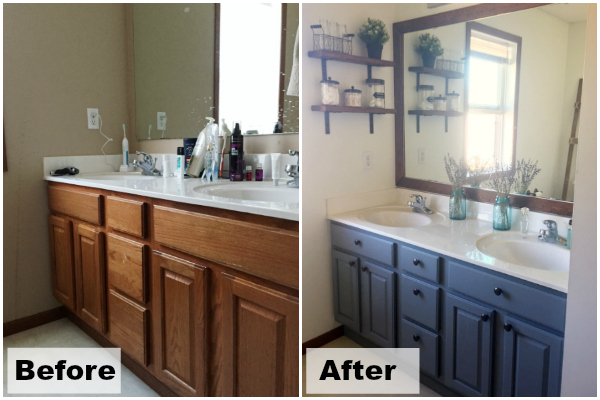
I also found my brave in our master bathroom, which was way more scary because I was taking on my vanity, and if I ruined that: Yikes! Needless to say, it turned out beautifully, and came in at a total cost of $23. Twenty-three dollars for an entire vanity makeover! (You can find the tutorial here.)
Have I convinced you that you can do this? Okay, let me show you my latest project because, seriously, anyone can do this, and if it’s a total bomb, you’re only $15.
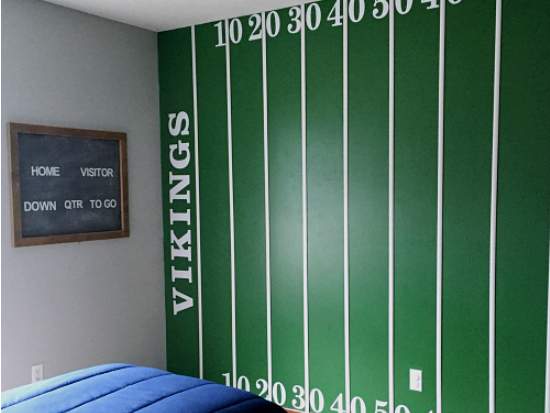
Let’s go back to May of 2016. I made over my son’s bedroom in football theme…
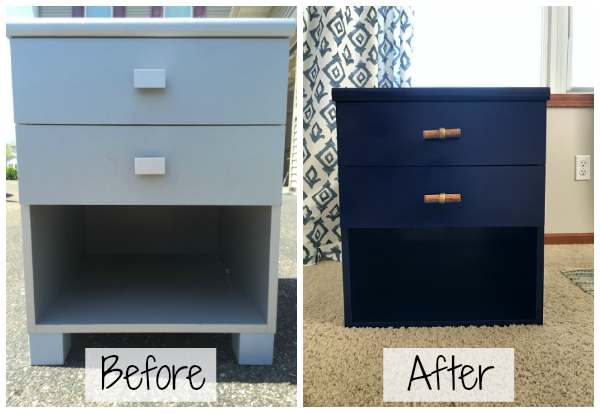
I had found this nightstand at Goodwill for $5. I had every intention of giving it a makeover way back when, but…
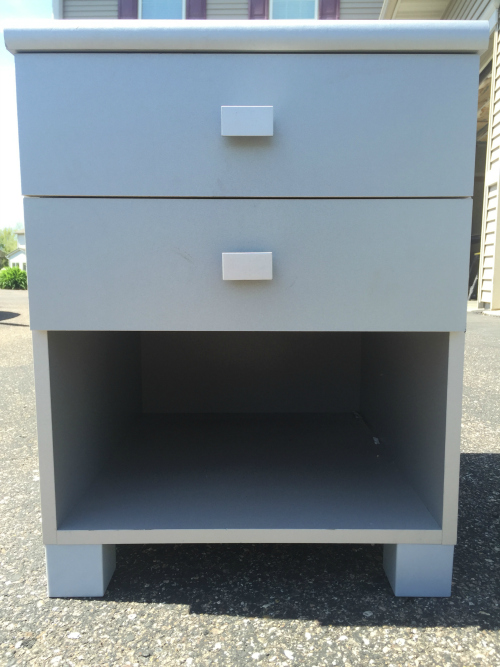
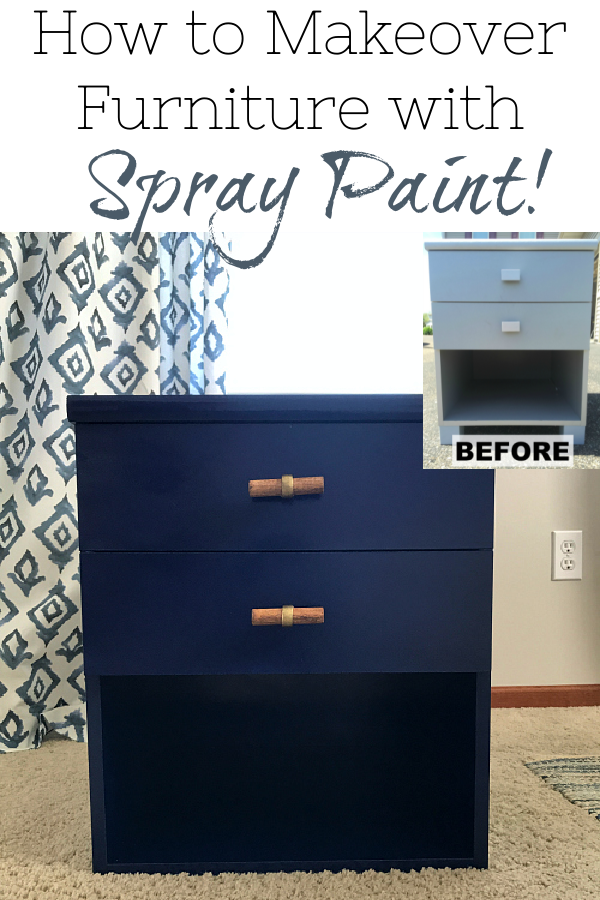
… 17 months later this nightstand was still sitting in our garage awaiting its makeover. I asked my son which color he wanted (hoping for something neutral), and he said he wanted the same navy as his DIY Locker Closet and DIY Locker Dresser. You guys! It’s spray paint! I can do this in, like, 10 minutes (almost).
I started by removing the cheap plastic legs and knobs… a simple unscrewing was all it took.

Then I gave it a very thorough cleaning, washing it down with a little soapy water, making sure everything thoroughly dried before moving on.
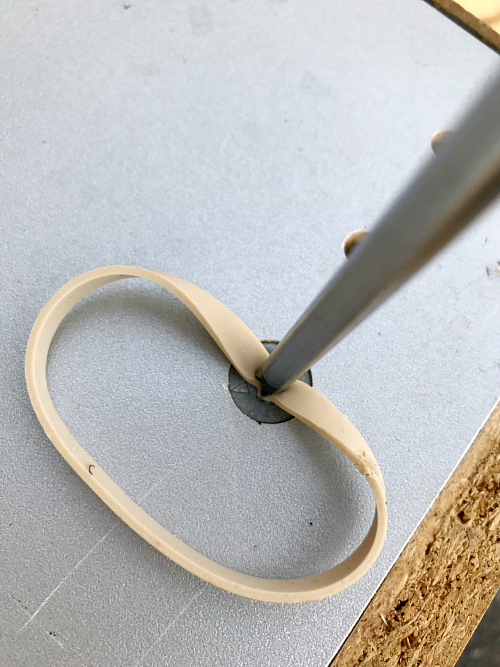
I ran into my first snag because I needed to remove the bottom of the nightstand in order to paint it correctly, and one of the screws was stripped… Have you ever seen people use rubber bands on stripped screws? I always wondered if it actually worked, and you guys, it totally does.
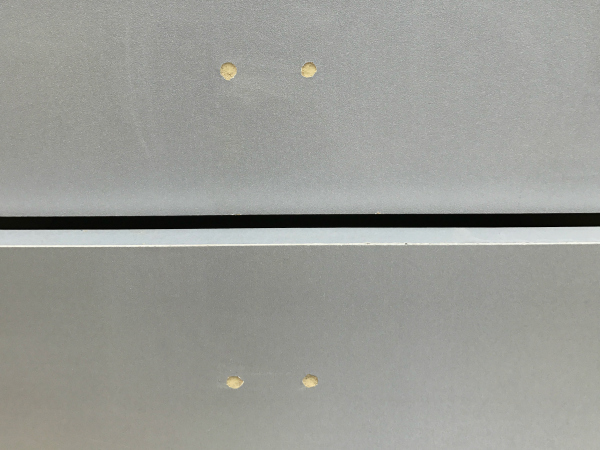
I also used a little wood glue to fix a broken drawer and filled in the holes where the previous knobs had been, using some wood filler.
Remember, if you are using wood filler, you need to find one that is paintable if you are painting over it, and stainable if you’ll be staining over it.
Once the wood filler was completely dry it was time to get out the spray paint (and please note: I’d never touched a can of spray paint prior to blogging).
A Couple Tips on Spray Painting Furniture (or Anything)
1.) Use spray paint in a well-ventilated area such as outside or in an open garage.
2.) Wear a mask to avoid breathing in the paint, gloves to protect your hands from getting all full of paint, and safety goggles to avoid getting paint in your eyes.
3.) Make sure to set your piece on something that you don’t mind getting paint on: a tarp, a big piece of cardboard, whatever you have.
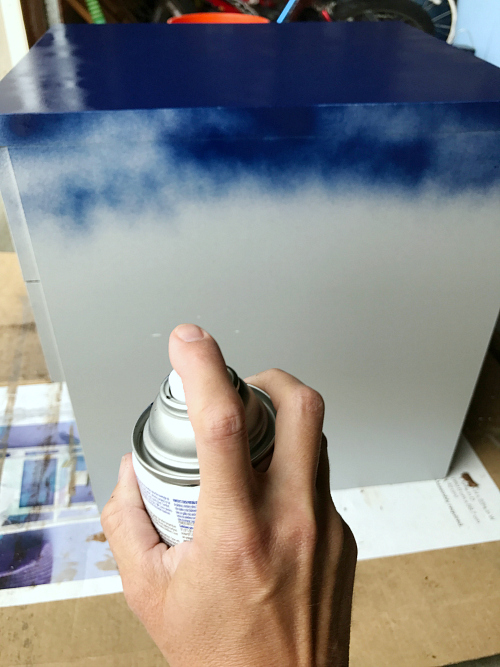
4.) When using spray paint, make sure to shake that can well, and spray a little out onto a piece of cardboard to make sure it’s spraying correctly. You don’t want big globs of paint coming out onto your piece.
5.) Several layers of quick, light sprays is better than one heavy layer. I still go overboard sometimes, but you get drippy paint if it’s too heavy. Not good.
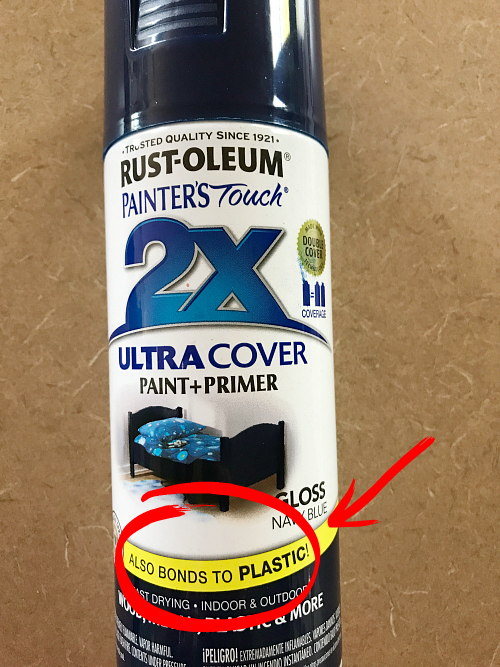
6.) If you are spray painting on a plastic surface, make sure to use spray paint that adheres to plastic, otherwise it chips off.
I went around the whole piece and then let it dry. If you notice any spots that need touching up, do so once the first coat is dry.
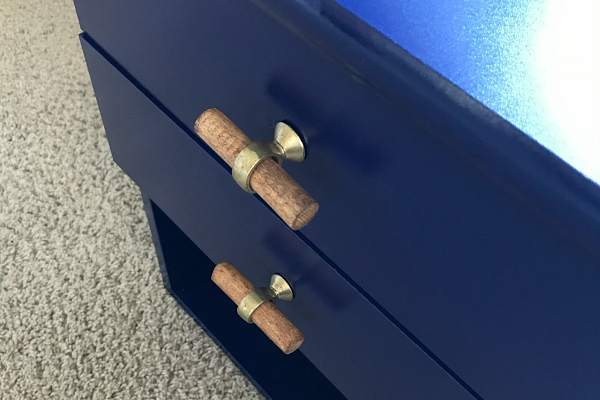
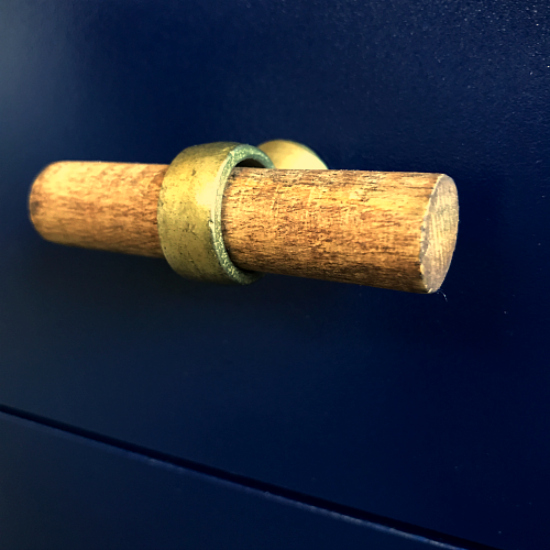
The last thing I needed to do was replace the knobs (because I don’t think plastic knobs are “in” right now, but I could be wrong). I wanted to go with a bronze football knob, but apparently they don’t make them; at least not that I could find. I decided to go with knobs from Hobby Lobby. (If you go to Hobby Lobby and their knobs are not 50% off, just wait a week or two. Don’t pay full price.)
I drilled new holes for the knobs (another thing I learned in my blogging adventures: how to use a drill), and screwed it in there.
Done.
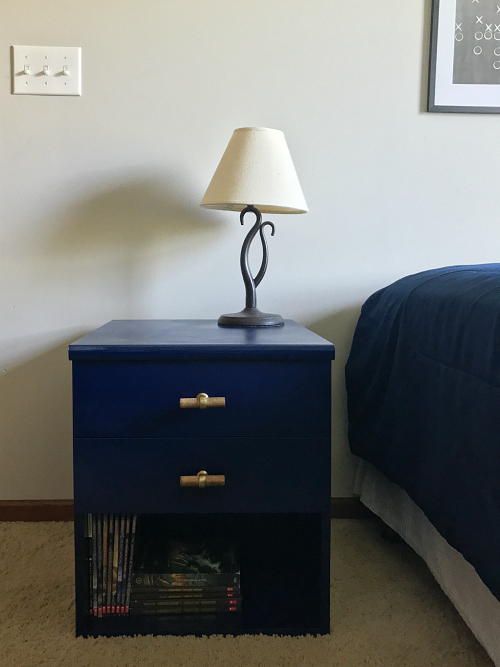
Total cost: $15.85
- Nightstand- $5
- Knobs x2- $6.98 ($3.49 each on sale at 50% off)
- Spray Paint- $3.87
You can save a ton of money by redoing pieces you find at garage sales, thrift stores, or online. A little paint and it’ll look like new.
Love it? Pin it!
I love those knobs. So original. My daughter is starting her adult journey and is finding great pieces at Goodwill. Will be sure to forward this to her.
That turned out awesome Erin. I love the cool knobs.
Thank you! Gotta love the selection at Hobby Lobby 🙂
Erin, this turned out so good! Love the color and the knobs you chose. And I just went and checked out your locker door and dresser and they are fantastic! What a lucky son you have.
It is SO fun working on kids’ rooms because you can add elements that you wouldn’t put anywhere else. And I think he’s really happy now that he has a place to put books and a lamp 🙂