My recipe situation was out of control. I finally decided to get serious about organizing, and created a recipe binder. Best decision ever.
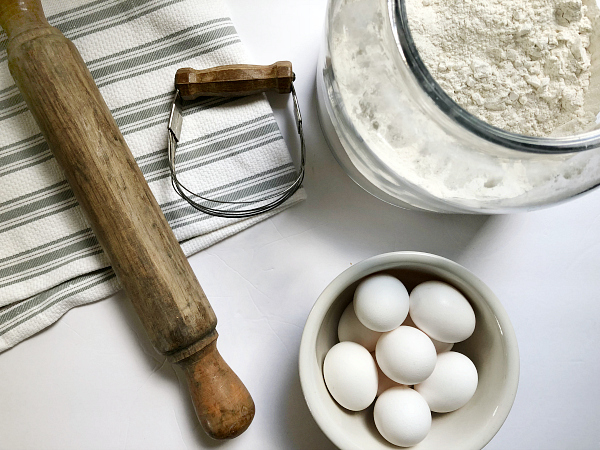
I have approximately 7,458 recipes in my kitchen. Most come from magazines, friends, family, and (of course) Pinterest. Yes. I make a hard copy once I’ve tried the recipe and know I’ll make it again. Wanna guess where I used to keep these recipes? In a folder! Like, a two-pocket folder you use in elementary school. So, here’s me, trying to shuffle through 7,000 recipes looking for that crazy-good chocolate cake I made 8 months ago. The system was a fail.
Time to organize recipes in a way that made sense!
What You Need to Make A Recipe Binder
Affiliate links may be used. Please see our advertising disclosure for more information.
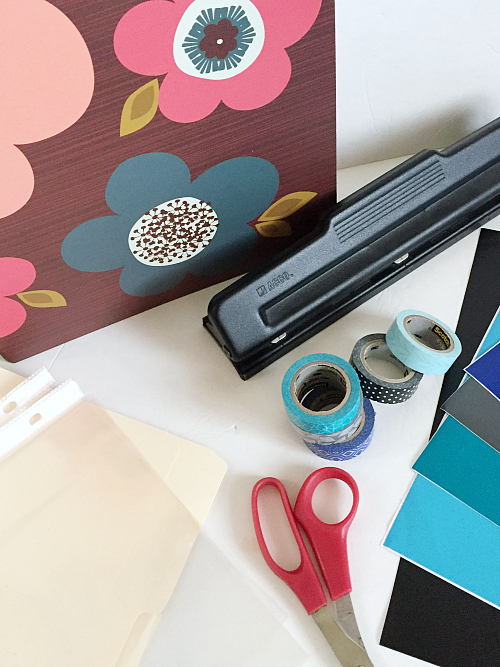
- 3 Ring Binder
- Plastic Sleeves for your Recipes (Optional, but highly recommended)
- File Folders (These are larger than traditional page dividers as they are meant to hide your typical 8 1/2 x 11 sheets of paper.)
- Scissors
- 3 Hole Punch
- Double Sided Tape (If creating Table of Contents)
- Washi Tape (Optional)
- Vinyl (Optional)
- Cricut or Other Vinyl Cutting Machine (Optional)
You can make your dividers as simple or as extravagant as you want.
How to Organize Recipes with A Recipe Binder
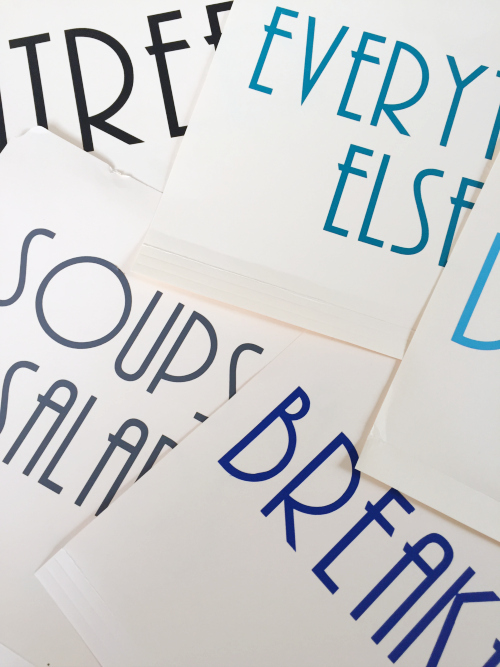
Separate Recipes into Categories
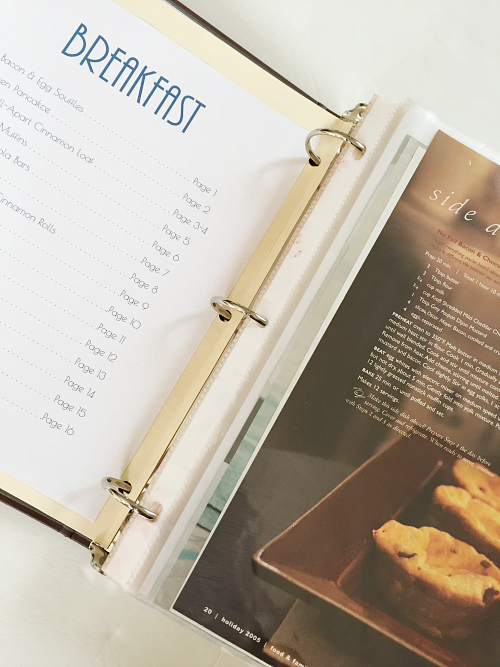
Start by dividing your recipes into categories: Breakfast, Soups & Salads, Entree, Desserts, Etc. Make as many, or as few, categories as you’d like. Once you have your recipes divided, you can insert them into plastic sleeves (if you choose). The reason I highly recommend putting your recipes into plastic sleeves is because when you’re whipping up a batch of cookies, and dough goes flying around the kitchen, the recipe doesn’t get ruined.
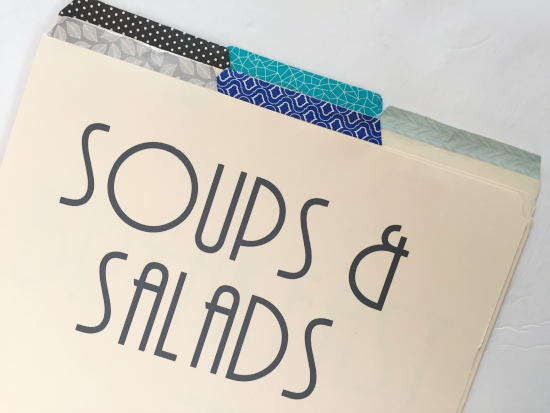
Create Page Dividers for the Recipe Binder
Next, we’ll create some dividers. I learned it’s better to make your own dividers (versus buying them) because, while page dividers are perfect when using 8 1/2 x 11 paper, the plastic sleeves are so big, they hide the dividers, which makes it hard to find what you’re looking for. To make the dividers, grab a file folder and cut the folder on the furthest crease from the tab (so the side with the tab is larger). This way the tabs will stick out further than your recipe binder.

Then use a 3 hole punch to punch out holes so the dividers fit into your binder. Please note that you may have to trim the sides a bit so they fit into the hole-punch… and once you put the dividers into the binder, you may need to trim the bottoms as well. I’d rather start with too much spacing, than not enough.
Now, to spruce up those dividers, I decided to use my Cricut to create some fun lettering for each section. If you do not have a vinyl cutting machine, you can buy letter stickers instead.
I then added some fun, patterned washi tape to the tabs.
Create a Recipe Category Page
I decided against labeling the tabs, and simply put a coded system at the front of the binder.

Create Table of Contents for Each Recipe Category
Because I have so many recipes, I also decided to create a Table of Contents for each section.
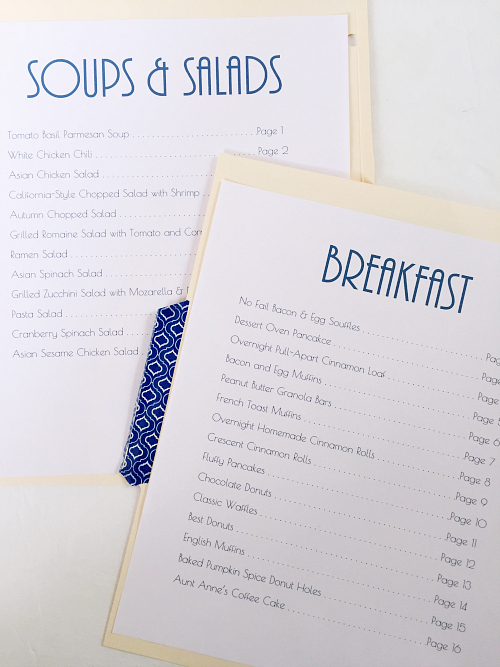
It seemed easiest to adhere the Table of Contents to the back of my page dividers, and each section starts with page 1 so I don’t have to worry about adding new recipes and messing up the system 🙂
Now you can put everything together in your recipe binder, and you’re done. No more sifting through thousands of recipes trying to find what I need.

We think you might also love these ideas!
Menu Planning Made Easy | Organizing Paper Clutter | Organized Spice Drawer

Love it? Pin it!

I am also interested in a matching recipe box.
I have binders for my recipes and have them in plastic protectors. They actually make indexes that when you use a plastic protector they stick out beyond it. You can get them at Staples or any office supply store.
Love your ideas! This is great.
I just have one question: I somehow didn’t understand how you added new recipes to the Table of Contents at the start of each category without “messing up the system” as you said 🙂 Would you mind expanding on how adding to the Table of Contents works? I would so appreciate it! My apologies if I have somehow misunderstood or completely missed your current explanation! Thank you kindly!
I am so sorry for taking so long to get back to you. In answer to your question, what I meant was that by starting each section of the binder (breakfast, dessert, etc.) with “page 1”, you have the ability to add new recipes to those sections without having to worry about messing up the numbering system (which would happen if you did page numbers straight through the whole binder, for example, starting with the first recipe as page 1 and the last as page 117, or whatever). You would still need to update the index for each section as you add additional recipes, but by putting them at the end of the section, you can continue the page numbering for that section.You could easily hand-write new additions to update your index page as you add more recipes to the binder. Hope that makes sense.
I too started by alphabetizing then numbering, but when i found an equally good but slightly different recipe i simple slipped it in, and called it for example, 1a, etc…that way all the banana bread recipes for example were in the same spot, together, but…still had their own “”page”” hope that makes sense?
Hi Erin, I love your binder and would like to create my own this weekend. May I ask what font you are using?
Hope you have a great weekend – Michelle
Thanks for your question. The font used is called AR Bonnie. Have a wonderful weekend.
Thank you!