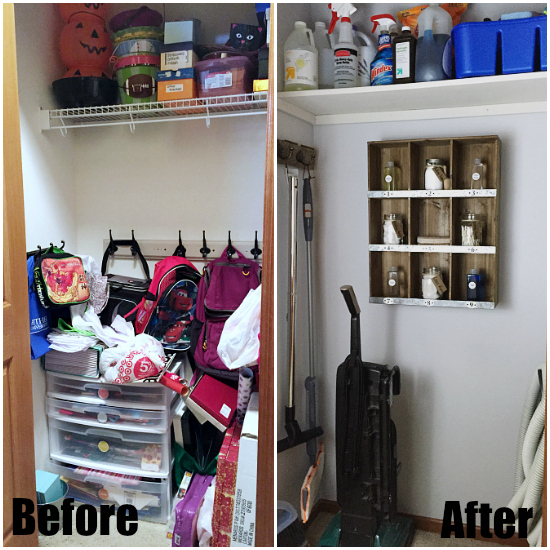
It’s another $100 Room Challenge reveal! I love these days because it means another space in my home looks a whole lot better than it did a few weeks ago. This time, I took a space that was being used for holiday and gift supplies and transformed it into a cleaning closet. As always, let’s take a look at where we started.
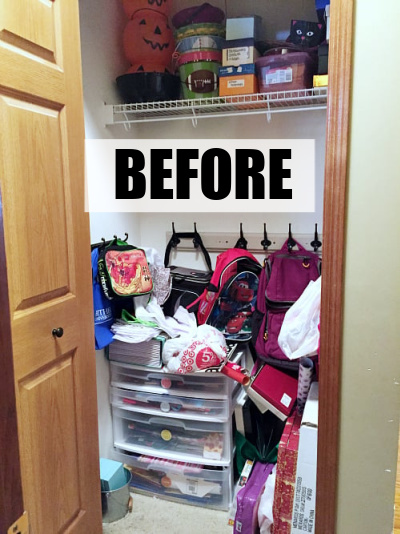
Yikes! Total disaster!
Our $100 Cleaning Closet Makeover
Goal 1: Clean
My first goal was to clean out the closet… which I did.
Goal 2: Paint or Wallpaper/Stencil the Walls
I wanted to do something fun with the walls. My original plan was to create a wallpapered look with a stencil, but, alas, I didn’t hear from the company I reached out to, so no stencil. I did, however, paint the closet using leftover paint from the kids’ bathroom.
Goal 3: Replace Wire Shelf
My next goal was to remove the wire shelving and replace it was something simple and practical. We went with a simple wood shelf, painted white.
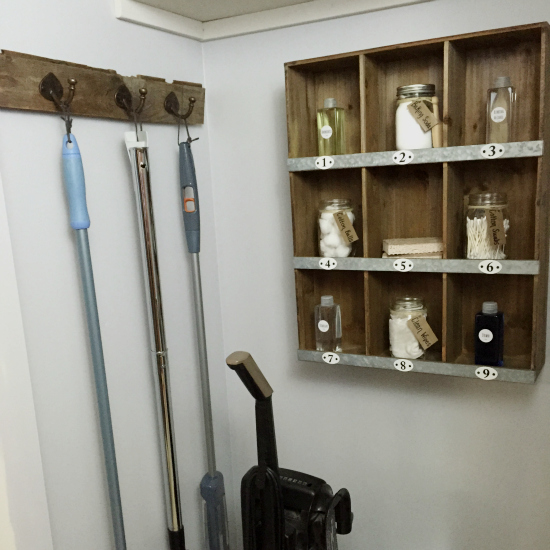
Goal 4: Mop & Broom Storage
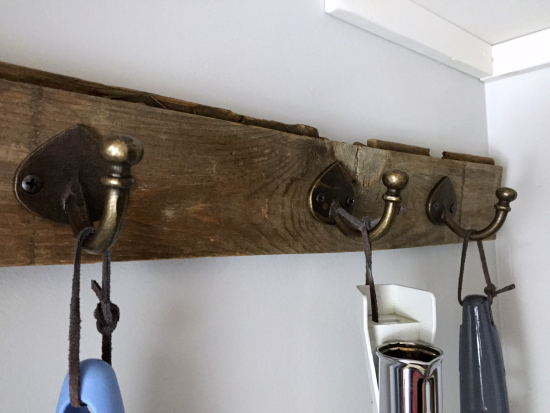
I really wanted something to hold my mop and broom. I started by looking at items similar to this on Amazon, and while they certainly look like they work well, I wanted something a little “cuter”. So I grabbed a piece of barn wood, hooks, and suede cord.
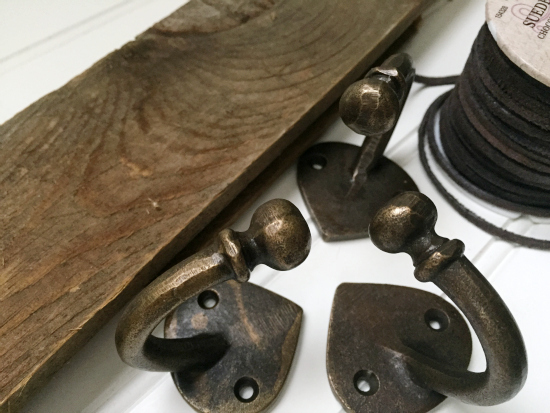
And here’s what I ended up with…
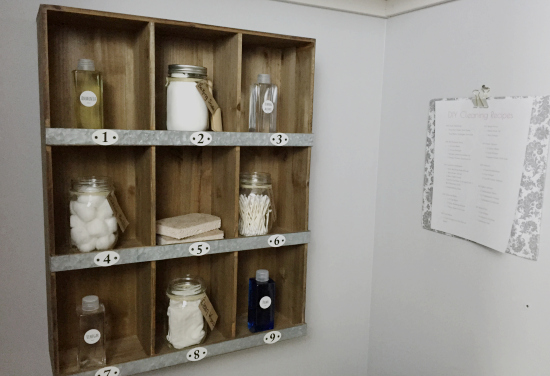
Goal 5: Cohesive Storage
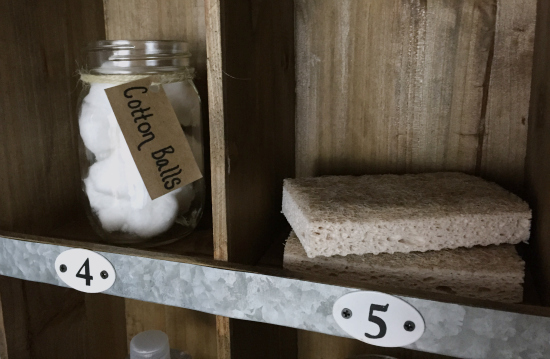
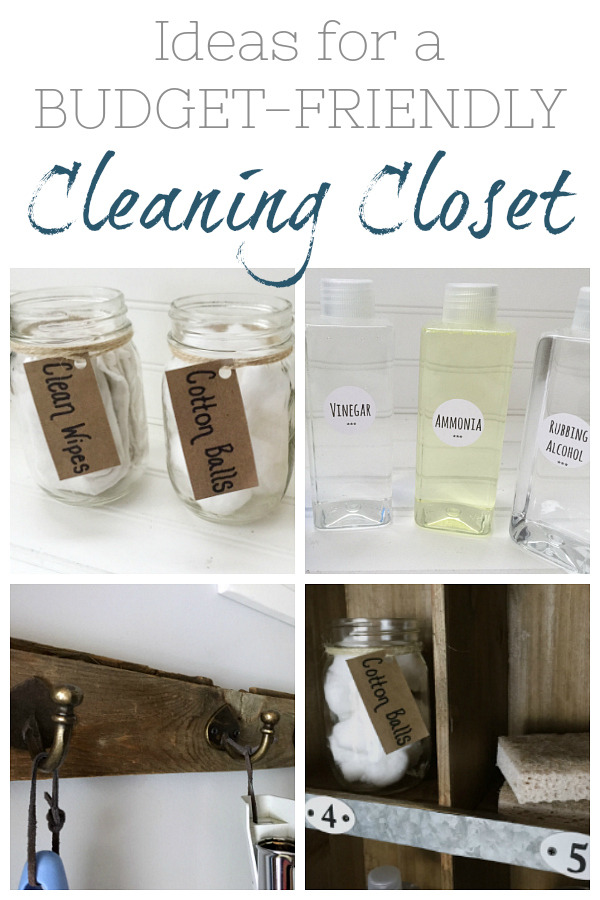
I always think things look better when they are in similar containers, so I headed out and bought mason jars and twine. I momentarily thought of buying scrapbook paper, but realized a paper bag would suffice, (You know, save myself 29¢. 🙂 )
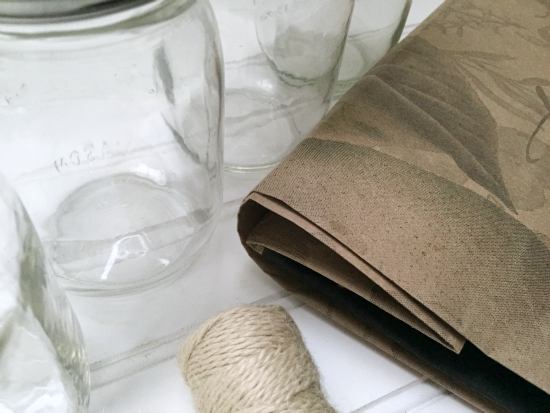
And here’s what I made…
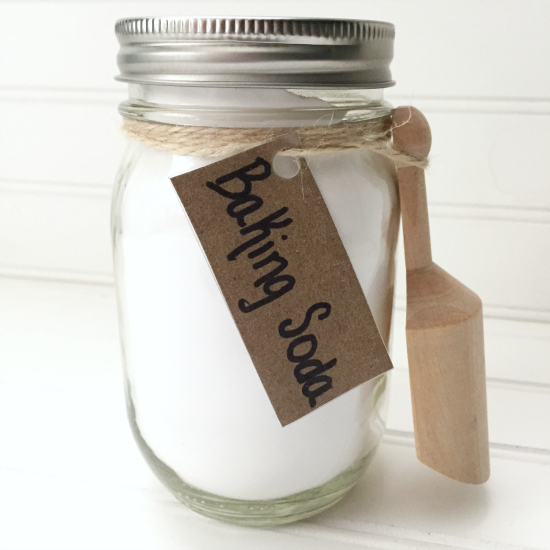
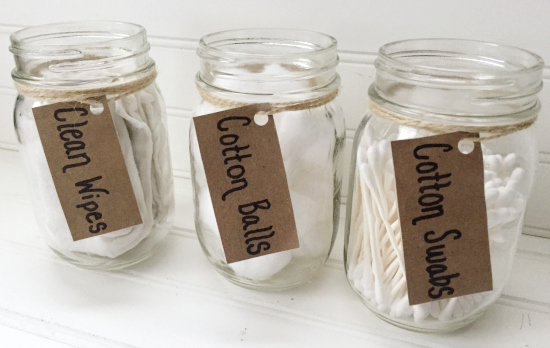
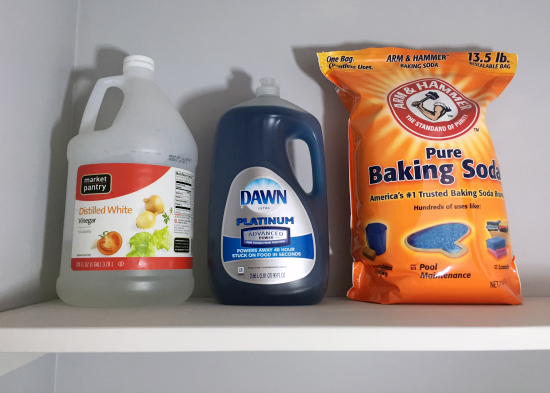
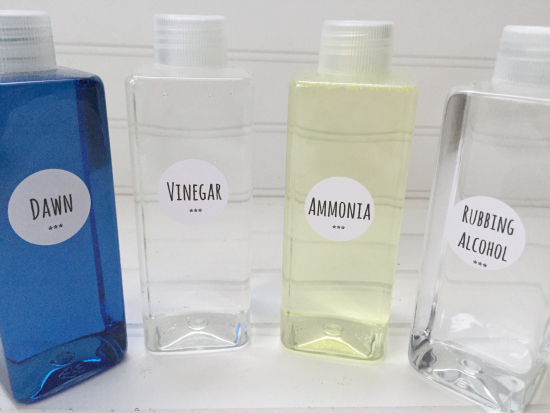
To go along with the cute mason jars, I found some plastic containers (similar) to store many of the liquids I use to make my DIY cleaners. Add a fun label, and I was set.
But seriously, you can’t have cute containers without a cute display, right… This was the biggest splurge I’ve ever made for a $100 Room Challenge. Farmhouse style storage with cubbies (similar).
DIY Cleaning Recipe Display
And here’s the end result:
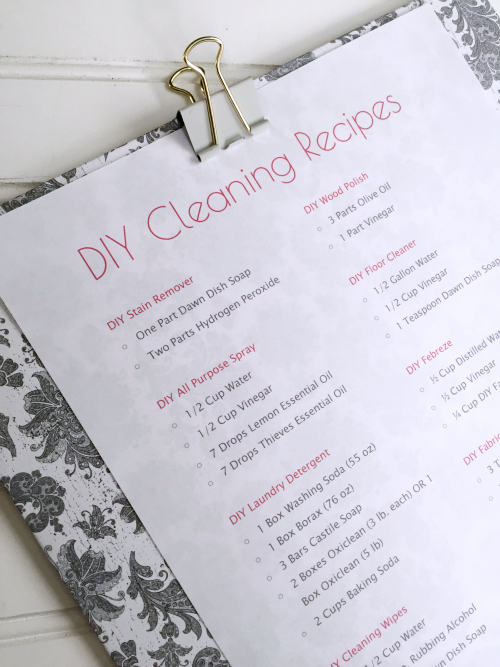
Can you believe that I actually go to my own blog to get my cleaning recipes? I have serious memory issues. I love that they’re all here for me to find, but I wanted a quick reference, so I DIYed myself a clipboard and created a DIY Cleaning Recipes List to clip on it. Want a copy for yourself? Here you go! DIY Cleaning Recipes Printable.
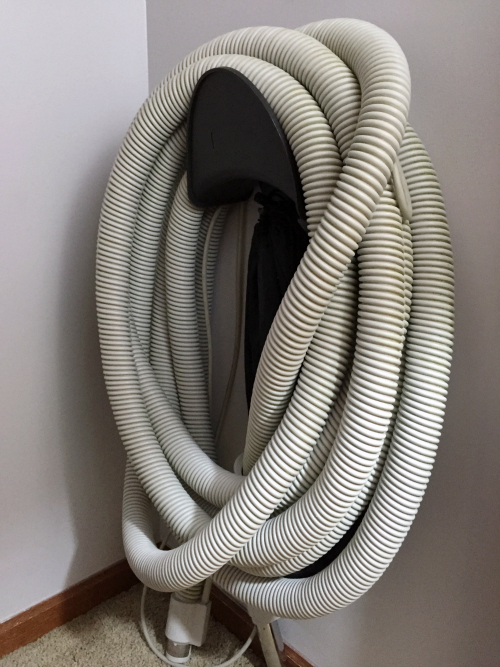
Goal 6: Figure Out What to Do With the Vacuum Hose
The very last goal I had was to get the jumbled vacuum hose off the floor. My first thought was a hose reel type thing, but the ones I found would stick way out from the wall. When I was asking my hubby for advice, he says, “I think we have the mount down in the basement.” I took it off the wall in the basement and it’s now in my closet. Perfect.
I know… get to the reveal already! Let me introduce you to my new cleaning closet! (P.S. Photographing a closet of this size is no small task, so bear with me.)
The Budget
We left off last week having spent $23.70. Here are the final expenses:
Broom & Mop Holder: $17.96
- Barnwood: Free (We have a huge amount in the garage)
- Suede Cord: $5.99 (After 40% off coupon)
- Hooks x3: $11.97 ($3.99 each)
Mason Jar Storage: $6.35
- Mason Jars x4: $3.96 (99¢ each)
- Jute Twine: $2.39 (After 40% off coupon)
- Paper Bag: Free (Already had on hand)
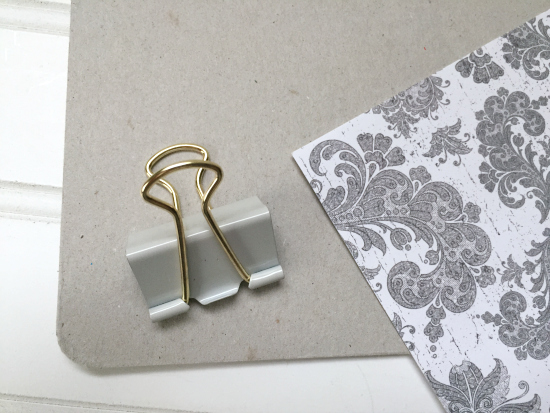
Cleaning Recipe “Clipboard”: Free
- Piece of Cardboard: Free (Already had on hand)
- Piece of Scrapbook Paper: Free (Already had on hand)
- Binder Clip: Free (Already had on hand)
Plastic Containers for Liquid Cleaning Products x2 packages: $3.98 ($1.99 for each package of 2)
Drywall & Stud Anchors: $1.49
D Rings: $2.99
9 Hole Wall Cubby (similar): $42.75 (After 5% Redcard Discount).
Total Spent: $99.22! Whew. 78¢ under budget!!!
Another $100 Room Challenge on the books.
Love it? Pin it!
Where is all the stuff that was in this closet? Where are your kids putting backpacks and so on now? While I love seeing people blog about their organizing adventures, I wonder whether it is practical to devote a whole closet to cleaning supplies and lose the kids’ storage area. Like, does your house still look like this, or did you do this just for the blog post hits and pins?
Good question. Truth. This closet actually looks pretty much the same as the reveal. The hook where I hung the vacuum hose broke, so the hose is now on the floor, but other than that it’s pretty much the same. (I’d take a picture for you, but I can’t attach it in a comment.) The backpacks that were hanging in this closet were old ones (not ones my children currently use for school). We have a mudroom off our garage that holds all their backpacks, coats, etc. All the gift and holiday supplies went down on some shelving in our basement to be stored there.
Erin, I love your cleaning closet. You must be very tall to reach that high shelf with all the cleaning essentials. I am 5’2″, so I would just hang everything lower. I have a tiny triangular vacuum cleaner closet, but I can use several of your ideas. Thank you so much.
Thanks Jewell! I think it must be the angle of the picture that makes the shelf look tall. We hung it at the same level as the one we took out… I’m not too much taller than you (5′ “5… and a half 🙂 ). Glad you found some inspiration. Have a wonderful night.
Looks so good, Erin! Plus I get bragging rights. 🙂 I’m with you on referencing my own blog for stuff–do it all the time when I’m out sourcing stuff and can’t decide if it will look good from memory. The closet is a total 180 and good that your husband remembered where the hose holder was! I love the little cubby storage unit–Target saves the day again!
Thanks Sharon! I’m pretty sure last week I related having your name mentioned as a winner was kinda like winning the lottery, so I’m sure you’re pouring some champagne and celebrating right now 🙂