I have been using my own DIY Toilet Bowl Cleaner for a long time, but I like the idea of having something to freshen up the toilets between cleanings… Enter DIY Toilet Bombs.
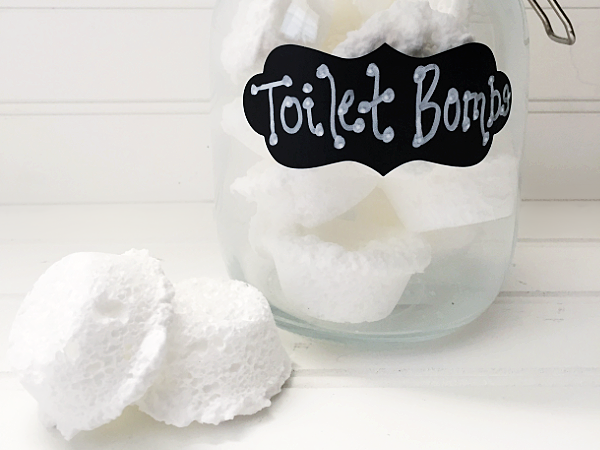
Let’s be honest… no one loves cleaning toilets. While a good cleaning is necessary, you can freshen toilets between cleanings with the following DIY toilet bombs recipe. They are easy to make and require just 3 simple ingredients.
What You Need to Make Toilet Bombs
Affiliate links may be used. Please see our advertising disclosure for more information.
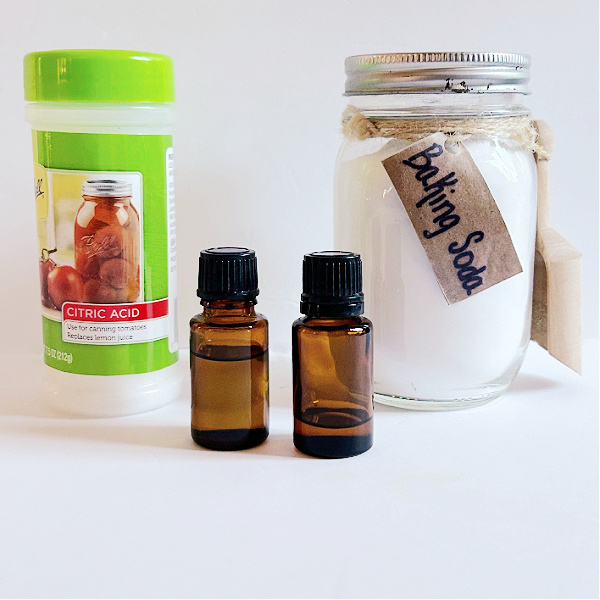
Ingredients Needed to Make Homemade Toilet Bombs
- Baking Soda– Baking Soda is wonderful for absorbing odors, which, let’s admit, the toilet is known for.
- Citric Acid– Citric acid is a great antimicrobial that helps kill and prevent bacteria growth (source). Citric Acid can often be found in the canning section of you local grocery store or you can purchase it online.
- *Immune Supporting Essential Oil– Essential oils may help to enhance the cleaning power of your toilet bombs and provide a fresh scent. I found other toilet bomb recipes that use Peppermint, Lavender, and Lemon. It’s up to you which route you want to take. Not sure where to buy essential oils? Check out this post.
- *Lemon Essential Oil
- Water- Preferably in a spray bottle
Supplies Needed to Make DIY Toilet Bombs
- Glass or Ceramic Mixing Bowl– When working with essential oils, I always recommend using glass (or ceramic) as some essential oils (like lemon) can break down plastic.
- Silicone Mold– You would think you could find silicone molds all over the place, but I had the hardest time, so I ordered one on Amazon that was perfect.
- Airtight Container for Storage
How to Make Homemade Toilet Bombs
The following recipe makes approximately 20 toilet bombs if using a mini-muffin mold.
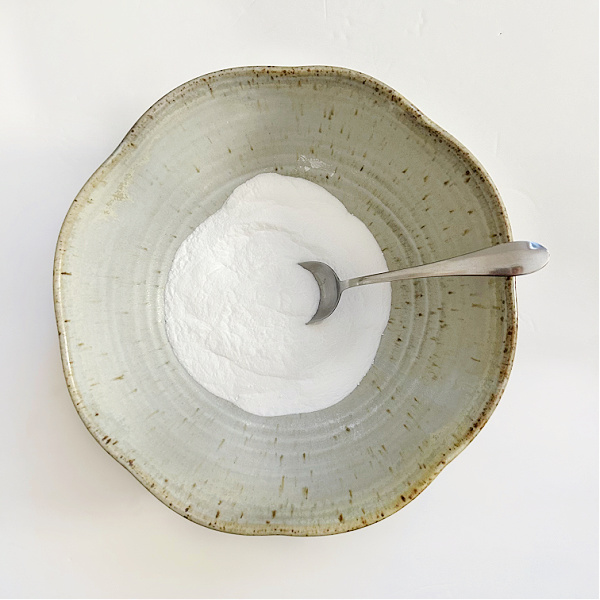
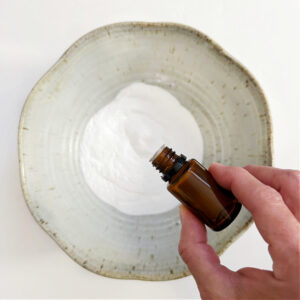
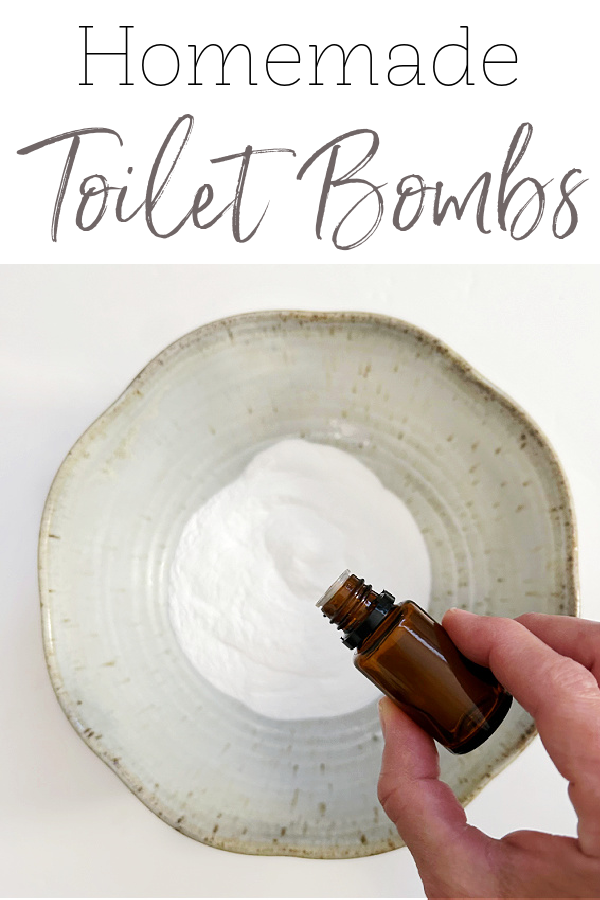
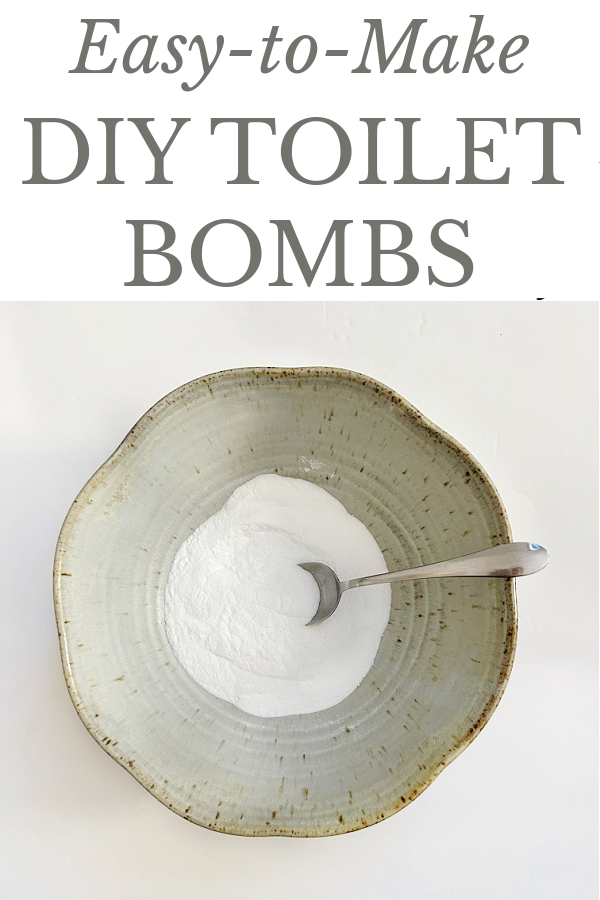
In a glass or ceramic mixing bowl, combine 1 1/2 cups baking soda and 1/2 cup citric acid. Give it a good stir until well mixed.
Add the essential oils (totally 80-90 drops*), and continue stirring until the oils are thoroughly mixed in.
*I used 40 drops of Lemon and 40 drops of an immune supporting blend.

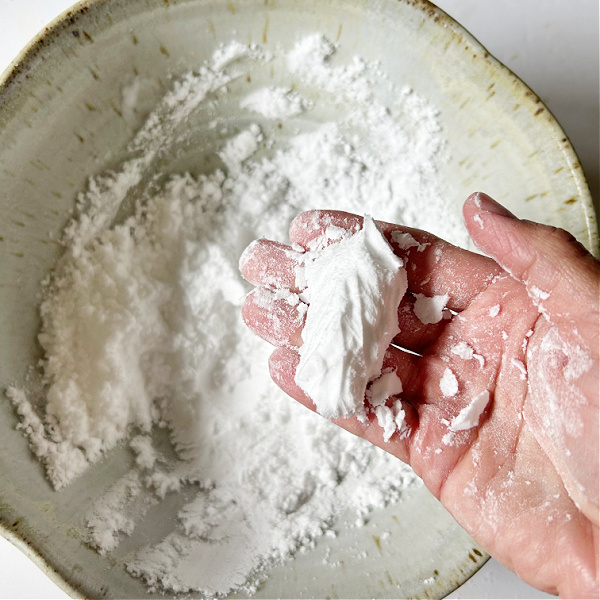
At this point, you’ll want to add small amounts of water until you reach the desired consistency. I recommend using a spray bottle and adding a couple sprays at a time, stirring in between to check for consistency. You do not want to add too much water or your toilet bombs will have a hard time drying.
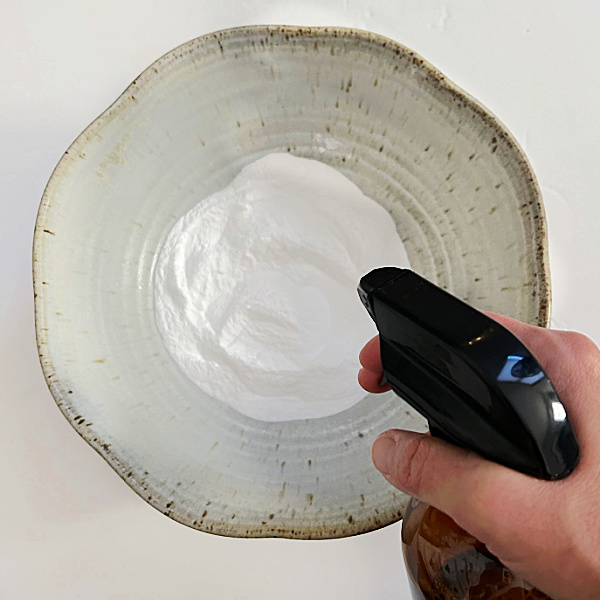
You’ll know you have added enough water when the mixture holds its shape when squeezed in your hand. The mixture will still look powdery in the bowl, but when it holds its shape in your hand, it’s ready.
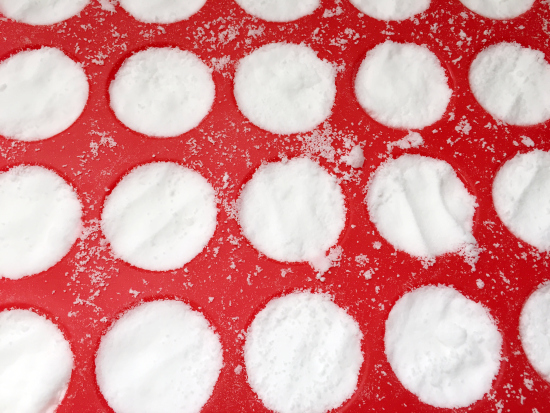
Spoon the mixture into a silicone mold and press firmly with the back of your spoon (or your fingers). Allow this to sit at room temperature for 6-8 hours, or overnight. Temperature, humidity and the size of your mold will all affect dry time, so make sure the toilet bombs are thoroughly dried before removing them from the mold.
Once dry, pop the toilet bombs out of your mold and place them in an airtight container.
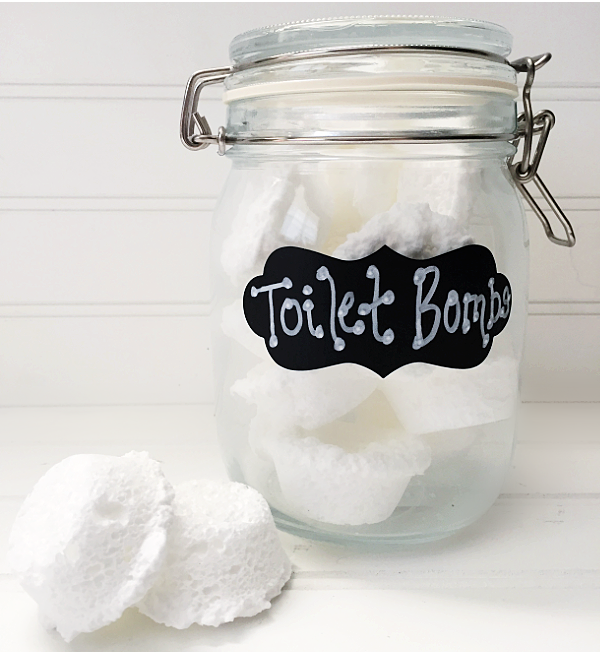
When you’re ready to use the toilet bombs, add two to the toilet bowl, close the lid and let them dissolve for 20 minutes. You are certainly free to scrub with a toilet brush, or simply flush them down. Done. Your toilet should smell fresh and clean.
We think you might also love these ideas!
DIY Toilet Bowl Cleaner | How to Remove Toilet Bowl Stains | DIY Daily Shower Spray

Common Questions About DIY Toilet Bombs
Do Toilet Bombs Clean Toilets?
Toilet bombs serve two purposes: they both clean and freshen toilets. As mentioned above, citric acid has antimicrobial properties to help clean toilets, while baking soda works to freshen the toilet. Essential oils can also help with cleaning and freshening the toilet. Once the toilet bombs have dissolved, use a toilet brush to clean the toilet. If your toilet is stained, toilet bombs may not do the trick. Instead try this handy trick to remove toilet stains.
My Toilet Bombs are Sticking Together. How Do I Fix This?
If your toilet bombs are sticking together, the most likely culprit is moisture. Either too much water was initially added to the mixture, the toilet bombs were not thoroughly dried when they are popped out of the mold, or moisture is getting into the storage container. To fix the issue, remove the toilet bombs from their storage container and allow them to dry out for a longer period of time. Make sure you are using an airtight container for storage as bathrooms are notorious for moisture, thanks to those steamy showers we all love.
My Toilet Bombs Are Overflowing in the Mold. What Happened?
This question has come up quite a bit, both with this recipe and our DIY Shower Steamer recipe. While I have never had this happen, it seems to be a common issue, so I did a little research into why this may be happening for some people. The culprit, I learned, is adding to much water to the mixture, which activates the fizzing action too soon. This is why you should add water using a spray bottle; to avoid adding too much at once. I always spray a couple times, stir, and then squeeze the mixture in my hand; repeating until the mixture holds its shape when squeezed. While the mix will still look quite powdery in the bowl, if it holds its shape when squeezed, it’s time to put it in the mold.
Do Toilet Bombs Expire? How Long Do Toilet Bombs Last?
Most of the information I have seen on the shelf life of toilet bombs say 3-4 months. I would say that seems fair. The only thing added to toilet bombs that would make them “go bad” is the water you add (particularly if you use tap water). However, the water should evaporate out as they dry, so it shouldn’t be much of an issue. The other contribution to a shorter shelf life would be the essential oils. Over time, they may start to break down, especially if exposed to light.
Can I Put Toilet Bombs in the Toilet Tank?
While I, personally, have never tried putting toilet bombs into the toilet tank, a simple Google search shows that many people do, in fact, put them into the tank.
Sources: MamaSuds | DIY Natural
What Essential Oils Are Good For Making Toilet Bombs?
While I typically use an immune supporting blend, along with lemon essential oil, there are other essential oils known for their cleaning and freshening properties. Below is a list of the more popular essential oils you could try in this toilet bomb recipe.
Tea Tree | Peppermint | Lavender | Orange | Pine
DIY Toilet Bombs
Ingredients
- 1 ½ Cups Baking Soda
- ½ Cup Citric Acid
- 80-90 Drops Essential Oil
- Water Preferably in a spray bottle
Supplies
- Mixing Bowl
- Silicone Mold
- Airtight Container for Storage
Instructions
- Add baking soda and citric acid to a glass (or ceramic) mixing bowl. Stir.
- Add 80-90 drops of essential oil and stir until the essential oil is thoroughly mixed in.
- Spray the mixture with water until you reach the desired consistency. The mixture should hold its shape when squeezed in your hand. While it may not come together in the mixing bowl, if it holds its shape when squeezed, you're ready to proceed.
- Scoop the mixture into your silicone mold and firmly press it into the mold with the back of your spoon.
- Allow the toilet bombs to harden for 6-8 hours (or overnight). Dry times may vary depending on temperature, humidity, and the size of your mold.
- When dry, pop the toilet bombs out of your mold and store in an airtight container.
- To use, add 2 toilet bombs to the toilet bowl and close the lid. Allow the toilet bomb to dissolve (approximately 20 minutes) and flush.
Love it? Pin it!
can these be individually shrink wrapped then put in jar
My toilet bowl bombs don’t bubble. Do I just leave them in the toilet and let them dissolve? Thanks so much!
A couple things may be going on if your toilet bombs don’t fizz. The baking soda and/or citric acid may be old or some of the fizzing action happened during the making of the toilet bombs (activated when adding the water). Whatever the case, it’s fine to just add them and allow them to dissolve.
Just wondering if you’ve ever used (or now if it’s safe to use) Nature’s Shield essential oil blend by Now? Clove bud, lemon, cinnamon bark, eucalyptus, and rosemary oil blend. Not just for the toilet bowl but also if you have a dog or cat in the home ☺️
I haven’t used essential oils from NOW, but I do have a whole post on how to choose a reputable essential oil company. You can find it here: https://www.lemonslavenderandlaundry.com/where-to-buy-essential-oils/ and the information may be helpful in identifying whether NOW is a good brand 🙂
The toilet bombs turned out perfectly the first time that I made them.
I was trying to make 8 cannisters for Christmas gifts. I guess it’s the humidity or maybe using too much water –
but this time the balls are sticking together.
I have made these many times and have never experienced the bombs sticking together. I would guess you are correct in your thinking; perhaps they were still a bit wet when they went into the canisters. They really do need to be completely dry, otherwise the moisture will build up in the canister, and moisture can cause that stickiness you mention. Sorry they didn’t turn out quite right… that’s always frustrating.
Just saw you for the first time on “The Jason Show” and love using items on our shelves that can be used for my home maintenance but are also economical AND safe to us and the environment! Thank you for your tips!
This is an FYI for those who live out in the country on septic. Antimicrobials are harmful to the maintenance of septic, so don’t use products with citric acid too much or you run the risks killing the bacteria needed to break down sewage pathogens. I was excited to use this, but don’t want to create a mess with my septic…
This is awsome ! Thank u so much but if i make more than 2 where can i store them i know in glass container but how long can they be in the glass jar until next cleaning day? Are they good for a week should i store them in the fridge i just want to make sure that way im not making a new batch every cleaning
These last quite awhile… at least a month. I have never put them in the fridge. They are just in my cleaning caddy (in a glass jar) for when I clean toilets 🙂
They should last indefinitely as long as they are kept dry and in an air tight container.
Hi, Erin,
WOW what a great treasure find your site is for me! I’m a natural messy and I mean the BEST GIFT I can give my family this week is to clean with love. That’s why I love your DIY recipes!!
Question about the toilet bombs, do they need to be stored in a glass air tight container or is plastic OK?
I always recommend storing anything that contains essential oils in glass, however, because the ratio between essential oil and other ingredients is low (and the bombs are hardened), you could probably get by with storing them in plastic if that is what you have on hand 🙂
I’m really interested in trying your recipe for a few of my friends as Christmas gift options. How many bombs does 1 recipe make? Thank you!
Blessings
It depends on the size of your silicone mold. I would say 18-20 with in the mold I used. You might get a little more or less depending on how much you fill them. Hope that helps! Merry Christmas!
So could oils be purchased at Walmart? I’m on a very tight budget and Walmart is where I usually get most everything I need… btw, I have checked out a lot of things on your blog and I’m going to use a lot of the things I read!! Can’t wait to try the pumice stone on the toilet stains! Thanks for all the great posts!!!!
Essential oils are a bit tricky. Can you use the ones from Walmart? Absolutely. However, oils you buy in the store may contain additives and often don’t contain the same therapeutic properties. If you are simply going for smell, these would be fine, if you are looking for better cleaning properties, you’d want to go with a higher quality oil.
So happy to hear that you are enjoying the posts!
These turned out perfect with my first batch. However, the second batch seems to be raising and overflowing. Any idea why that is happening with the second batch and not the first?
While I don’t know for sure why that might happen, I can take my best guess: heat. When I first did this, I tried to speed the drying time by putting them in the oven on a very low heat (lowest setting my oven allows) and they rose up and were definitely larger than when drying on the counter. If your room’s temperature or humidity is higher for your second batch, this could be the reason.
Could these be dropped into the tank? Or should they just be dropped in the bowl & flushed?
Hi Michelle! Thanks for the question. You actually drop the bombs into the bowl of your toilet. Allow them to fizz for about 15 minutes, and then flush .
Why not just throw in 1 part citric acid, 3 parts baking soda and some smell good stuff into your toilet. You can even mix it up and just scoop it in followed by a few drops of something.. Then you don’t have to make the bombs. Just have granular cleaner. Seems like a lot less work.
I actually love your idea. I would certainly think leaving it in powder form would work just as well, and you’re right; less work that way 🙂
Will the oils harm the silicone muffin tray?
Great question Brandy! Essential oils (especially citrus oils) do break down plastics and rubber, however, from everything I’ve read, they do not break down silicone, so using a silicone tray should be fine when working with essential oils.
Thanks for the reply! Glad to hear you’ve not come across any issues with the oils + silicone.