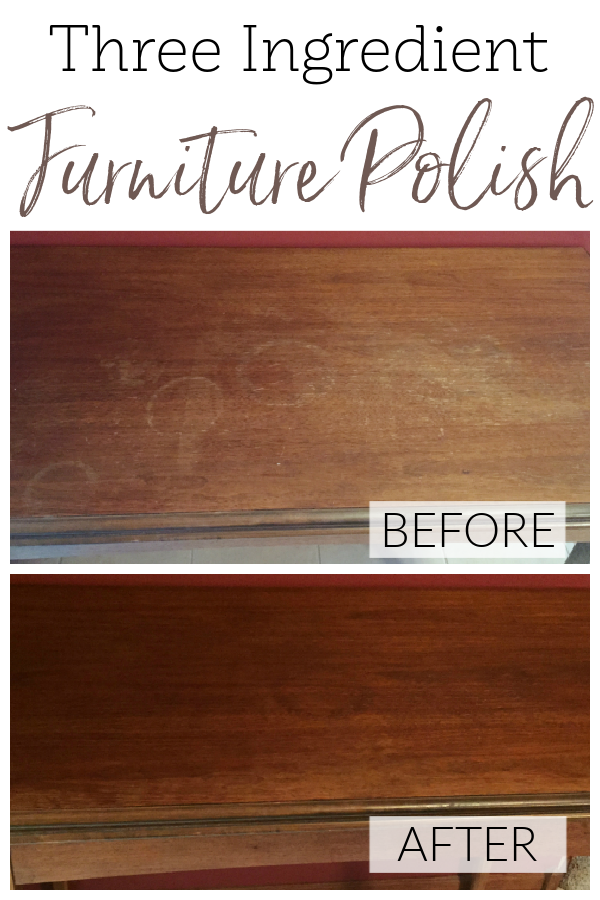
Learn how to make homemade furniture polish with this easy, 3 ingredient recipe that restores wood furniture in seconds.
I have tried quite a few DIY cleaning recipes over the past decade. While most turn out well, only a handful rise to the description of “jaw-dropper”, and this homemade furniture polish is one of them. You can whip up a batch is less than a minute and the results are stunning; as you will see below.
What You Need to Make Homemade Furniture Polish
Affiliate links may be used. Please see our advertising disclosure for more information.
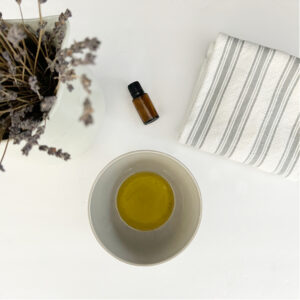
Ingredients Needed to Make DIY Wood Polish
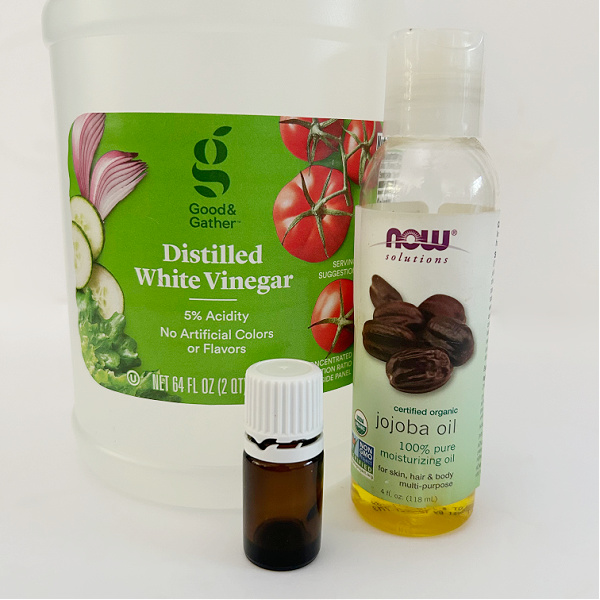
- Olive Oil or Jojoba Oil– Oil moisturizes dry wood, which keeps it from cracking. While I have used olive oil when making this wood polish in the past, I recently learned that jojoba oil has a much longer shelf-life, so we’re going with that for this post
- Vinegar– Vinegar will actually help clean the wood as you polish it
- Lemon Essential Oil-There’s a reason lemon oil is often added to furniture polish; not only does it smell good, it also helps clean and shine dull surfaces.
Supplies Needed for Homemade Furniture Polish
- Cleaning Cloth– Flour Sack Cloths also work really well. That’s what I used.
How to Make Your Own DIY Wood Polish
The following recipe makes 1 cup of furniture polish, using a ratio of 3 parts oil to 1 part vinegar. Feel free to adjust the amount for your specific needs, making sure to keep the 3:1 ratio of oil to vinegar.
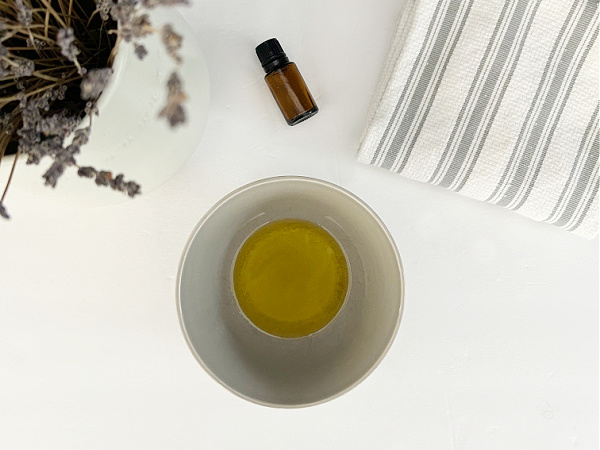
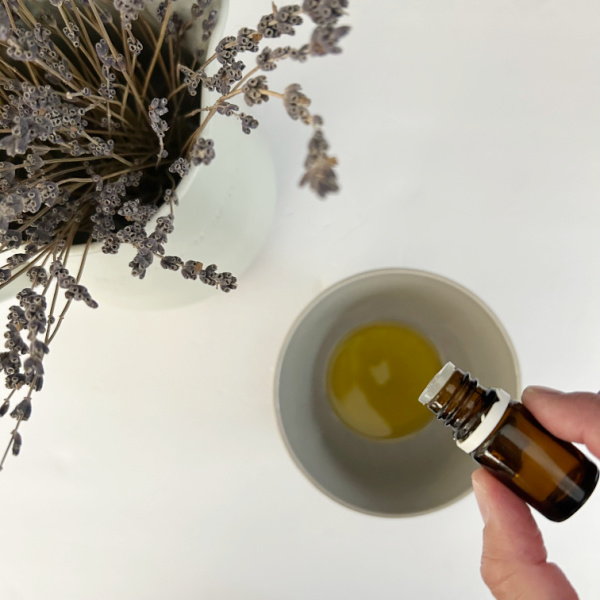
Start by mixing together 3/4 cup of olive oil or jojoba oil with 15 drops lemon essential oil.
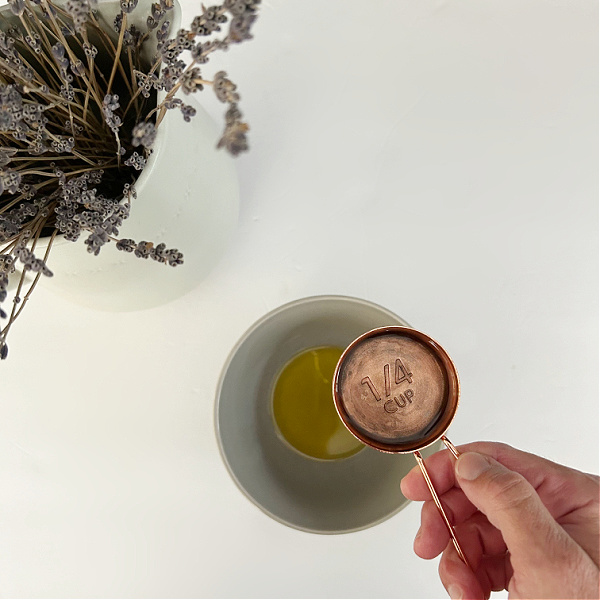
Once combined, stir in 1/4 cup vinegar.
How to Use DIY Furniture Polish
Prior to using any cleaning product, whether homemade or store-bought, test a small amount in an inconspicuous area to make sure there are no unwanted changes. Please see our disclaimer for more information.
To use homemade wood polish, simply dip a cleaning cloth into the mixture and apply it to your wood furniture. If you notice the surface is a bit oily, take a clean, dry towel and wipe off any excess polish.
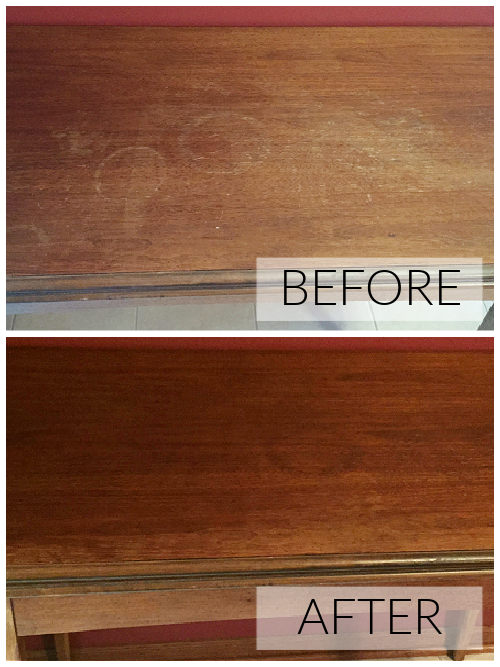
Results of Using Homemade Wood Polish: Before & After
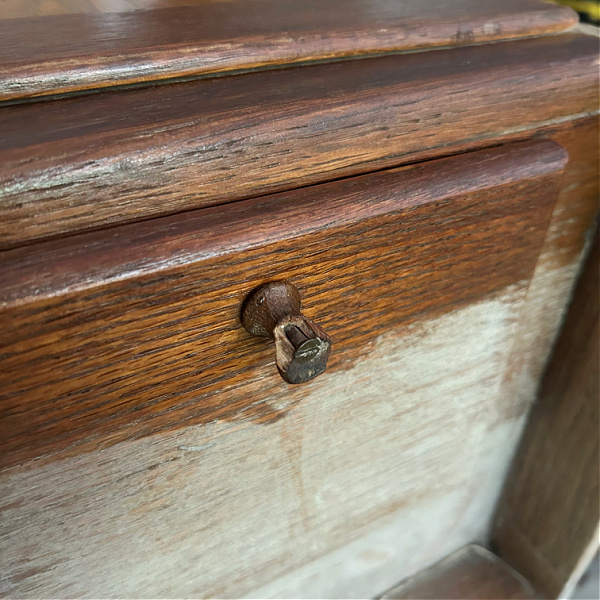
To be honest, I don’t have a ton of wood furniture in my house, however, I have an old hutch out in our garage that’s awaiting a makeover. It was the perfect piece to try out this homemade furniture polish recipe.
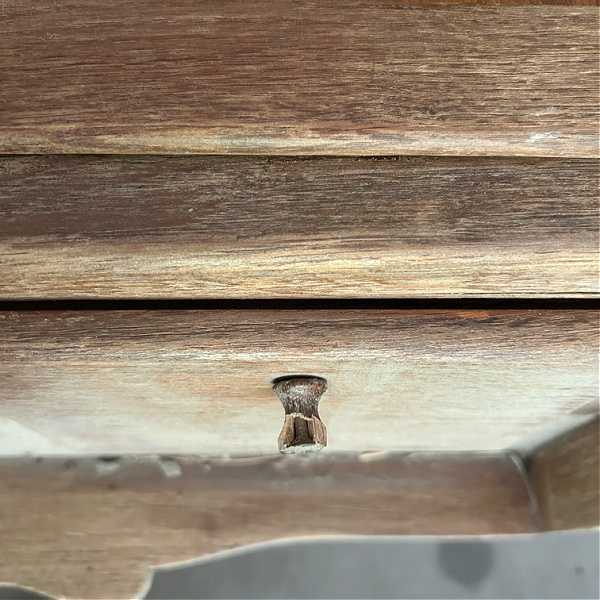
Here is what the hutch looked like after I cleaned off the dust, but before using the polish.
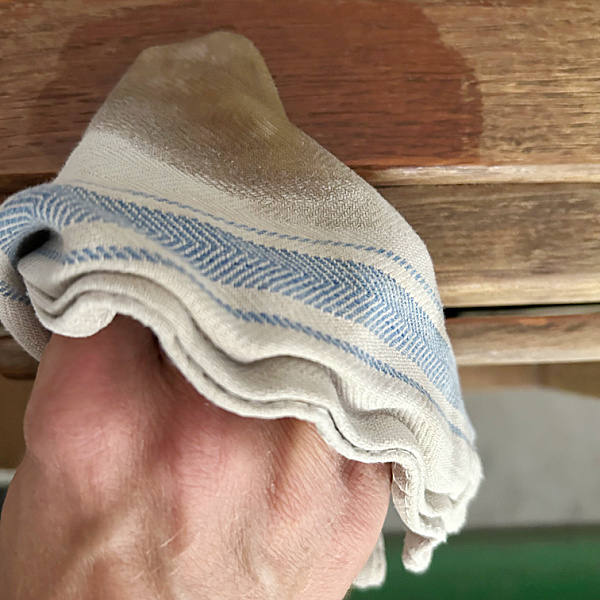
And here’s a picture in the middle of the process. It shows how dry the wood was prior to applying the DIY wood polish.
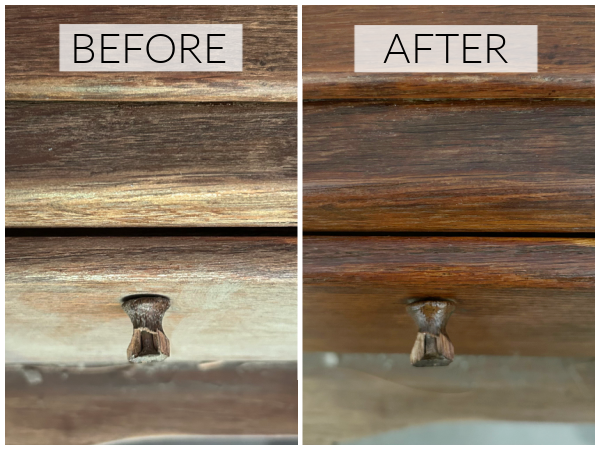
Here’s the side by side of the before and after.
Years ago, I took some pictures of an old table I had inherited from my grandfather. I tried this furniture polish recipe back then (using olive oil) and I couldn’t believe the difference!
We think you might also love these ideas!
DIY Upholstery Spray | The Best Dusting Hacks | How to Clean Wood Cutting Boards

Common Questions About Homemade Furniture Polish
Does Homemade Wood Polish Expire?
Homemade furniture polish will go bad over time if it contains olive oil, which is perishable. The shelf-life of olive oil (once opened) is about 6 months. I would strongly suggest using up any wood polish you have made within that timeframe (even less if you are using an already-opened bottle of olive oil). I have found the best thing to do is make the amount of DIY Furniture Polish you intend to use to avoid leftovers. As mentioned above, you can substitute the olive oil with jojoba oil as it has a much longer shelf life, ranging from 2-5 years.
Can I Use This Wood Polish Recipe on Cutting Boards?
Whether using jojoba oil or olive oil in your furniture polish recipe, it is not recommended for use on cutting boards. Jojoba oil is typically not a food-grade oil and olive oil can go rancid over time, affecting the flavor of your food. Instead, see our post about the best ways to clean, deodorize and condition your wood cutting boards.
Homemade Furniture Polish Recipe
Ingredients
- ¾ Cup Jojoba Oil Or Olive Oil
- ¼ Cup Vinegar
- 15 Drops Lemon Essential Oil
Supplies
- Mixing Bowl & Spoon
- Cleaning Cloth or Towel
Instructions
- Mix ¾ Cup Jojoba Oil (or Olive Oil) with 15 drops Lemon Essential Oil
- Stir in ¼ cup vinegar
- Apply to wood furniture with a cleaning cloth and wipe excess polish off after application
Love it? Pin it!

I love this homemade furniture polish recipe! It’s great to see a natural alternative to commercial products. Can’t wait to try it out with my old wooden furniture. Thanks for sharing such a simple and effective solution!
It was very helpful I really appreciated .
Since olive oil is perishable and can turn rancid, I would think it would eventually cause the wood to smell bad. Have you experienced this?
Since Olive Oil is a perishable food substance, why would you not use mineral oil, since this is considered a wood treatment? Just curious
Tried this today on my oak kitchen cabinet doors. It worked well on the knicks and steam marks. As you said, it darkened down the marks, but with oak it doesn’t matter a bit. Thanks for the tip!
I have tried this myself – using lemon oil instead of olive oil. Unfortunately the drier areas and water marks came back. Did you have this problem too? What did you do to solve it?
Hi Sandy!
Thanks for the question. While I can certainly can see where the stains had been, they never came back looking a terrible as before, so I left them as is. If they are truly watermarks (white rings from moisture) my mom used to use toothpaste on them. I know, sounds so weird that I actually googled it before leaving this comment. Turns out, it actually can work… here’s a website with several ideas you could try: http://www.bobvila.com/articles/how-to-remove-water-stains-from-wood/#.VxUqDPkrLtQ
Good luck!
I’ve tried rubbing the stains and scratches with the meat of a walnut. Disappears those marks and doesn’t leave them darker. Just like new
Definitely gonna try this! Thank you!
XO Ellen from Ask Away
http://www.askawayblog.com
You’re welcome Ellen!
Someone said to place an old light colored towel over the stains and use a steam iron.