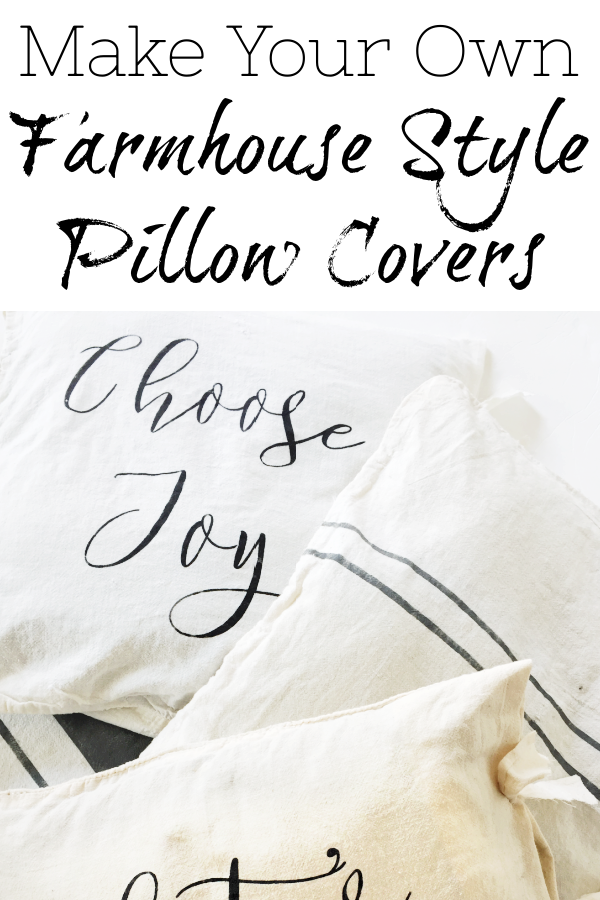
If you love farmhouse style, this easy tutorial for no-sew farmhouse pillow covers is for you.
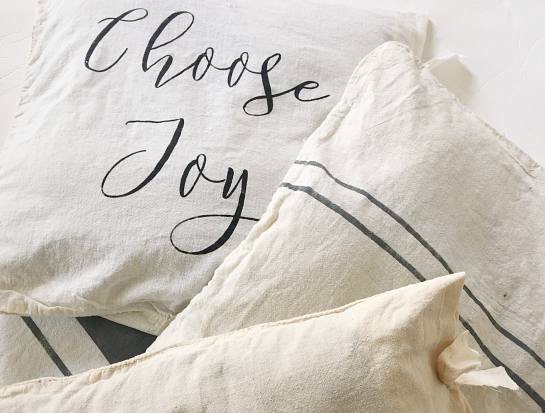
It’s week 3 the $100 Room Challenge, a challenge in which you makeover one room, in one month’s time, with $100. When choosing to do a makeover on a tight budget, you need to get creative by using what you have, combined with a little DIY. One thing I really wanted to do in my living room was get new pillows for the couch, as the ones we had were no longer my style. My first thought was to look for pillow covers to hide my current pillows. I found some great sets at very reasonable prices, but none were exactly what I was looking for, so I decided to make my own.
What You Need to Make DIY Farmhouse Pillow Covers
Affiliate links may be used. Please see our advertising disclosure for more information.
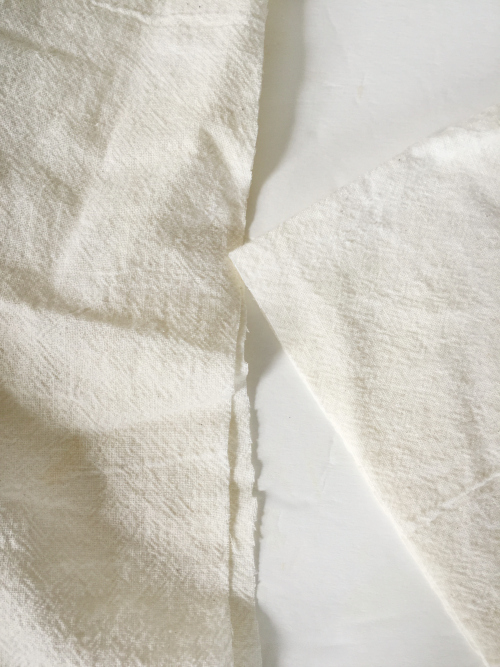
- Flour Sacks- I had actually bought a few flour sacks, over a year ago, at a vintage shop in town. You can also find them on Ebay and Etsy.
- Scissors
Hot Glue Gun & GlueUPDATE: The idea to use hot glue seemed wonderful at the time, and worked well… until I washed it. The glue now shows through the fabric a bit. So, I would recommend using fusion tape instead.- Cardboard piece
- Vinyl Cutting Machine– If you choose to do lettering. You can also use word stencils if you don’t have a vinyl cutting machine.
- Vinyl– If you choose to do lettering
- Transfer Tape– If you choose to do lettering
- Painter’s Tape– If you choose to do stripes
- Round Sponge Brush– I have found that the rounded sponge brushes work best, although I did try the traditional sponge brush first.
- Fabric Paint
How to Make No Sew Pillow Covers
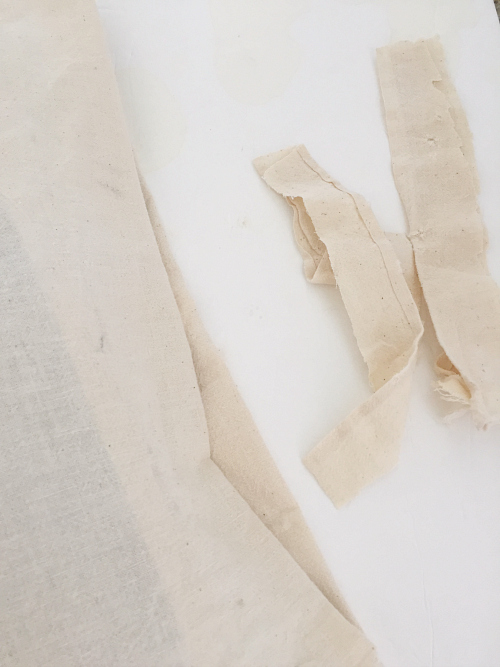
Start by inserting your pillow into the flour sack. Then cut the sack about 3 inches above the pillow. Do not throw away the excess fabric. You will need it later.
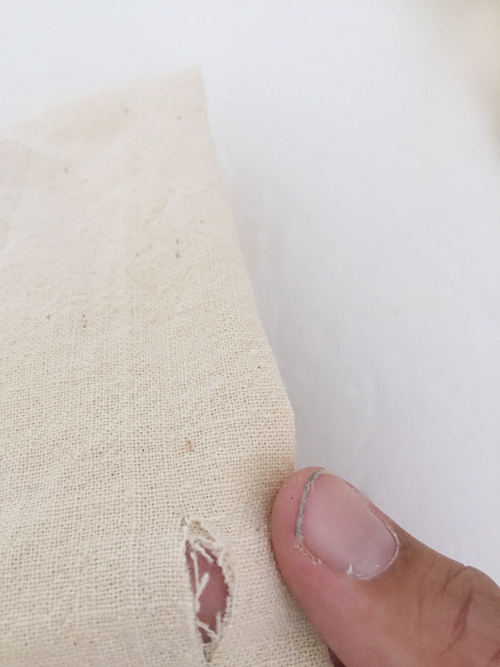
Because I do not sew, nor do I own a sewing machine, I used a hot glue gun to “sew” the edges together in order to create a straight edge at the opening. (UPDATE: Use fusion tape instead. The hot glue showed through after washing). To do this, I simply folded the sack all the way around at the opening, allowing for (approximately) one inch of the sack to remain above the pillow insert.
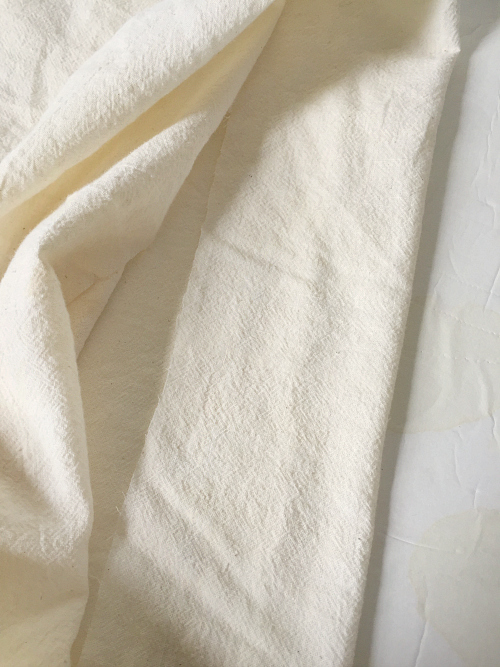
Keeping your fold, remove the pillow and turn the sack inside out. Use fusion tape to “hem” the edges. Remember, you are not closing the opening, you are going around the entire opening, sealing the folded edges to create a smooth-edged opening.
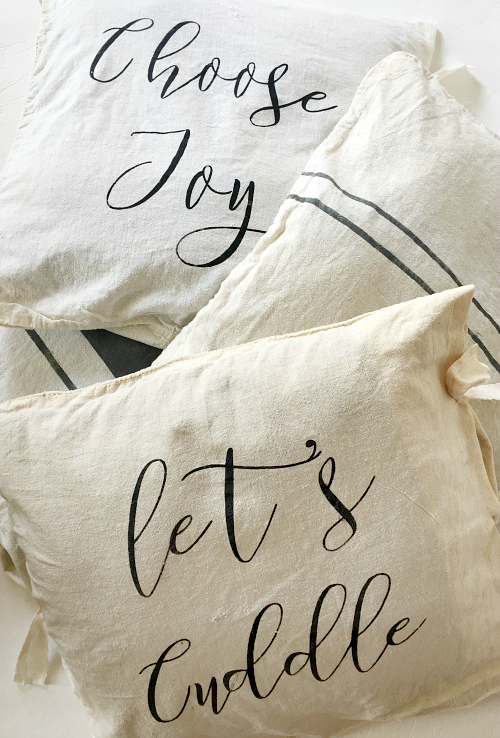
Turn your pillow back, outside-out. Depending on the pattern you are making, you can use painter’s tape to create stripes, or a vinyl stencil to create lettering. I did both, but I’ll be doing the tutorial for the lettering.
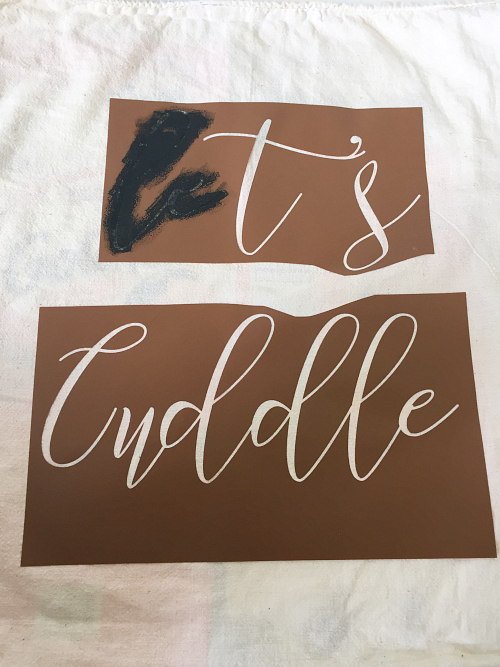
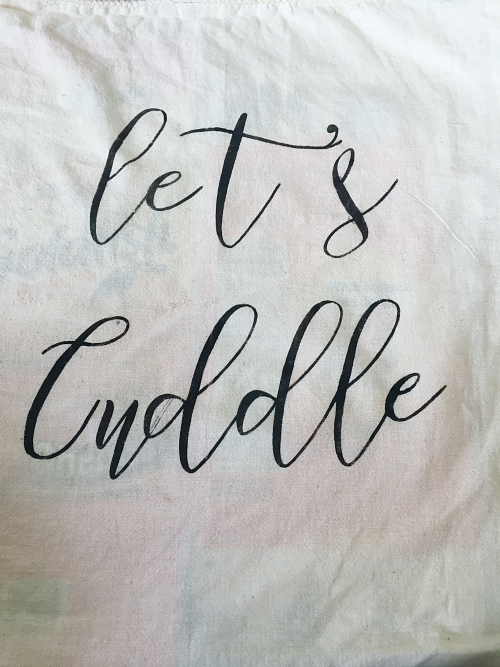
Start by creating your stencil. I have a Cricut Explorer for this, however, you can also purchase word stencils if you’d like. You simply use the program to create the saying you would like to use. (Remember to measure your pillow, and make sure you are creating lettering to match both the height and width you want.) For my lettering, I chose Frutilla Script Font, and the sayings “Let’s Cuddle” and “Choose Joy”. I also chose to use actual vinyl (vs. contact paper) because I feel vinyl is easier to work with (although it is more expensive than contact paper). When creating your stencil, you are going to remove the letters, so you just have the outline. Remember to use transfer tape so you don’t lose pieces of your lettering, like the inside circles to Rs and Ps, etc. (Oops… forgot to take a picture before I started painting 🙂 )
Once you have the vinyl where you want it on your flour sack, remove the transfer tape and insert a piece of cardboard to prevent the fabric paint from leaking through to the back. Then put a small amount of fabric paint on a paper plate (or in a small container) and use your sponge brush to dab it onto your pillow cover. Remember to dab the brush onto a paper towel or the paper plate first, to remove excess paint. This helps prevent bleeding under the painter’s tape or vinyl. I wanted the paint to look a little worn and rustic, so I didn’t fully paint everything to a dark finish, but you may choose to thoroughly paint in the lettering.

Once you you are done, remove the vinyl, being careful not to smudge anything. Allow the fabric paint to thoroughly dry before moving onto the next step. This is typically 12-24 hours.
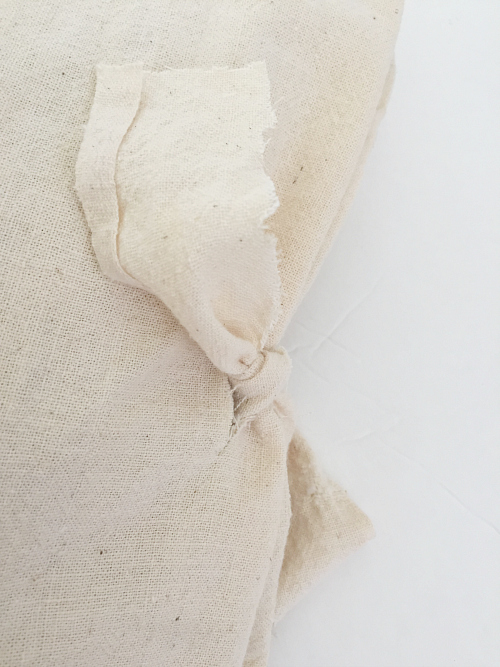
Once your paint is dry, remove the cardboard and insert your pillow. I love the look of tying off the opening. This allows you to be able to wash the pillow covers in the future. Start by cutting stripes from the excess flour sack. My strips were approximately 1″ x 6″.
Then cut a small hole that goes through both the front and back of the pillow cover.
Run the fabric strip through the hole and tie.
Done. You now have no-sew farmhouse-style pillow covers.
Rather Buy Than DIY?
Click on any image for more information.

The Budget
Pillow Covers x4: $3.98
- Flour Sacks: FREE (Already had)
- Fabric Paint: $3.98 (One cost $2.49 and the other $1.49 after using a 40% off coupon at Hobby Lobby)
- Vinyl: FREE (Already had)
- Painting Supplies (Sponges Brushes): FREE (Already had)
Total Spent So Far- $3.98
Wanna Catch Up or Jump Ahead?
Week 1 // Week 2 // Week 3 // Week 4
Love it? Pin it!
Love these and the no sew idea! I have a lot of older embroidered pillow cases. Do you have any ideas for using them other than dresses?
I can’t seem to find flour sacks, I can only find towels. Would those still work? I would love to make these.
I know the flour sacks can be hard to find. Ebay has a lot of them (here’s an affiliate link: http://rstyle.me/n/ctzww4b9gd7). However, if you wanted to use flour sack towels, you could certainly do so, but you would probably want to sew the three sides so they’ll hold up. If you can sew, I’d say you could absolutely go that route.
These are so cute and I love that they´re no sew and how you added the little knots on the side to close them up! So clever and pretty!
Thanks! I haven’t sewn since 7th grade, so I have to figure out how to work without a sewing machine 🙂 Although I will say, it’s a skill I should learn.
Love these! Have you ever used heat transfer vinyl instead of stenciling them? I guess that would work the same on the flour sacks?
I have not used heat transfer vinyl, but I have used heat transfer paper. I was going to actually use it for this project, but the sheets were too small. I’m sure the vinyl transfer would work as another option 🙂
you did a great job on these. they are so cute!
Thanks Janis! They might be my favorite thing in our living room right now 🙂