Create the perfect farmhouse wall decor using old chippy windows.
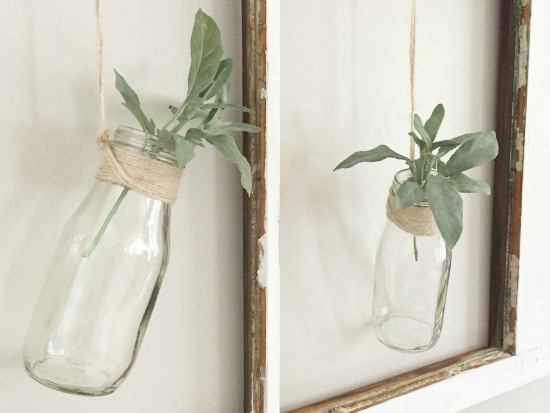
My father-in-law works in construction and was tearing out these old wood windows. Instead of trashing them, my dear mother-in-law kept them for me, knowing I’d find something to do with them. They ended up sitting in my garage for months, just waiting for a project. I ended up finding some Pinterest inspiration, and used them to create some farmhouse wall décor.
What You Need to Make Farmhouse Wall Décor
Affiliate links may be used. Please see our advertising disclosure for more information.
- Wooden Window Frame– However many you choose to use
- Hammer– If there’s glass in the frames
- TSP– I used an all-purpose spray, but really think TSP would have been better
- Polycrylic– This is used to seal the chippy paint. Because many old windows have the potential of containing lead, you want to seal it.
- Chalk Paint (or other White Paint)- Optional
- Paintbrush and/or Sponge Brush
- Twine
- Milk Bottles– (I reused Starbucks Frappuccino bottles 🙂 )
- Faux Plant Stem– I bought one at Hobby Lobby and cut it apart to create the four I needed.
- D Rings
- Screwdriver
If you are using an older window with the potential of lead-based paint, you can check the paint using a lead test. If it comes back positive, use proper mask and clean-up practices for dealing with lead-based paint.
Using Windows For Farmhouse Wall Décor
Start by laying your frames on a tarp. If the windows still contain the glass, use a hammer to break the glass out of the frames. Please be very careful doing this. You don’t want to cut yourself.
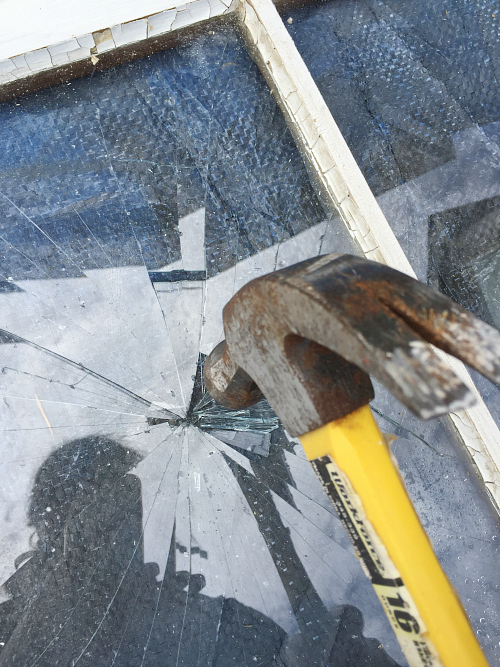
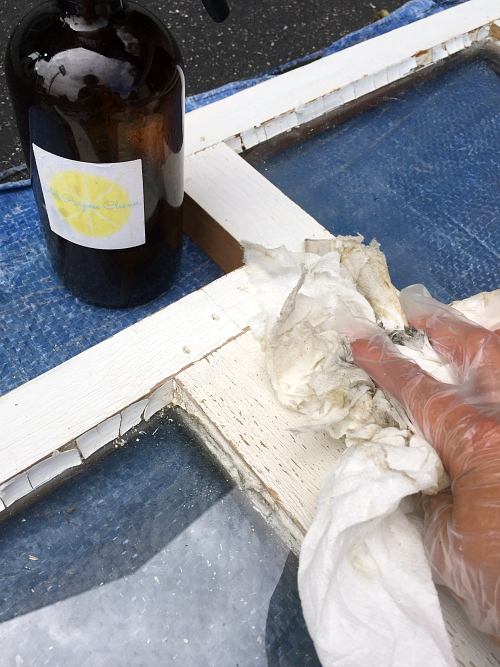
Once the glass has been removed, carefully discard it. (We just wrapped everything up in the tarp for disposal, and threw it all out… tarp included). Lay your frames on a clean tarp and wash the frames. I used some paper towels and my DIY All Purpose Spray, but something like TSP would have probably been a better choice.
Once clean and dry, apply a coat of polycrylic. This will seal the paint and prevent it from chipping.
Just as an FYI, I always used polycrylic because it dries clear, versus polyurethane, which dries yellowish.
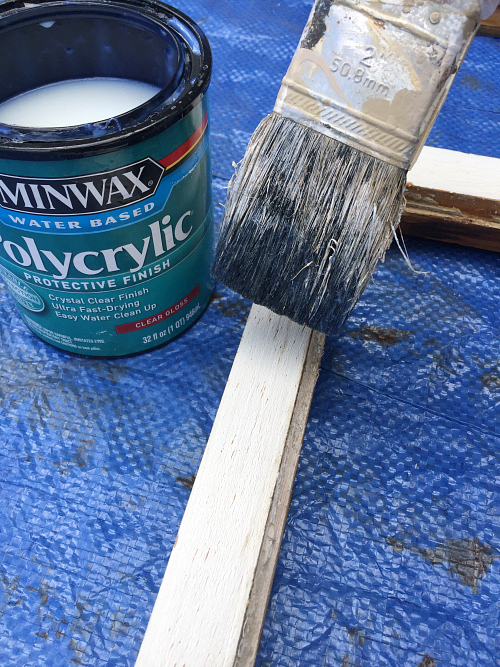
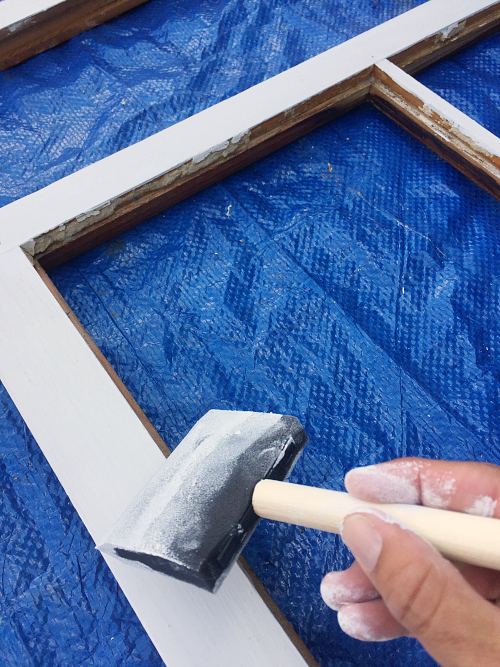
I think our polycrylic got a little stain in it from a previous project, so it was drying on a little discolored. Therefore, I decided to paint on a layer of white chalk paint over the polycrylic once it had dried.
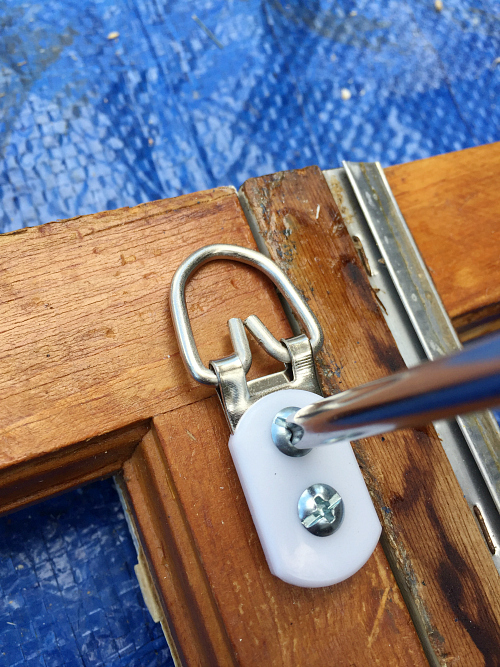
With the chalk paint dry, I added two D-Rings to the back of the frame. These are placed on the upper part of the frame, at opposite ends, for easy hanging.
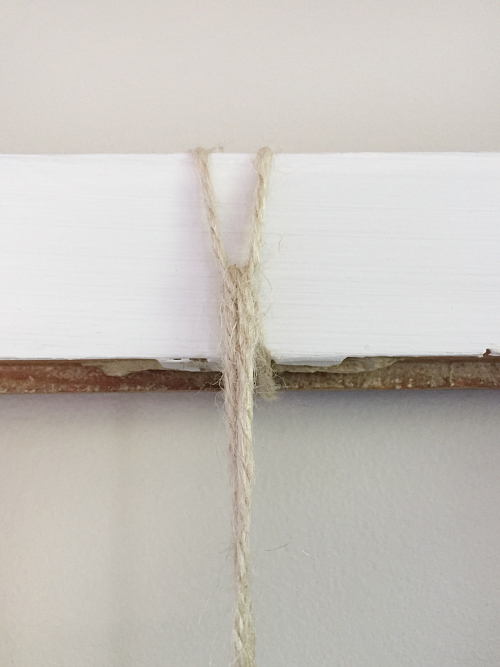
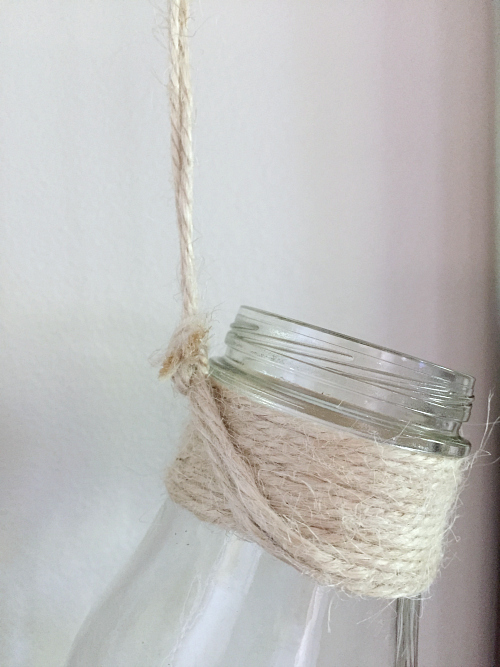
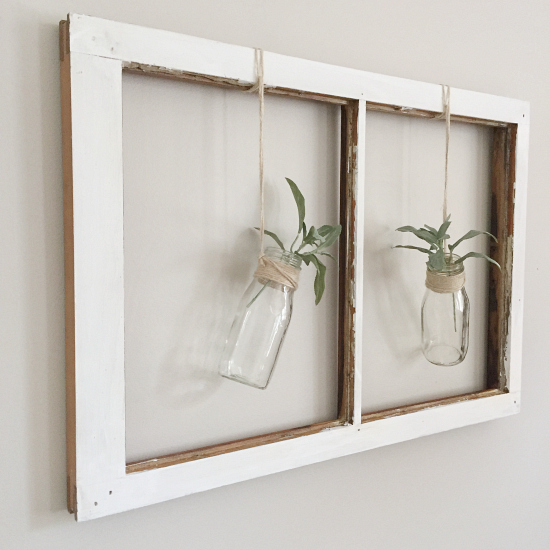
To add the bottles, I looped some twine around the top of the frame and tied on the milk bottles. I first knotted the twine around the neck of the bottle and then wound it around (approximately 5 times). I double-knotted it again, making sure it was secure.
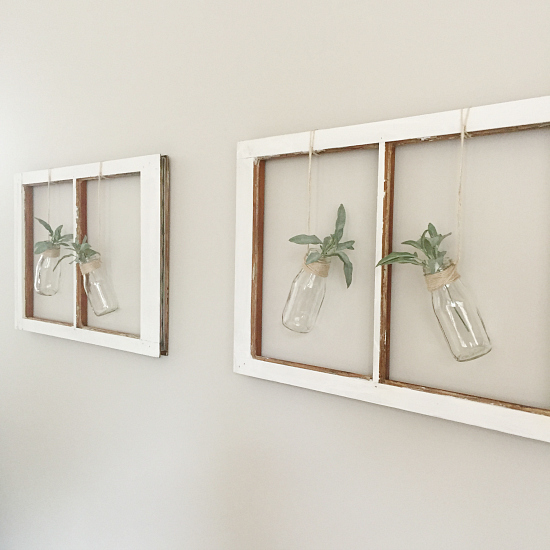
Hang it up on the wall (I would recommend using drywall anchors as windows can be a little heavier), add in the faux plant stems, and you’re done. Easy, unique, farmhouse-style wall décor.
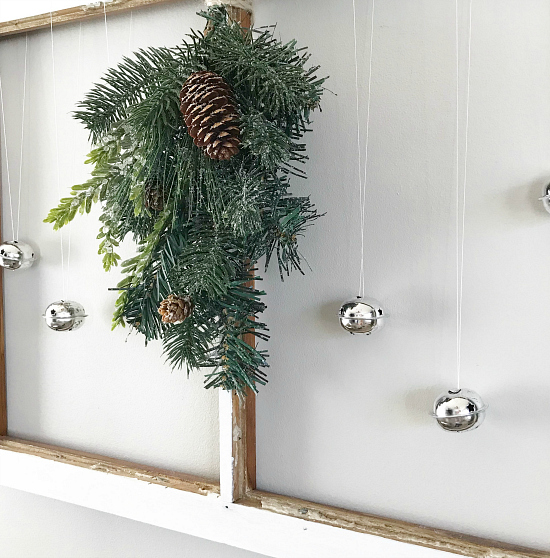
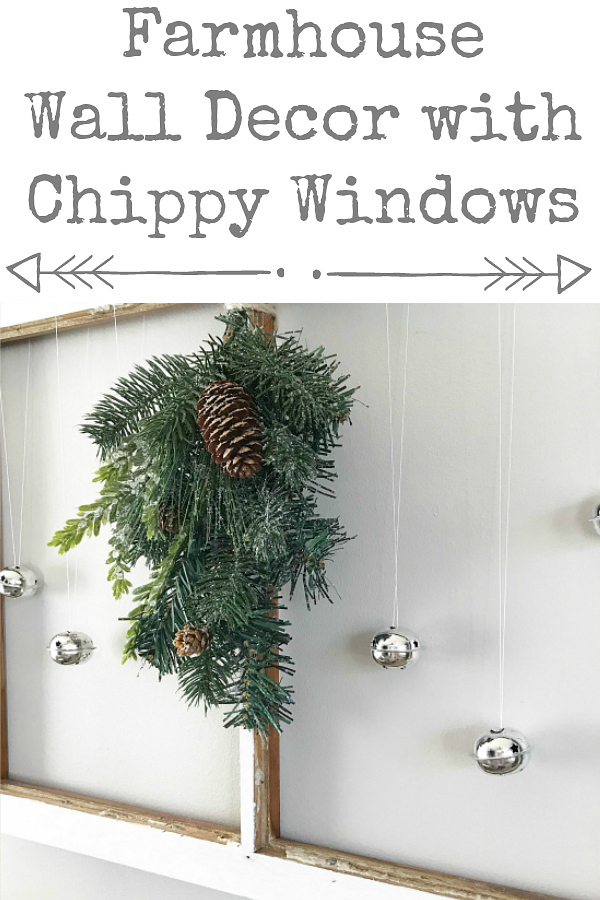
When the holiday season arrives, you can change out the bottles and stems for something else. I went with bells and a faux pine sprig.
Wanna Catch Up?
Week 1 // Week 2 // Week 3 // Week 4
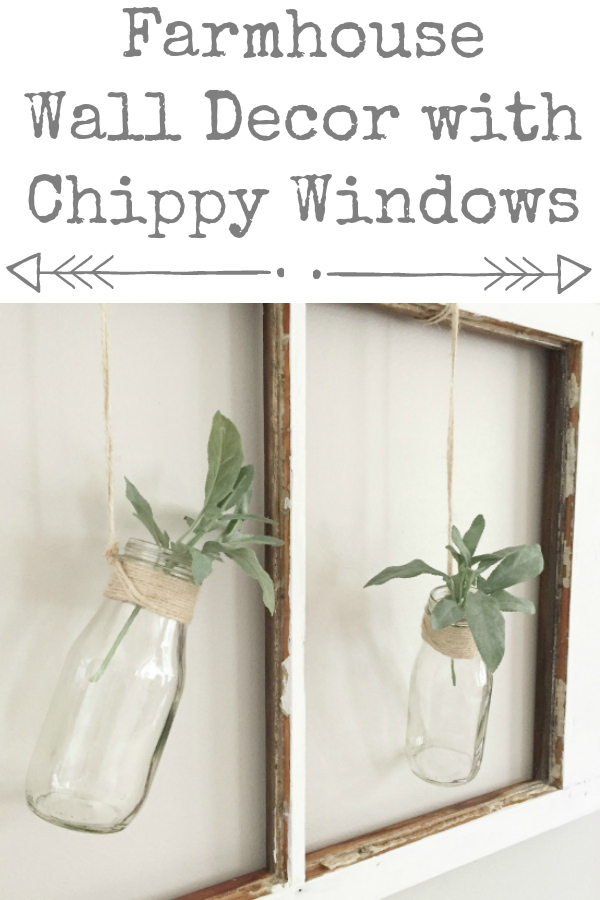
Love it? Pin it!

This is honestly the coolest use of old windows I’ve seen! It’s so simple yet it stands out perfectly in the room! Definitely going to try this at my cottage!