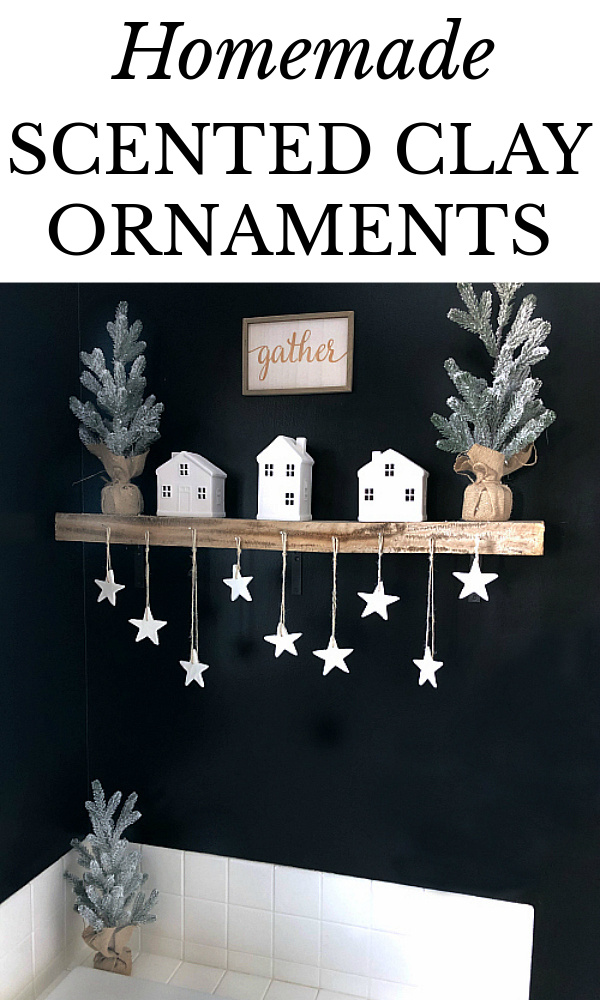
I truly believe there is something special about taking the time to make a gift vs. picking something up at the store. One idea is Scented Clay Ornaments. They are easy to make and your kids can help with them as well.
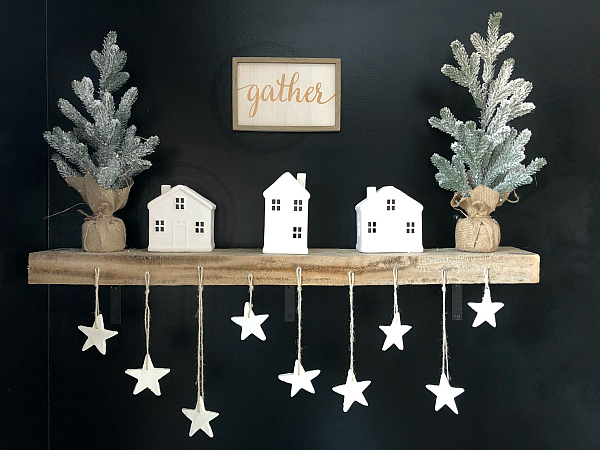
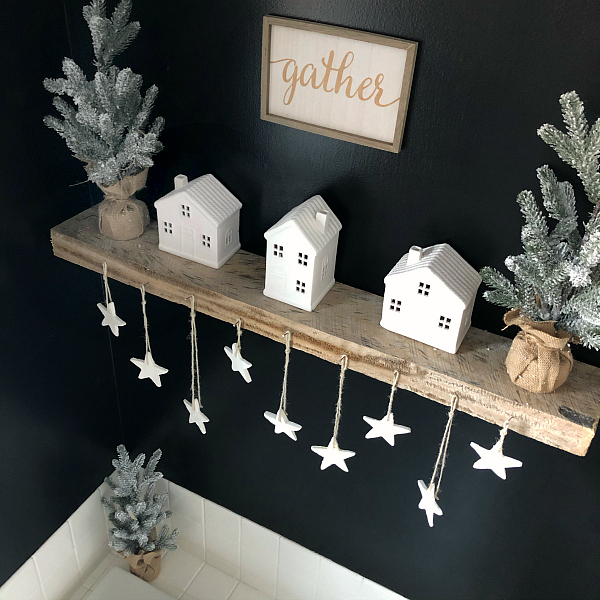
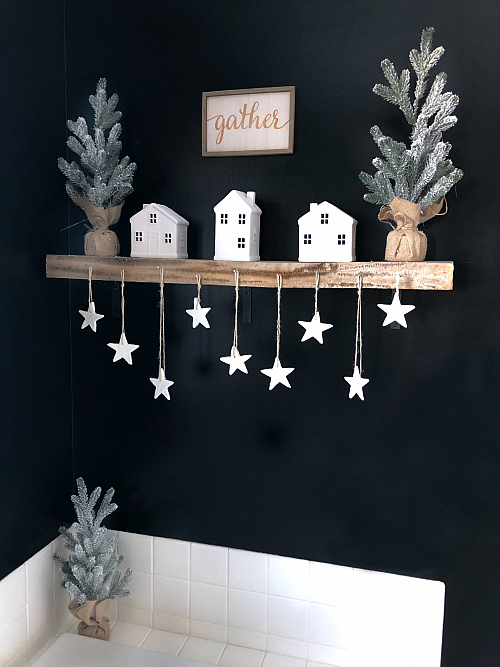
Last year I made some scented wood slice ornaments and I just loved their versatility. While you could certainly hang them on the tree, you could also use them as napkin rings or gift tags. I wanted to do something similar and thought clay would be perfect. Again, you can simply hang them on your tree, or think outside the box and use them as gift tags… or do as I did and make them into a “garland”.
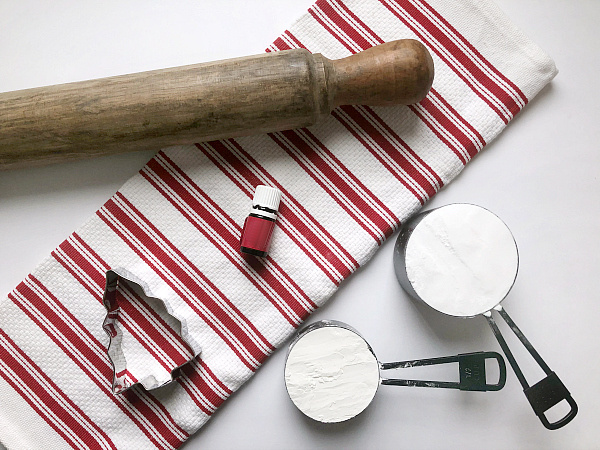
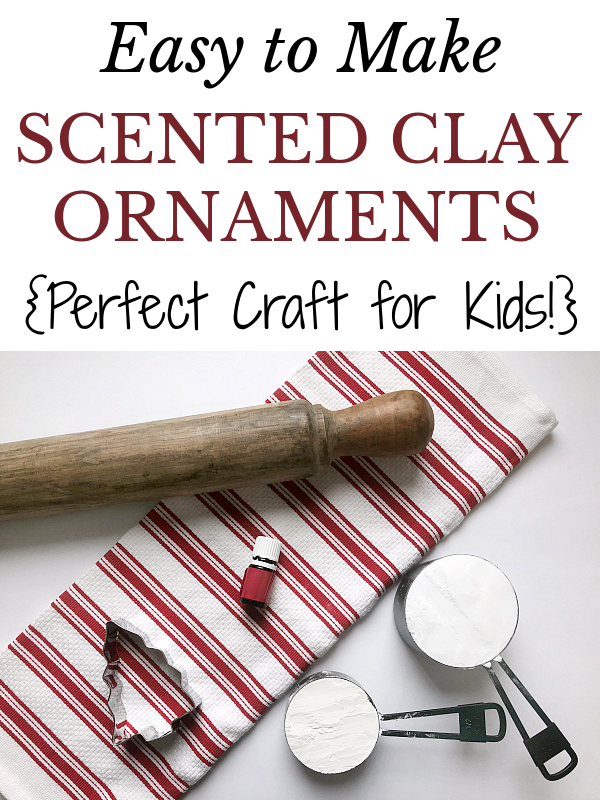
What You Need to Make Scented Clay Ornaments
Affiliate links may be used. Please see our advertising disclosure for more information.
Ingredients Needed to Make Homemade Clay Ornaments
- Baking Soda
- Cornstarch
- Water
- Essential Oil of Your Choosing- Not sure where to buy essential oils? Check out this post.
Supplies Needed to Make DIY Clay Ornaments
How to Make Scented Clay Ornaments
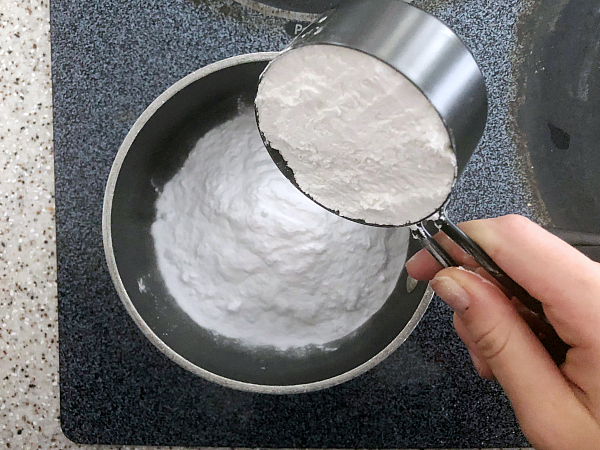
Start by combining 1 cup Baking Soda, 1/2 cup Corn Starch, and 3/4 cup water in a small sauce pan over medium heat.
Continuously stir the mixture until it resembles mashed potatoes. This process will take 3-5 minutes.
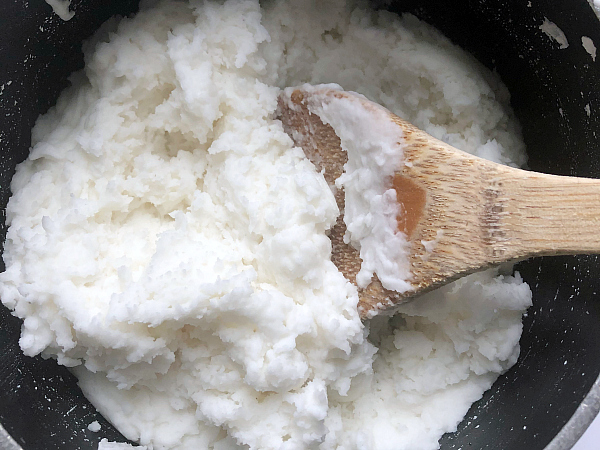
Once you achieve the correct consistency, remove the dough from the heat, cover with a dish towel, allowing it to cool for 20-30 minutes, or until you can safely handle the dough.
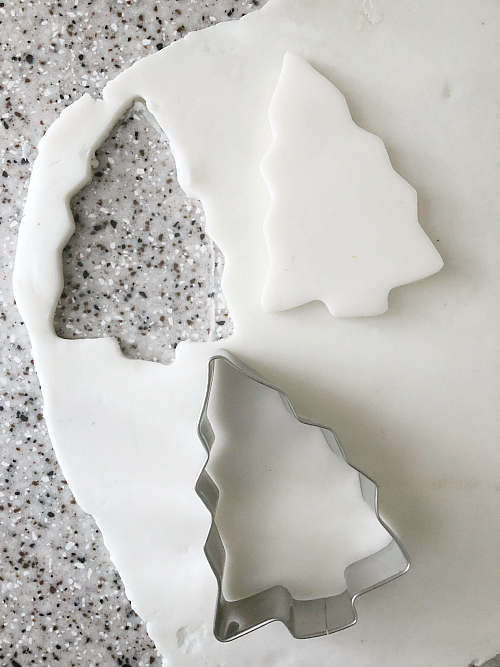
Using a rolling pin, roll the dough out until it is about 1/8″ thick. Then use cookie cutters to make your cut-outs.
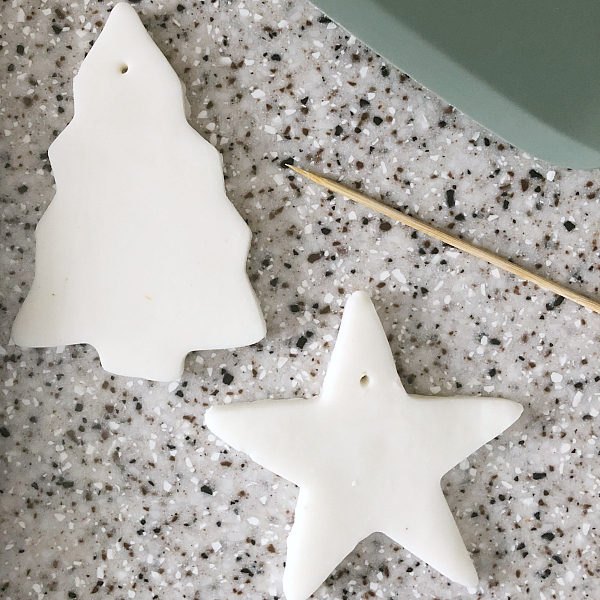
Once you have all the ornaments cut out, use a wood skewer to poke a hole in the top. This will be used for the twine to hang your ornament after it dries. Feel free to embellish your ornaments by stamping them with letters or other patterns. I’m a simple girl, so I left mine plain. (Boring. I know.)
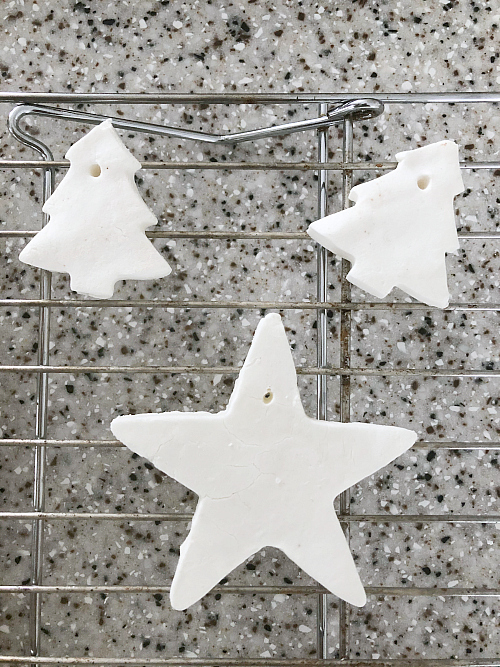
Place the ornaments onto a baking sheet and heat at 175° for 1 hour; turning every 15 minutes. When they are done, place them on a cooling rack to allow them time to cool.
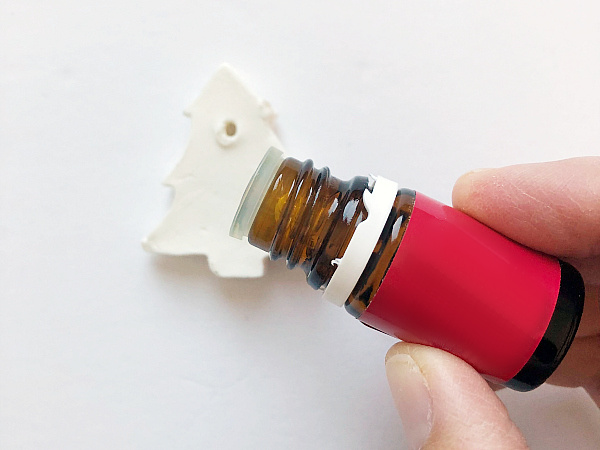
Once dry, add a drop or two of essential oil to the back of the ornament and allow it a little time to soak into the clay.
Ideas for Essential Oils to Use on Different Cut-Outs
- Peppermint on Candy Canes
- Cinnamon & Clove on Gingerbread Men
- Pine (or any Woodsy Scent) on Christmas Trees
- Frankincense and/or Myrrh on Stars
Certain essential oils (such as cinnamon and clove) can cause skin irritation so do not allow any oil to directly touch the skin unless diluted with a carrier oil.
Thread some twine through the hole and be creative with how you display these simple scented clay ornaments.
Please Note: These ornaments are rather fragile, so be careful when threading your twine through the hole. It seems easier to thread as soon as the ornaments are out of the oven vs. waiting. Because twine is often made up of 3 strands, remove one of the strands if the twine is too thick to easily go through the hole.
While the scent will fade with time, simply add another drop to the back of the ornament to quickly revive it. Another option is to add 15 drops of essential oil to 1/2 tsp carrier oil and paint it onto the back of your ornament. Carrier oil doesn’t evaporate as quickly as essential oils which may enhance the longevity of the scent.
We think you might also love these ideas!
Scented Wood Ornaments | Holiday Simmer Pot Recipe | Holiday Diffuser Blends
Love it? Pin it!
Thank you! I am going to make these with my Grand kids this weekend! I was wondering can you put glue on them and sprinkle glass glitter over the top? I appreciate everything that you do!! Merry Christmas.😊❤🎄🎄
I definitely think this would work. The clay dries really hard, so I would think glue and glitter would stick. Good idea!
Am a pottery and can’t wait to try these to give away to customers. What is a carrier oil?
Thanks, I can’t wait to try these!