
I am so excited to share this project with you today! It’s super easy, super cute; and you can use it all year long (you’ll learn how a little later 🙂 ). Ready to get started?
What You Need to Make Wood Slice Ornaments
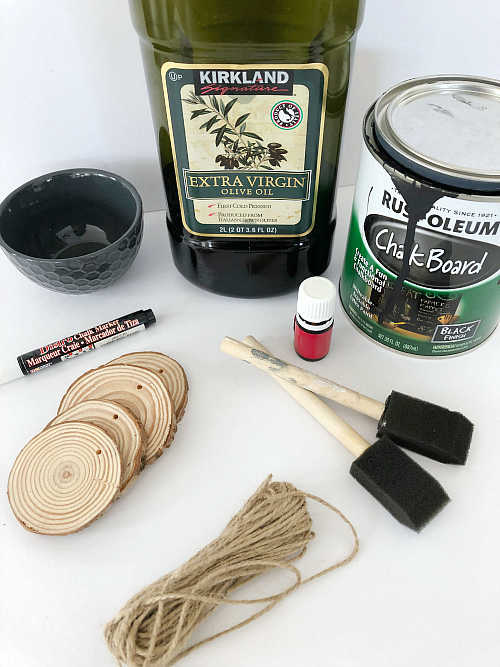
Affiliate links may be used. Please see our advertising disclosure for more information.
- Natural Wood Slices with Holes
- Olive Oil
- Essential Oil– Not sure where to buy essential oils? Check out this post.
- Small Foam Brushes
- Chalkboard Paint
- Stickers, Chalk Pen, or Chalk
How to Make Wood Slice Ornaments
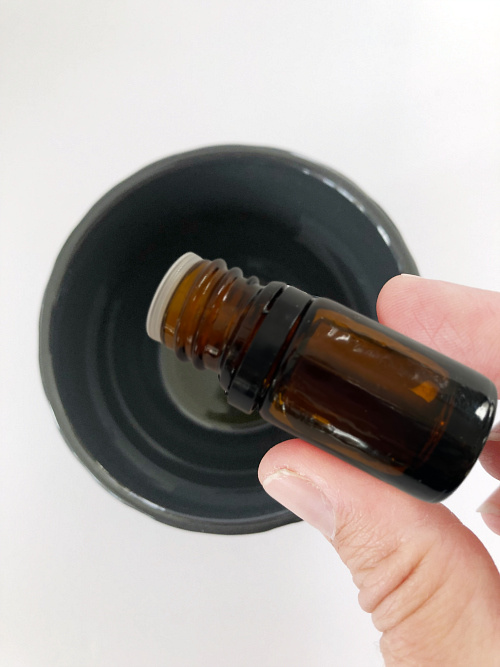
Start by placing 1/2 teaspoon of olive oil into a small bowl, and mix in 5 drops of essential oil (for a super Christmas-y scent, try a Christmas blend or 3 drops orange, 1 drop spruce, and 1 drop cinnamon bark).
Using a small foam brush, “paint” the oil mixture onto one side of your wood slice. I painted on two thin layers.
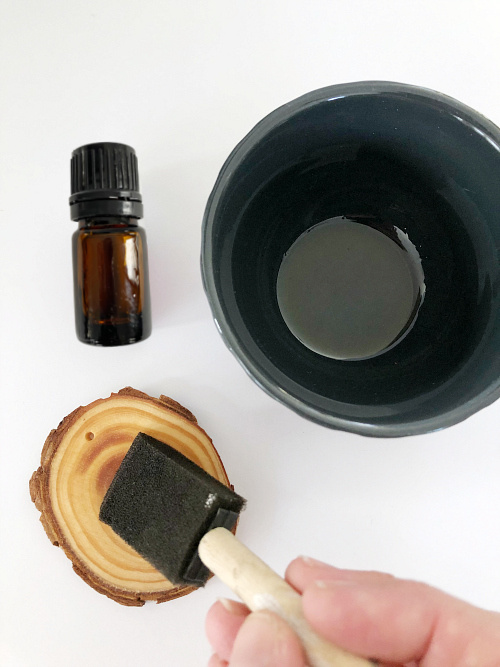
Keeping the oiled side up, allow the oil to seep into the wood overnight. You may want to place the wood slices on some newspaper to avoid the oil getting onto other surfaces. Ignoring this step will cause problems down the road, so really let that oil sit on the ornament for a least 6-8 hours.
Once the oil has had a chance to absorb into the wood slice, paint the opposite side with chalkboard paint, and allow the paint to thoroughly dry.
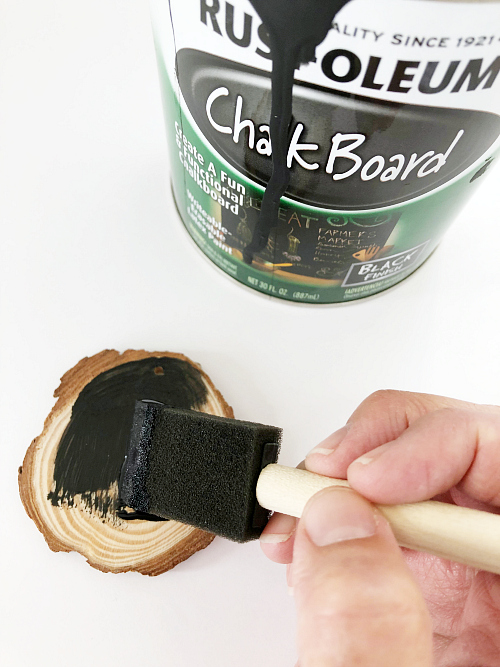
Once the paint has dried, use a chalk pen or chalk to write a message… or apply some stickers.
If you notice the scent starting to dissipate, simply add one drop of essential oil to the unpainted side.
Ways to Use Your Wood Slice Ornaments
Use them as napkin rings and allow your guests to bring them home.
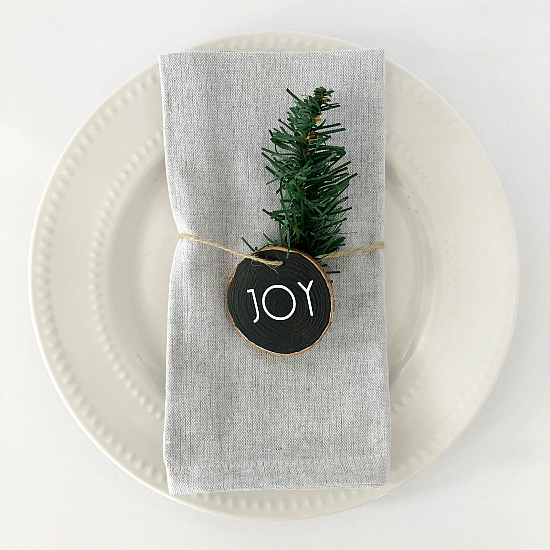
Use them as gift tags.
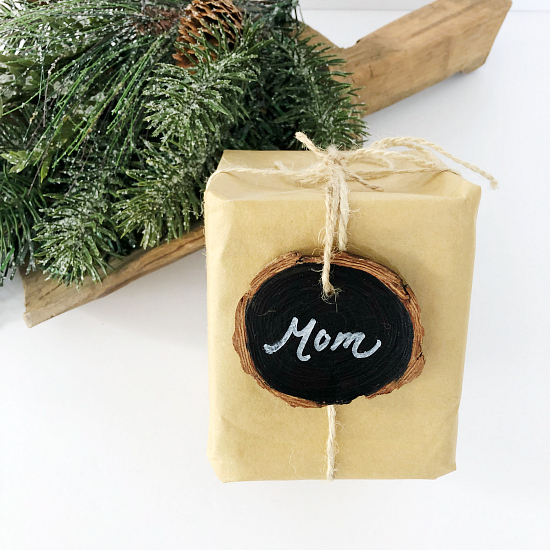
If you have a fake Christmas tree, use “woodsy” essential oils, such as Pine, Balsam Fir, Cedarwood, Spruce, or Copaiba to create the scent of a real tree.
…or use this ornament all year round as a car freshener.
Love it? Pin it!

Leave a Reply