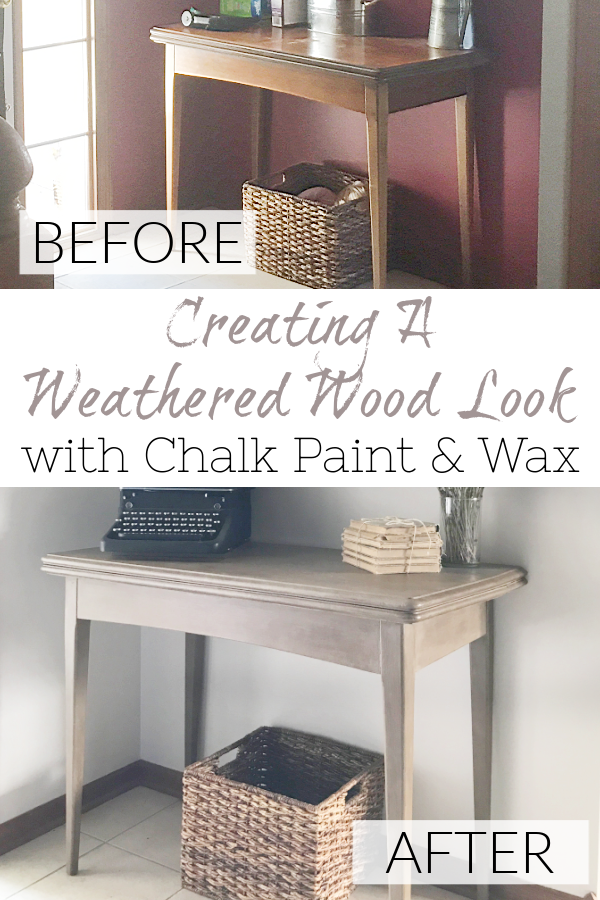
If you love the look of rustic, weathered wood this tutorial is for you. Did you know you can create a weathered wood look using chalk paint and wax? Let me show you how…
Before I even start this post, I have to take a moment to scream… ’cause the $100 Room Challenge was on the Rachael Ray Show this week! It was the craziest whirlwind of an experience, and I will truly never forget it. Short story: Tuesday I was called by the producer. Wednesday I was on a plane to New York. And Thursday I was filming a segment with Rachael Ray. There are actually two separate segments you can watch here and here.
Okay… now that my 15 minutes of fame has come to an end, let’s talk about this table in our entry. It started out white… Actually, it started out as a very dark wood, then I painted it white a year ago…
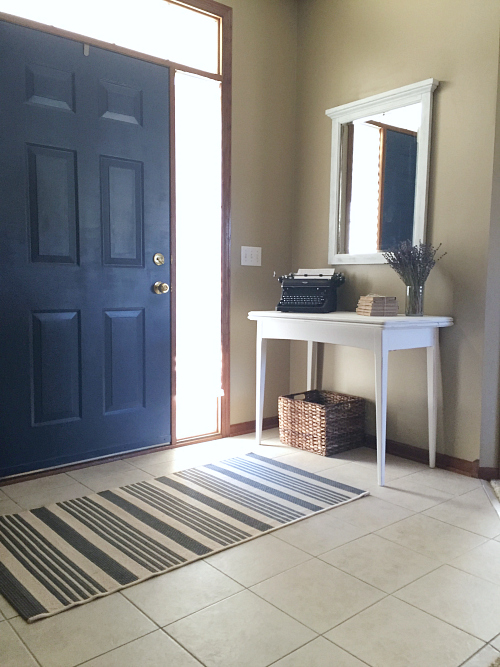
The problem is, it always looked dingy and dirty due to the fact that my kids put their shoes on the table when coming in from outside (as our puppy loves to use our shoes as chew toys). Not only were dirty shoes an issue, but that typewriter (which I love) is super heavy and was creating divots in the table. Because I plan to paint the walls a lighter color, I decided to completely redo the table to make it look like weathered wood.
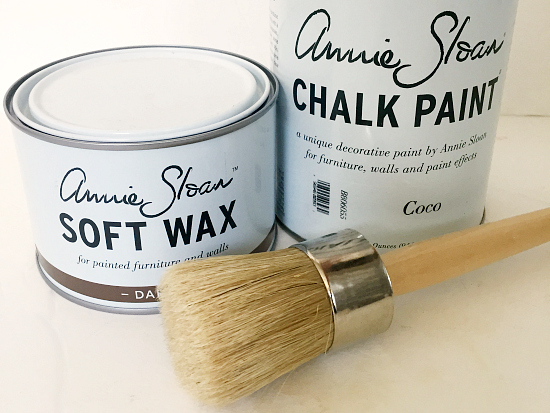
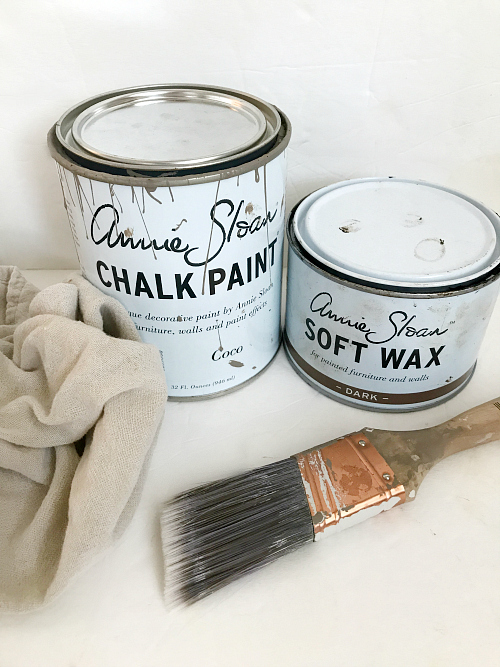
What You Need to Create A Weathered Wood Look
Affiliate links may be used. Please see our advertising disclosure for more information.
- Sandpaper– (Semi-Optional 🙂 )
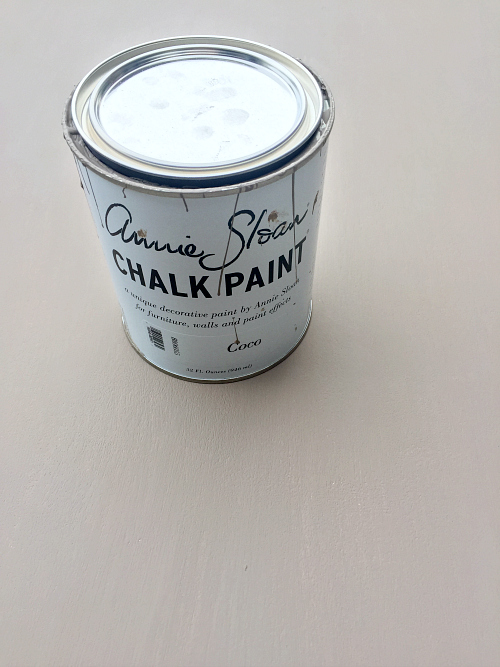
- Annie Sloan Coco Chalk Paint- Since the Annie Sloan brand is typically sold in specialty stores, I tried this method years later on some vanities in our bathroom and used Behr Pale Sepia and it worked beautifully.
- Annie Sloan Dark Wax- Again, if you cannot find dark wax in the Annie Sloan brand, you can typically find something similar at your local hardware store or on Amazon.
- Paintbrush
- Lint Free Cloth
How to Create A Weathered Wood Look With Paint & Wax
When using chalk paint, you don’t really need to sand anything first, however, because of the divots and general unevenness of the table top, I decided to sand it down a bit. Whether you choose to sand or not, you’ll want to clean the surface of your piece. Once clean and dry, apply your first coat of the Coco chalk paint (or similar) using a paintbrush.
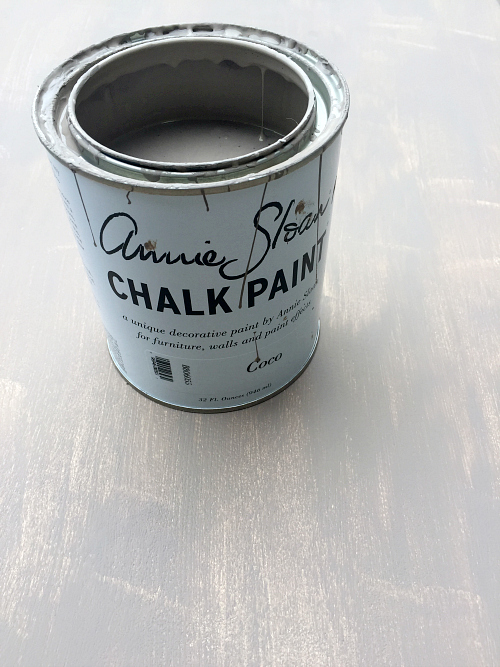
As you can see, there was still a lot of the white showing through after the first coat, so I applied another for an even tone under the wax. Chalk paint tends to dry quickly, but make sure it is entirely dry before applying a second coat.
The image above shows the table with its two coats of paint. Much better coverage.
I have seen wax brushes used in wax applications and thought that was what I should be using to apply the dark wax. However, I found the wax went on rather thick and it dried so quickly that it turned out blotchy. After doing a bit of research, I found that you can use a lint-free cloth to apply wax instead, which gives you more control over how much you are applying. (You really don’t need much at all.) Take a quarter-size amount, and simply rub on the wax with the grain of the wood until no more wax will spread; then quickly wipe off any excess.
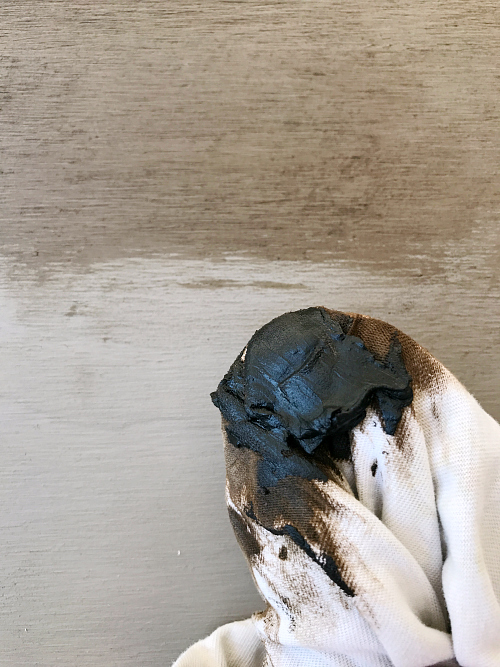
The real key is quickly wiping off any excess wax. Wax dries fast, so you can’t wait too long or you’ll end up with uneven color. It’s best to work on small sections, rather than trying to apply the wax to a larger area all at once. Here’s a close-up of the table once the wax has been applied.

Allow the wax to completely dry before moving the furniture. When the wax is “wet”, it has a tacky feel. Once you can wipe a cloth on the surface, without that sticky feeling, the wax has dried.
Here’s the end result.
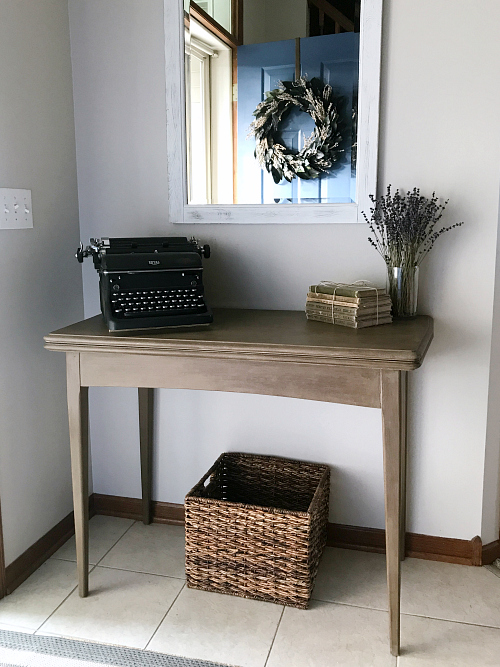
Love, love, love this look! The total time spent to paint and wax this table was just a couple hours (including dry time), and the results are impressive.
As you may be able to see, I now have a thin piece of wood under the typewriter to help distribute the weight and avoid the divot problem. I plan to paint and wax that piece as well, so it’ll blend better.
Love it? Pin it!
The table looks awesome! Thanks ks for the tips – I always struggle with furniture wax.
Yea. That first piece was definitely a struggle. I’m really glad I figured out what I did wrong though, because I love how the table turned out.
This looks so good!! I love the rag tip!! I am totally new to chalk paint and wax (I’ve been scared to use it but i’m trying to face ALL my decor fears) so I appreciate this tutorial!! Excited to see reveals in a couple of weeks!!
I am new to chalk paint and wax as well. I wish I’d know the rag trick prior to doing the piece in our living room, but you live and learn. Now, I love the technique so much I want to redo our nightstands 🙂
I just love the table!! I can’t wait to see your finished entry way!! Congrats again about the Rachael Ray show!!
Thanks Sheena! I’m super happy with how that table turned out… as for Rachael Ray, that was one exciting experience!
I am so impressed! That table looks amazing!
Thanks Wendy!
OH MY GOSH! First, CONGRATS on being featured on the Rachel Ray show!!! That is SO amazing and I’m so happy for you! Second, that table looks so pretty! I will have to copy this painting technique because it’s just beautiful! Cannot wait to see the finished space!
Thank you so much! Going to the show was quite an experience… so fun! The table turned out better than I had hoped (especially after my first try with this technique went so poorly). I am so happy with the results, and now I keep thinking of more pieces of furniture I could update like this 🙂
I LOVE how the table turned out! It’s gorgeous!
Than you so much Emy!
Amazing!! Love how this table looks – the colour/ stain is perfect! I’m using chalk paint for the first time EVER! Happy to hear all of the tips!
This was my first time using chalk paint on a piece of furniture. I have only used it two other times: once on a mason jar, and another time on a wood sign. I have discovered, however, that I LOVE it! It goes on so well and creates such a smooth finish. Will definitely keep using it!
This table turned out great! And you were awesome on the Rachael Ray show! I would have been stumbling all over my words, but you looked like a total pro. I had to laugh when you said you didn’t consider yourself creative. What a fun interview!
Truly, prior to blogging, I didn’t feel creative at all. But, blogging has a way of getting one to try new things and I now LOVE figuring out how to creatively make over a space 🙂
this looks fantastic! Can’t wait to see the rest of the space come together!
Thanks Morgan!
The table looks amazing Erin. It looks so easy you’re giving me confidence to try it!
It was SO easy. I was actually surprised by how little time it took, and what a difference it made to the space.
The table looks great Erin. And as for the Rachel Ray show… You keep talking about the for as long as you want. it’s a HUGE accomplishment. And you were so calm and composed. Amazing job!!
You are so sweet Deneen! Thank you!
This table is amazing! I’ve had horrible luck with wax in the past, but I think after your post, I’ve realized I’m doing too big of an area at one time and using too much! Great job and major score on the budget! And I think you need a TV show – you’re a natural!
I didn’t know if I’d ever use wax after that first experience, but the table turned out so well that I now feel like I want to do this on all the furniture in my house 🙂
Great minds 😉 I am getting ready to do this with my nightstands and dresser! I use stain over the paint for the same look.
Ohh… I’ll have to try stain sometime… that’d be a whole lot cheaper. Can’t wait to see how the nightstands turn out!
The table is amazing! Great tips on using the wax. And a big congrats on Rachel Ray!!
Thanks Liz! What a crazy fun week!
Looks beautiful!! Love that you didn’t throw the idea out the window when it didn’t go so well the first time! And congrats on the Rachael Ray show! I loved watching your FB live about it 😉
Thanks Rachael! It was such an amazing experience. About the table… I knew I really wanted to make it weathered looking, and I wasn’t willing to give up. I knew I had to just be doing something wrong. Thankfully, others shared some great tips that I could try, and I love the way it turned out.
The table turned out great! I love it!
Thanks Tracy!
It’s because you were on Rachel Ray that I started following you! You’re amazingly awesome! I look forward to learning so much more from you.
Awww… Thanks so much for your sweet words Cheryl! Happy to have you following along 🙂