I love this day so much! Reveal day! If you have been following along with this month’s $100 Room Challenge, then you know I have been working on our (very) outdated bathroom. Honestly, I didn’t know if I was going to be able to do everything on my list for $100. This is a huge bathroom that needed so much work… let’s see how we did with this modern farmhouse bathroom makeover.
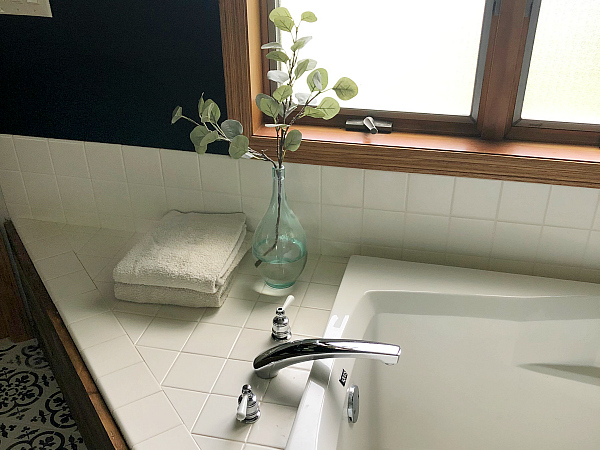
I’m calling this bathroom makeover “Go Bold or Go Home”. I did something in this space that I have loved seeing in so many rooms, but was terrified to try in my own home. Black walls anyone?
As always, let’s take a look at where this room started.
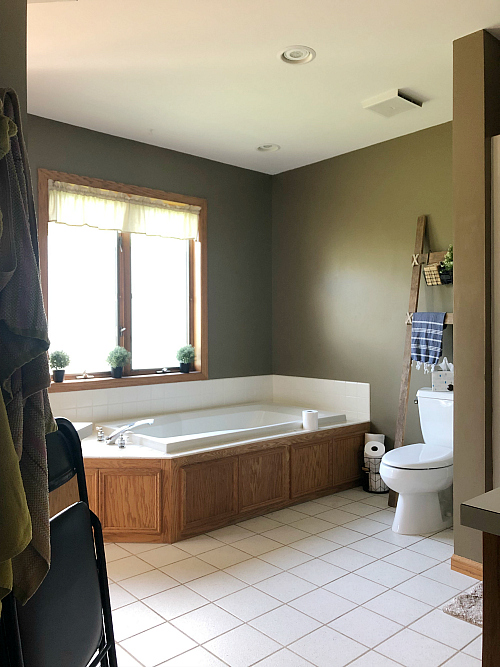
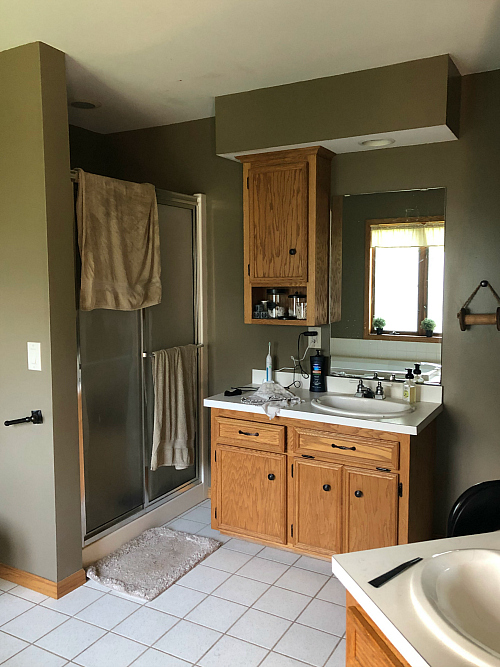
As if the oak paneled tub wasn’t enough, we also had two vanities and two medicines cabinets to match.
I had a long list of “to do’s” for this space, but before we get into all that, you wanna see what it looks like now?
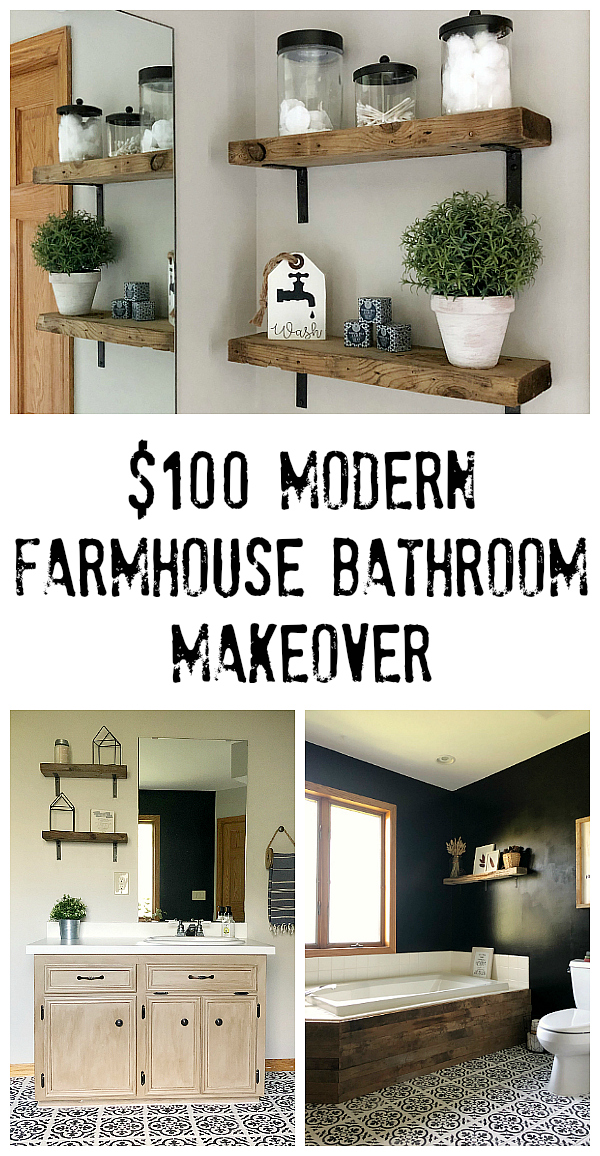
Here you go…
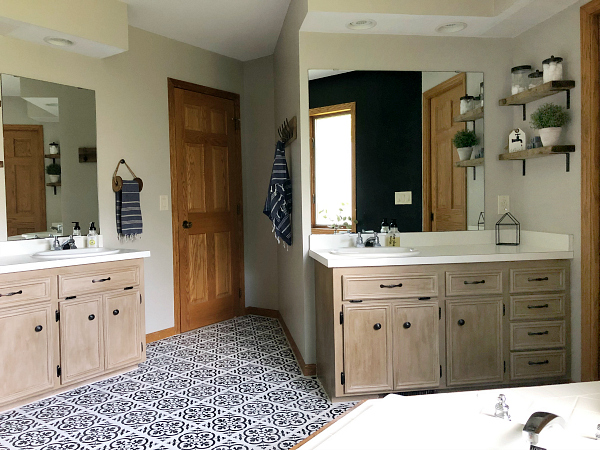
Isn’t it crazy what 3 weeks and $100 can do in a space?
Now, let’s see how we got there… Looking back at week 1, here were my goals (and how I accomplished them).
Goals for Our Modern Farmhouse Bathroom Makeover
Goal #1: Paint… Everything
I wanted almost every inch of this space to be painted… literally.
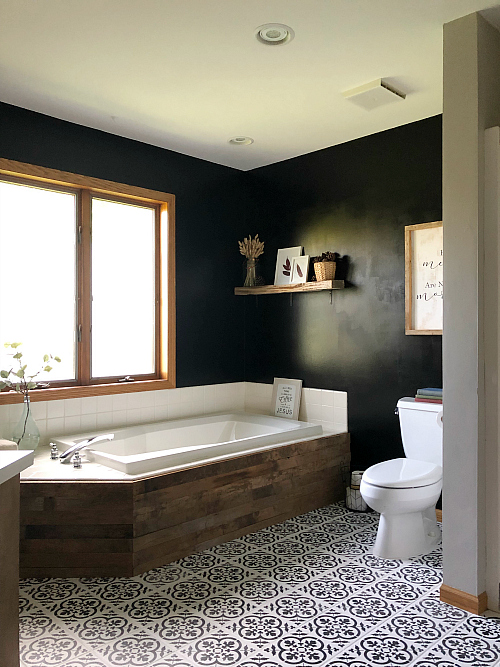
Walls: Remember my motto of “Go Bold or Go Home”? Well… the walls were my “go bold” moment. I wanted to try two black accent walls, but my husband was so hesitant that I started to question myself. I even asked for people to vote on Instagram, and only 6 people voted black. Everyone else wanted me to go dark blue… but there was something in my gut that knew I had to do it… so I did. Black accent wall it is.
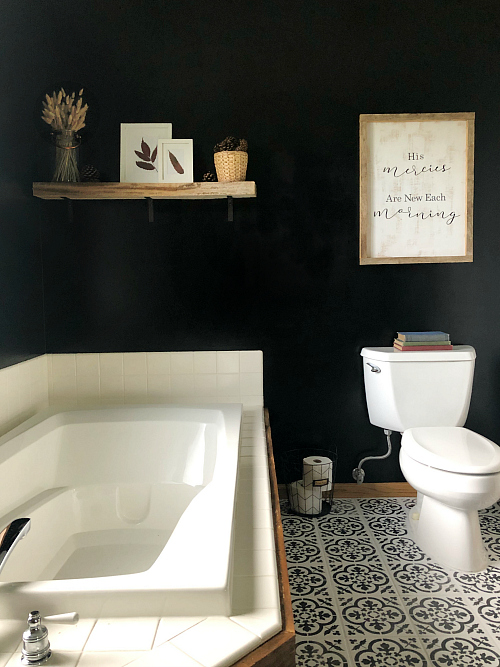
I have zero regrets. I love it! It ended up working so well with the white tile surround on the tub.
The rest of the walls were painted in Worldly Gray by Sherwin Williams. I knew I wanted a light gray or white, and when you’re on a budget, you take what you can get for cheap. I had two gallons of Worldly Gray sitting in my basement, so that’s what went on the walls.
Vanities: I have had my fair share of painting oak vanities. I painted one in our old house using a satin enamel paint; and last year, I painted our basement bathroom vanity with leftover latex paint… This time, however, I tried something new and used chalk paint and wax to get a weathered wood look. (You can find the full tutorial for this technique here.)
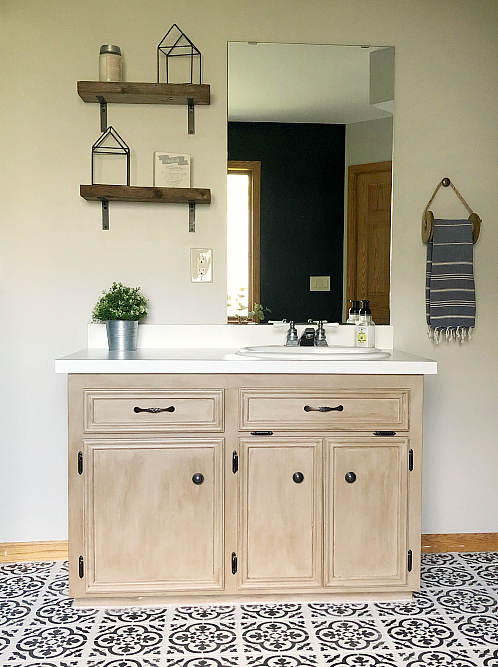
This project was definitely the longest because I had to hide the oak grain in order to be successful. If I didn’t, all the dark wax would get into the grain, which I don’t think would have looked all that great. Last week, I wrote about the process of hiding the wood grain (which was a game-changer and totally worth the effort). You can find the tutorial here.
Tub Surround: Honestly, I thought I was going to do the “weathered wood look” on the tub surround as well, but after sanding for 142 hours, I was dreading having to do more… Along comes my husband with the most brilliant idea. We took off the panels and wrapped the tub with barn wood we had out in our garage. I cannot take any credit for this project. I literally took my son to his football game with the oak paneling intact, and when I got home, it looked like this…
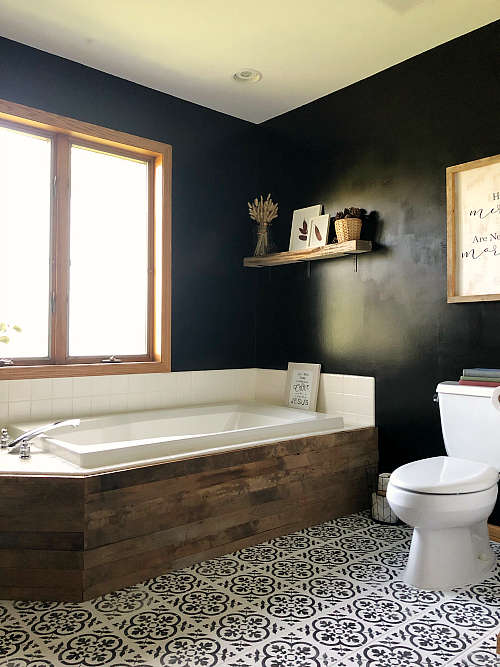
You can find the tutorial for this tub surround makeover here.
Floor: The last thing that needed paint was the floor. I knew I was going to grab the same stencil I used in our downstairs bathroom, and go for it. If you are interested in the how-to, you can find the tutorial here.
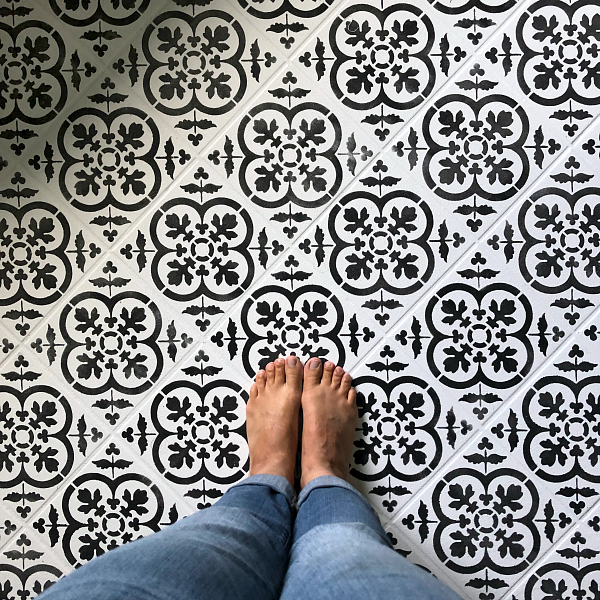
Don’t judge the feet. They have been working very hard these past few weeks and could use a pedicure 🙂
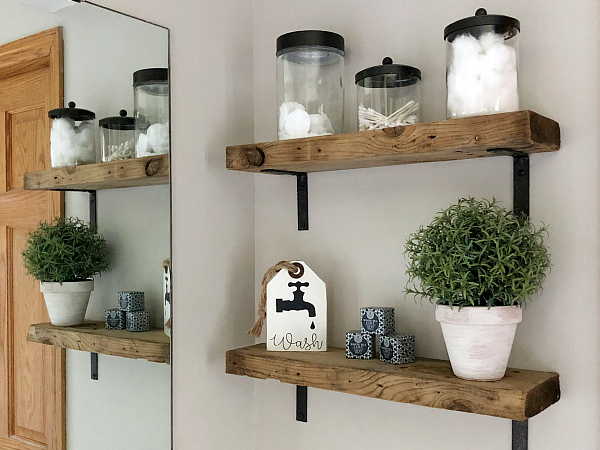
Goal #2: Goodbye Medicine Cabinets. Hello Open Shelving.
Call me weird, but I don’t like the look of medicine cabinets. I understand they are a great way to store unsightly items behind closed doors, but I just don’t love them… so we took them down. Both of them. The first one went well; the second, not so much. We found a huge hole had been cut out of the sheetrock behind the cabinet. Once again, husband to the rescue. Not only did he find us free sheetrock on Facebook Marketplace, but he also fixed the hole. (Round of applause for husbands!) In place of the medicine cabinets, I hung open shelves. The wood was already in our garage, and I spray painted some corner braces (in Oil Rubbed Bronze) to use as shelf brackets. (Corner braces are less than $2 each, which helps with the budget).
Goal #3: Mirrors and Wall Décor
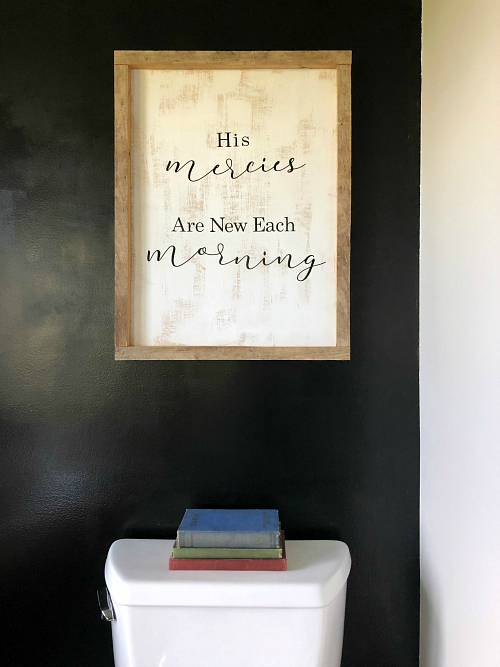
Okay… the mirrors didn’t happen. I tried a couple ideas, but in the end decided to just keep them for now. I did, however, make a farmhouse style sign for above the toilet… at the cost of free. You can find a tutorial on making these farmhouse signs here.
Goal #4: It’s the Little Things
I took down the valance. I bought a new toilet paper holder. I did not cover the counters with contact paper. I actually bought a roll of “Marble Contact Paper” at Target for $6, but it looked like $6 marble. In other words, it looked so fake (even in the wrapper) than I returned it and decided to do this project outside of the challenge, using a higher quality (more realistic looking) marble contact paper like I found on Amazon.
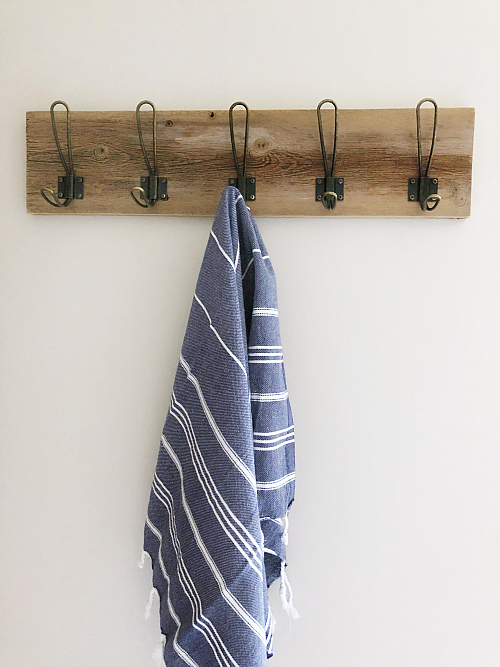
I did, however, end up making a new towel rack, which wasn’t in the original plan, and I absolutely love it. You can find that tutorial here.
I always love seeing before and afters, so here are a few for you…
Before

After
Before
After
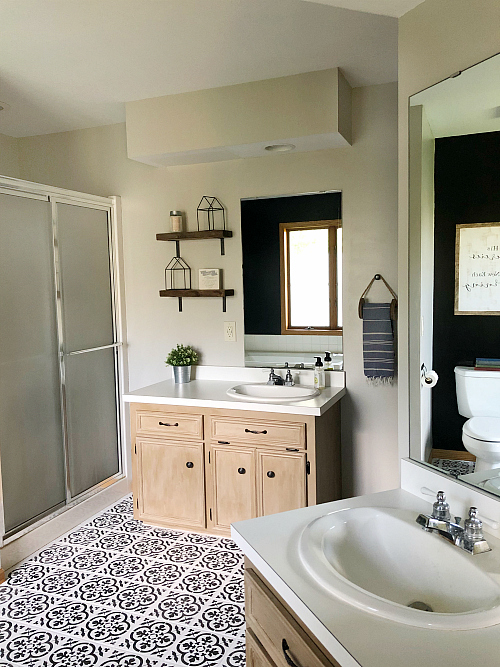
Before
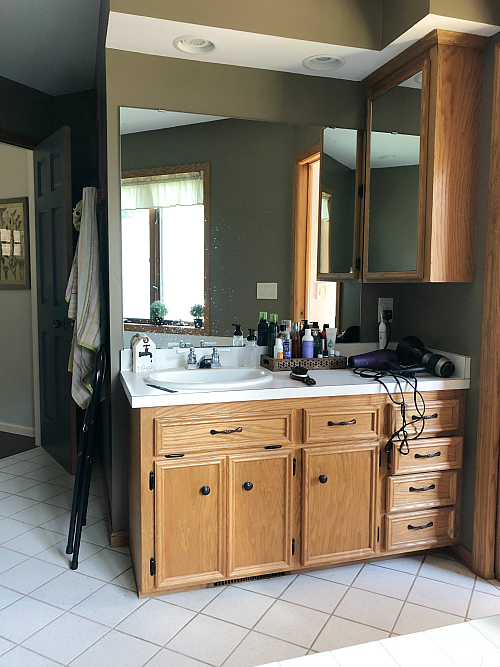
After
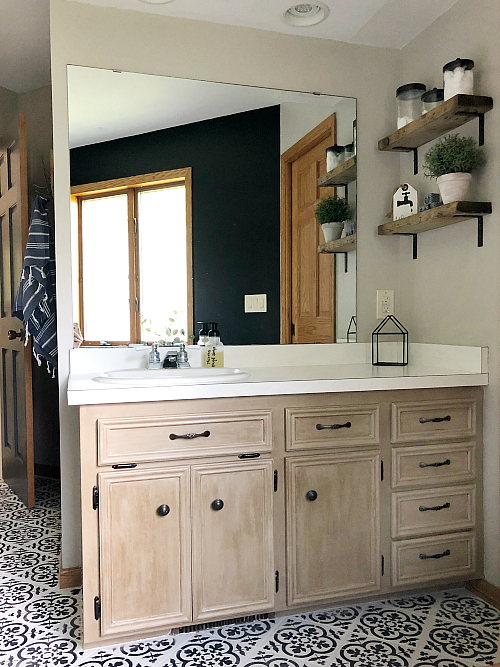
That’s it… our $100 Modern Farmhouse Bathroom Makeover!
So… How About the Budget?
Last week, I had spent $25.76… Don’t worry, I used a whole lot more this week 🙂
Open Shelving: $37.38
- Wood- FREE (Already had on hand)
- Corner Braces– $23.46 (I bought 3 packs of 4 at $7.82 each)
- Oil Rubbed Bronze Spray Paint– $6.98
- Drywall Anchors– $6.98
Stenciled Floor- $27.96
- Stencil– FREE (Already had from our other bathroom makeover)
- White Floor Paint- $13.98 (While I still had some of the white floor paint leftover, it wasn’t enough to cover the floor with two coats)
- Black Floor Paint- $13.98
- Supplies (Foam Roller, etc)- FREE (Already had on hand)
Farmhouse Sign- FREE
- I already had everything I needed for this project… good thing 🙂
Toilet Paper Holder- $3.99
Another Paint Roller- $3.42 (for the accent wall)
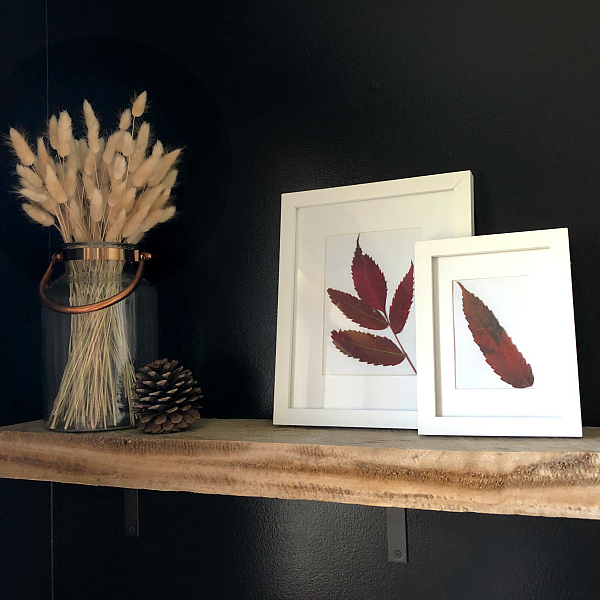
Décor Used on Open Shelves- FREE
- I simply shopped my house, and looked through bins in the basement until I had things I could use to style the shelves. I did, however, grab a few fall leaves outside to add to some white frames I already had.
Total Cost: $98.51
Wanna Catch Up?
Week 1 // Week 2 // Week 3 // Week 4
Make sure to check out all the other reveals from those that participated in this month’s $100 Room Challenge!
Love it? Pin it!

Erin – I’m so happy I discovered your blog and the $100 challenge via your interview on the Marly Dice podcast. Enjoying watching everyone’s inspiration and creativity come to life! Maybe next time you have the challenge I’ll jump in and join!
I’m so glad you went for the black walls! They totally transform the space and that room has more than enough space and light to pull them off
Erin, I have no idea how you managed to pull all this off in a month! Not to mention the budget! It looks amazing. I LOVE the black wall. And do you know what I would give to leave the house and come back to a new tub surround like yours? That’s livin’ the dream. Everything looks so good together, to the point that I would not have even recognized it as the same room. Amazing job.
I am so glad you went with your gut and decided to go for the black! It looks amazing! I love the weathered finish on the cabinets and I too am not a fan of the bathroom cabinets. I have just kept mine up because we don’t have any cabinet drawers, etc. You’ve got me thinking though!! This bathroom was a labor of love- you got so much accomplished! I’m sure you are enjoying it so much each day! It’s like your own little “spa” in your own home!
This totally blows me away! You worked miracles with that $100! It looks amazing. with the black walls and floor and the rustic tub surround/ vanities. All that painting was well worth it!
Once again – what a difference paint makes! I can only image the number of hours you spent working on such an ambitious project. It turned out beautifully. I’m a big fan of high-contrast color schemes.
Your bathroom looks amazing! I need to read your tutorials for the vanities and the floors!
It’s beautiful! I especially love the tub surround and vanities. Great work!
It looks amazing Erin. You hit it out of the park with the black wall. Love the wood your husband placed around the tub. Great transformation.
I’m drooling over here! I adore the paint finish on your cabinets and the new dark accent wall. And that tub surround? Hello, magnificent! This doesn’t even look like the same house. Amazing job. Enjoy!
What a fabulous makeover! The bathtub surround is ingenious!
Soo good Erin!!! Ahh that black wall and the floor stencil are everything to my contrast-loving heart. I can’t believe this all happened with LESS than $100!!
This looks so great! I’m excited for the tutorial on the tub surround as we have a very ugly surround (fake marble-y? Not sure what to call it!) on our tub in our master bathroom.
Love all that you did!!
The black accent wall with those floors looks amazing. Wonder how black would look in a smaller space? Really like how the cabinets came out too. Inspiring for sure.
I’m in love!! This is so amazing! What a great use of black paint!!! This is defining inspiration for when I go to do my master bathroom! Wonderful job!
I am blown away by this room makeover! Your husband did a great job on the tub and the black wall is stunning! I was nervous about my black wall but I also was happy with it after it was done. You have done another great makeover!
It looks so good!!! You accomplished so much for $100!