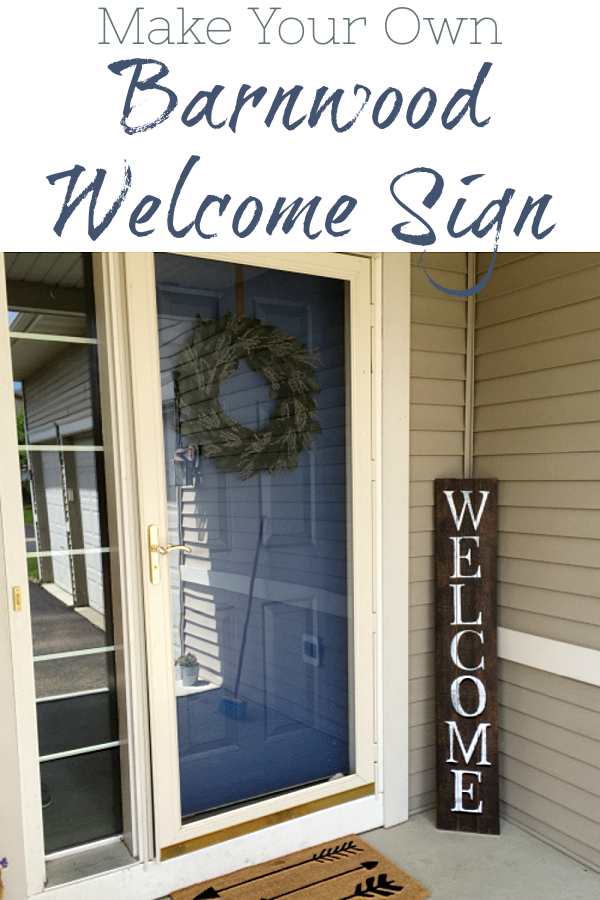
We are working on making over our porch for $100 (or less). One of the things I am striving for is a more welcoming space as people enter our home, so I decided to make a DIY Barnwood Welcome Sign. I love the rustic look of barnwood, and what better way to greet people than a large sign saying “Welcome”?
I’m on track with this week’s $100 Room Challenge update… finally. This week I was able to make (and find) a few items to create a more welcoming entry.
What I Made: DIY Barnwood Welcome Sign
Nothing beats a FREE barnwood welcome sign, right? I was scrolling through Pinterest and found this image from Just A Girl And Her Blog.

Her sign is a bit smaller than what I was going for, and she used a little different method than I did (using painter’s tape for her outline), but ultimately, this is the look I was going for. Here’s how we created our DIY barnwood welcome sign.
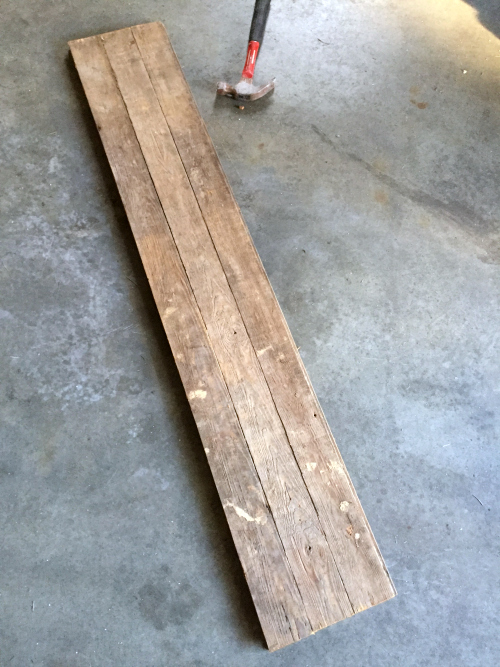
We started by cutting 3 strips of barnwood down to a height of 55.5″.
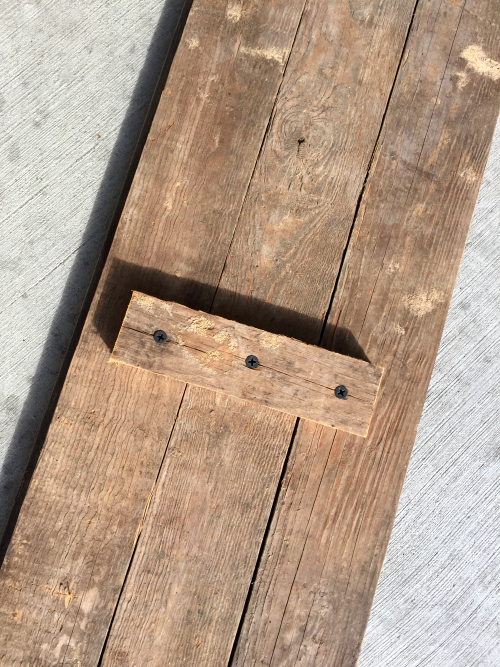
The barnwood is tongue-and-groove, so we simply put them together and used scrap barnwood to secure the pieces together on the back.
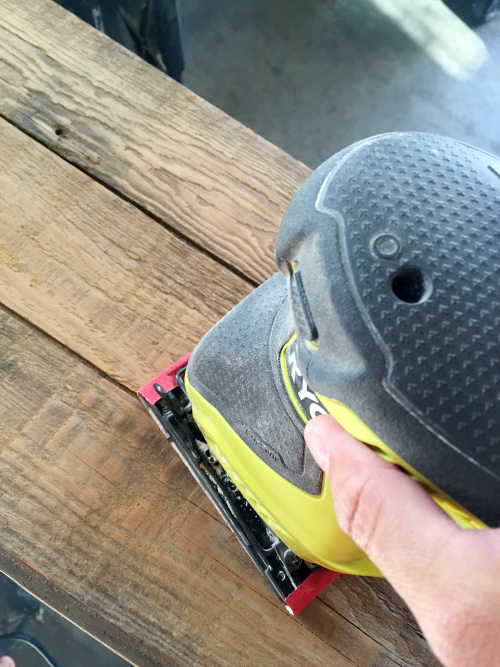
I wanted the grain of the wood to show, so I lightly sanded the wood with our Ryobi Orbital Sander, using a 100 grit sandpaper; and stopped there.
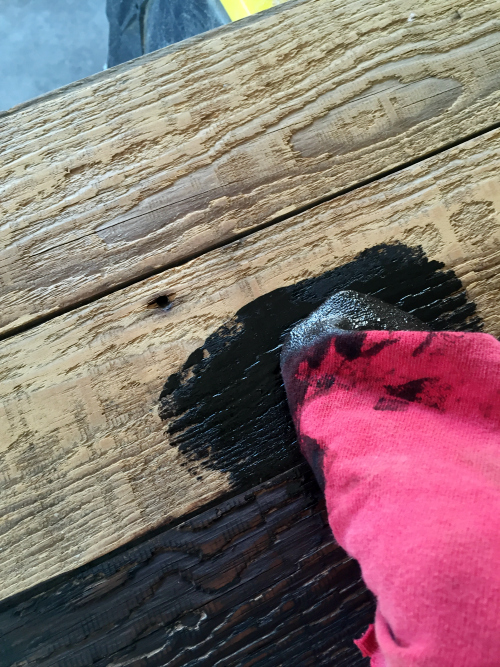
I then applied a dark stain, but, again, I wanted the grain to show, so I didn’t work too hard to get the stain in every crevasse.
After the sign was dry, I worked on the lettering. I used my Cricut, and I played around with a few fonts; ultimately going with “Playfair Display”. I wanted the height of each letter to be 6.5″ to allow for 2″ spacing at the top and bottom, and a 1″ space between each letter. I cut the letters out of contact paper (vs. vinyl) because it’s much cheaper. (FYI: I used the “paper setting” on the Cricut when working with contact paper.) In this case, I used the outlines of the letters, not the actual letter cut-outs.
I applied the letter outlines to the barnwood, making sure to measure out where I wanted it to be. Just as a word of caution, working with the contact paper was more difficult than vinyl because it’s thinner and folds on itself, so it requires a bit more patience. I used a little painter’s tape to hold each outline in place.
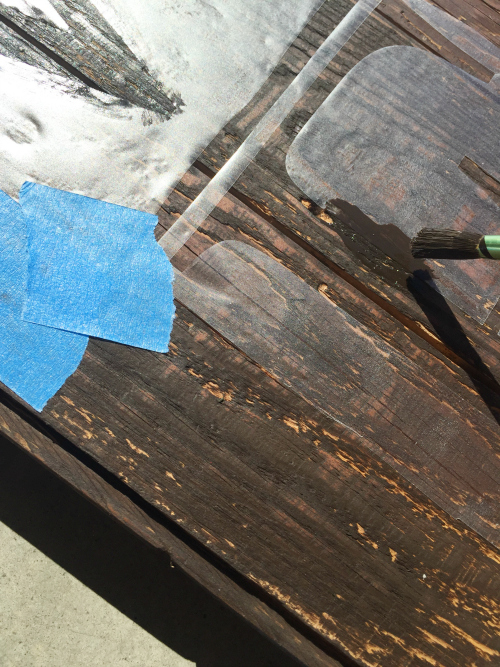
Once the outline was where I wanted it, I used a small paintbrush to apply a thin layer of stain around the outline. This does two things: 1.) It provided a bit of “glue” to secure the outline in place and 2.) it sealed the outline, so the white paint wouldn’t bleed under the contact paper.
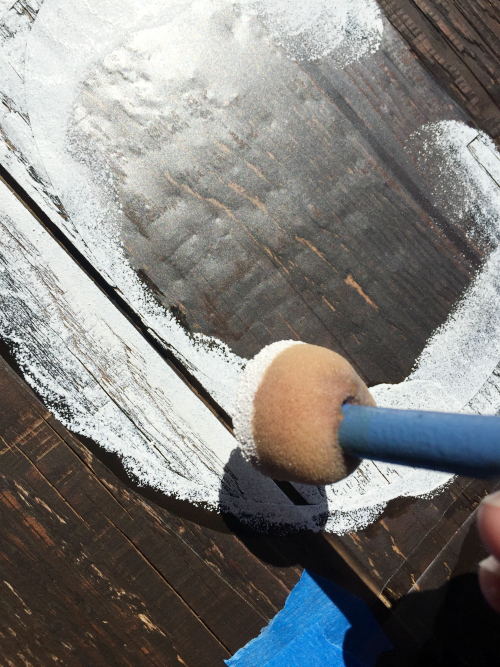
Once the stain was dry, I used a small sponge brush to paint on the letters. I allowed that to dry for 5-10 minutes and peeled the contact paper away to reveal this…
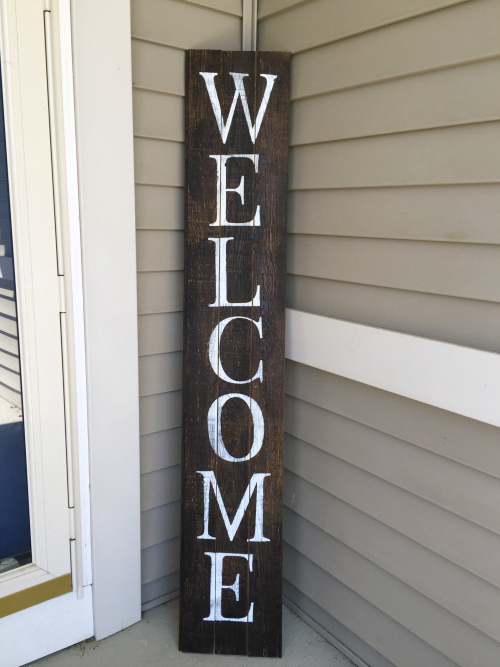
I know. The “O” is a little crooked… I’m calling that character.
I also applied some polyurethane to help seal everything up.
What I Bought
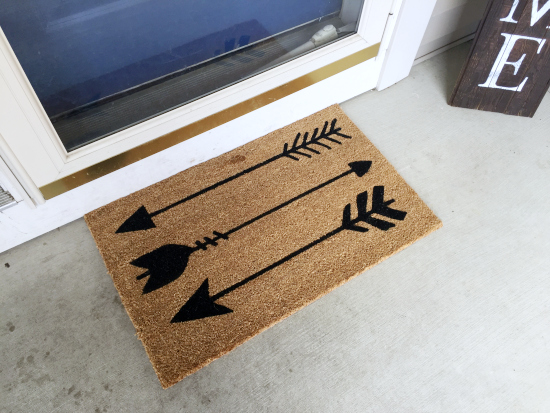
You may recall from week one that I had planned on making a welcome mat for the entry, but after looking around for plain mats that I could spray paint, I discovered that making one would actually cost more than what I spent on this one; which was $8.63. (Unfortunately it looks like this item is no longer available)
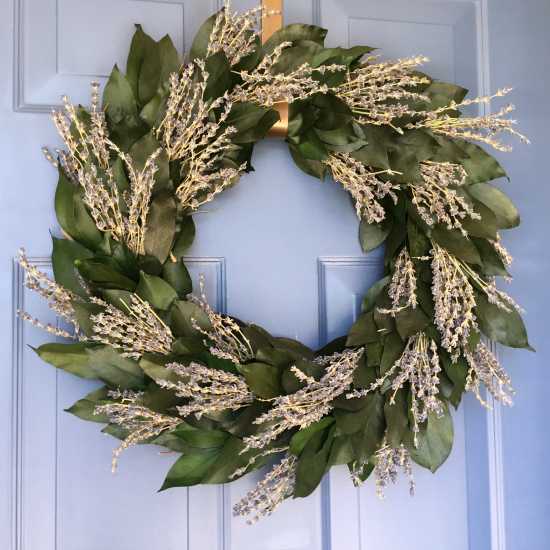
Here’s another item I had planned on making, but found was cheaper to buy. This wreath was on clearance at Target. It’s beautiful and smells of lavender. The cost was $29.91. I went to Michael’s, and their wreath forms were about $10. A string of faux leaves was around $18, and since I don’t have the required hot glue gun and glue sticks, I would have had to purchase those as well. Even with the 40% off coupon (available for one full priced item) that Michael’s is currently offering, the price would have landed me around $37. Better to buy (which isn’t always the case).
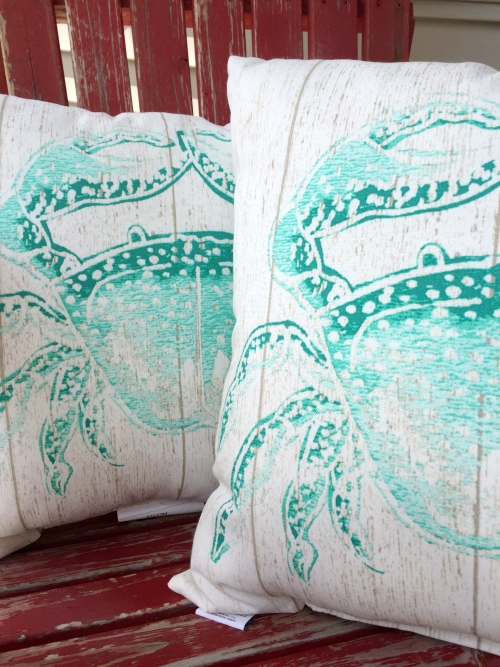
If you are redoing your porch, I highly recommend waiting until mid-June because all the outdoor items go on sale/clearance. Trust me when I say that I looked for outdoor pillows for this space, but I couldn’t find any that I really loved, but I did find these pillow covers on Amazon. There were inserts available as well, but they would take awhile to arrive, so I headed over to the Target clearance section and bought the cheapest outdoor pillows I could find (at $9.95 each) knowing I was going to cover the design.
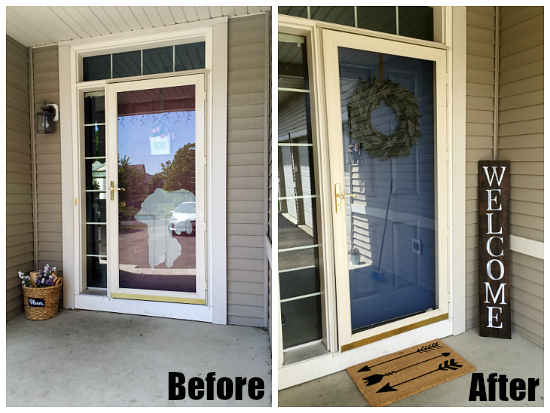
So here’s what the entry looks like now. So. Much. Better!
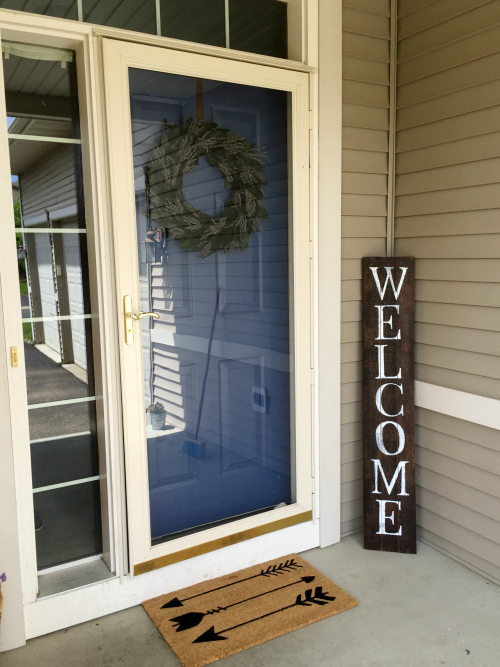
Ha ha. Just noticed while downloading the pictures that you can see the broom in the reflection 🙂 #keepinitreal
A little different angle, but look at the difference!
The Budget… So Far
Last week we left off having spent $31.97, and here’s my Target Clearance Shopping Spree 🙂
Door Mat- $8.63 (After using my Target Redcard and saving 5%)
Wreath– $29.91 (After using my Target Redcard and saving 5%)
Outdoor Pillows x2– $19.90 ($9.95 each after using my Target Redcard and saving 5%)
Pillow Covers x2– $9.78 ($4.89 each, but you can get them cheaper if you are willing to wait for delivery)
Welcome Sign: FREE
- 3 Pieces of Barnwood- FREE (Already Had)
- Scrape Wood- FREE (Already Had)
- Screws- FREE (Already Had)
- Stain- FREE (Already Had)
- Contact Paper- FREE (Already Had)
- White Paint- FREE (Already Had)
- Polyurethane- FREE (Already Had)
Total So Far- $100.19 Yikes! Okay. I’m 19¢ over, but I don’t think I have anything else to buy. I’ll keep my eyes open for cheaper pillow inserts somewhere and see if I can’t bring that price down a little 🙂
Wanna Catch Up or Jump Ahead?
Week 1 // Week 2 // Week 3 // Week 4 // Week 5
Love it? Pin it!

I don’t have any access to barnwood or old pallets. What type of wood could I purchase at Home Depot to do this? Thanks
What kind of paint did you use over the stain for the welcome sign?
I made this sign quite awhile ago now, but if my memory serves me correctly, I think I just used some white paint I found in our basement. May also have been some white primer. As long as you seal it with some polycrylic (dries clear) or polyurethane (dries more yellow), it should hold up just fine. Hope that helps.
Love the sign! I can’t seem to find that font- what cricut cartridge is it on or how did you create the lettering? Thanks, Megan
Playfair Display is a Google font. If it is not already on your computer, you can download it and it will show up as an option in the Cricut Design Space (no cartridge needed 🙂 ). You can do a free download here if it’s not on your computer: https://www.1001freefonts.com/playfair_display.font
I loved reading your blog. especially the welcome sign. I work at a transportation company and we have tons of wooden pallets. so many great ideas from you. thanks
You are SO lucky! I would love to have access to pallets. I have to shop local listings for people and businesses that are giving them away 🙂