An alternative title for this post could read: “Gross Things I Find Around My House that I Never Knew Needed Cleaning”. This week I have been deep cleaning my refrigerator and discovered something I never knew about: refrigerator coils. If you have never crossed this chore off your to-do list, you are not alone. I, too, had never cleaned my refrigerator coils… and it shows! So, let’s get started. Here’s a step-by-step tutorial on how to clean refrigerator coils.
What Are Refrigerator Coils & Why Should We Clean Them?
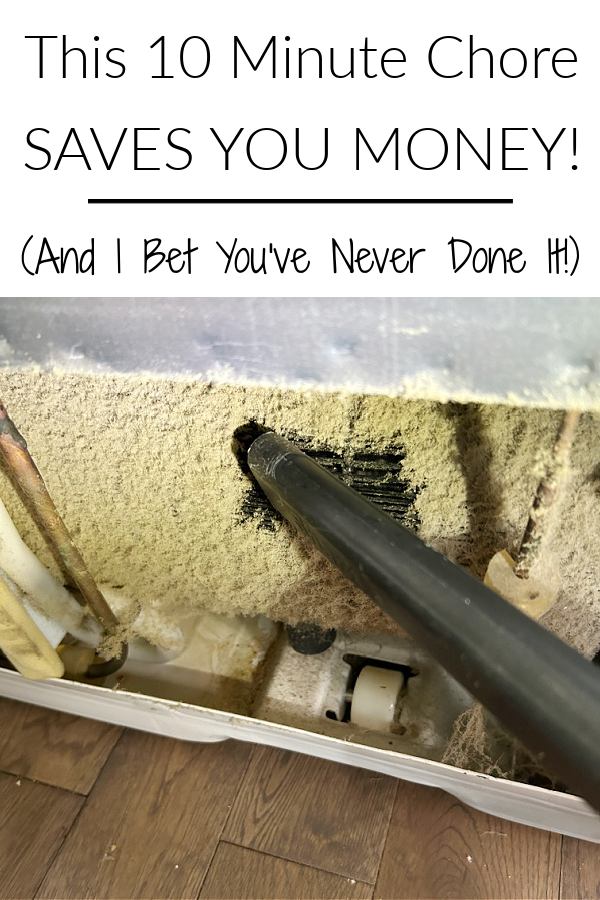
Refrigerator coils are located on the back or bottom of the refrigerator. These coils play a crucial role in maintaining the proper temperature of your refrigerator. When the coils clog with dust, it takes more energy to run your fridge. Most estimates I have seen state you pay an additional $5-10 each month you run your fridge with dirty coils. That means in the past 5 years, I potentially paid an additional $300-600 to run my fridge! If you want your refrigerator to run efficiently (and save a little money), it’s worth taking a few minutes to clean your refrigerator coils.
What You Need to Clean Refrigerator Coils
Affiliate links may be used. Please see our advertising disclosure for more information.
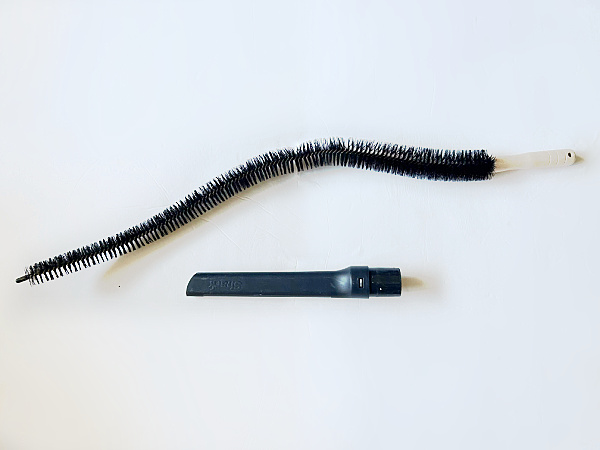
- Vacuum Cleaner with Crevice Attachment– If your coils are underneath the fridge, you may need a flexible crevice attachment, which is longer and (as the name states) flexible.
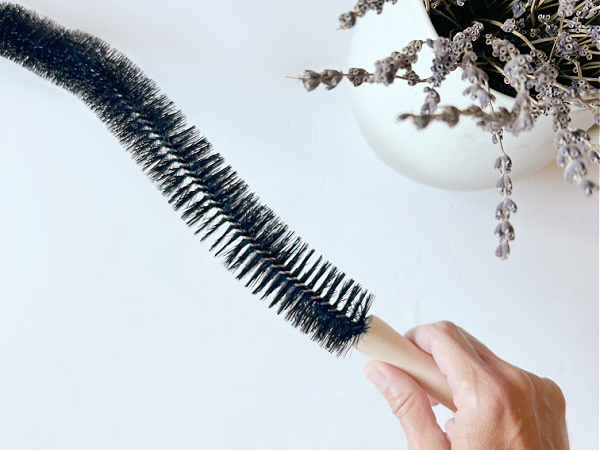
- Refrigerator Coil Brush
- Wrench or Screwdriver– If the refrigerator coils are in the back of your fridge behind a panel.
How to Clean Refrigerator Coils
IMPORTANT– Prior to beginning the process of cleaning the refrigerator coils, you need to unplug your fridge! In addition, please reference your owner’s manual for recommendations on how to clean your specific refrigerator coils. The following tutorial is showing how I cleaned my refrigerator coils and may not represent the best process for your specific refrigerator. Please see our disclaimer for more information.
Start by pulling your refrigerator away from the wall. Refrigerators are typically on wheels that go forward and backward, not side-to-side, so pull the fridge straight out from the wall so you don’t damage your floor. Then unplug it!
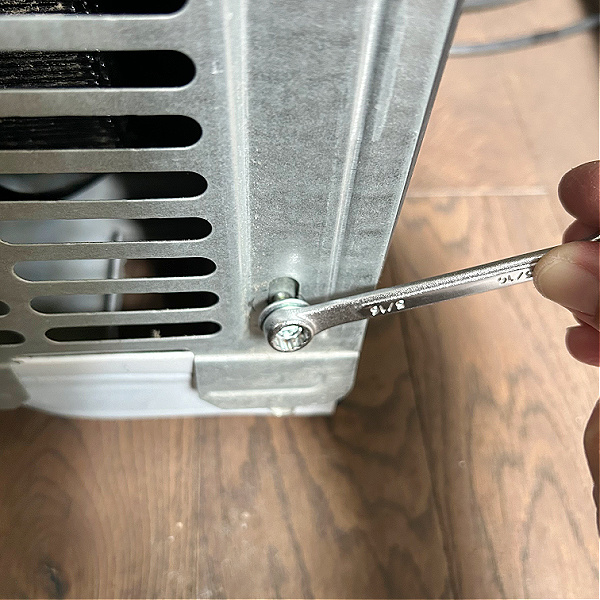
If your coils are in the back of the fridge (like mine) you will need to remove the back panel. I used a couple small wrenches to remove the screws, however, you may be able to remove them with a screwdriver instead.
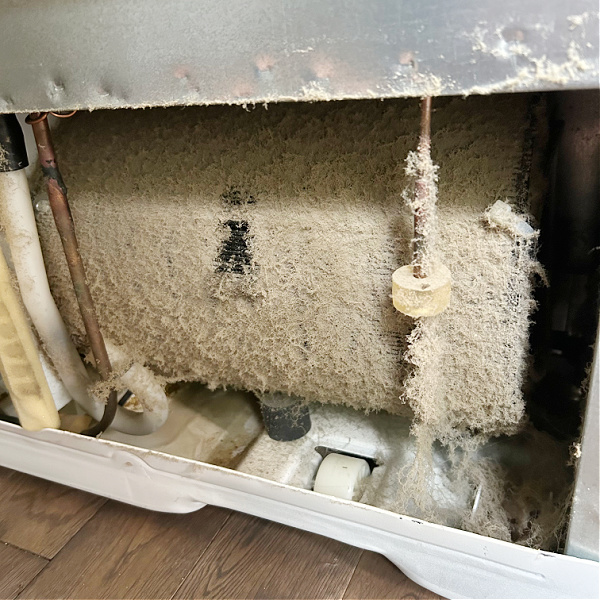
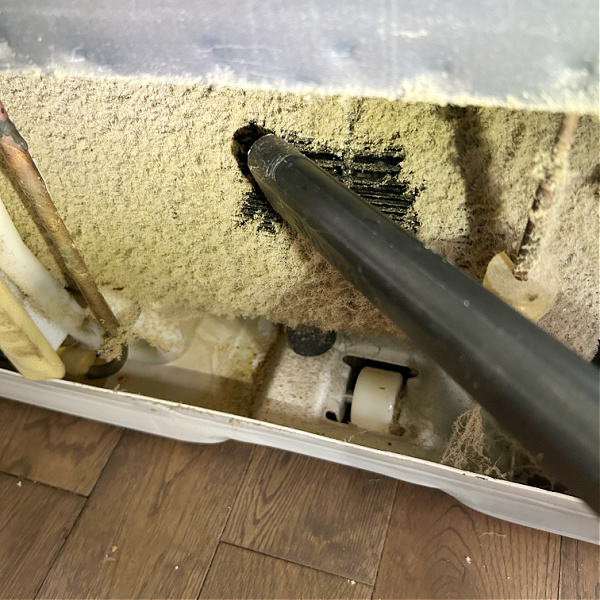
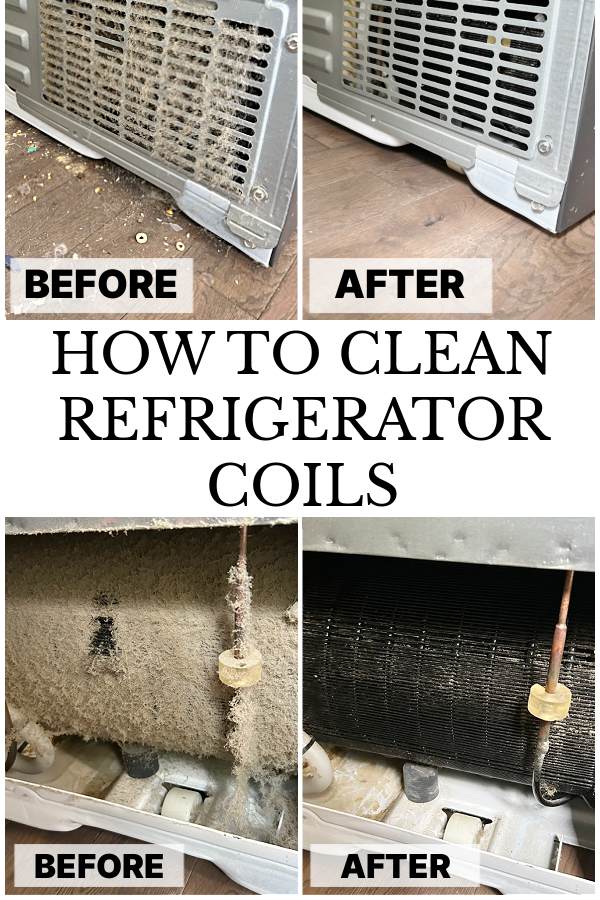
With the panel removed, you will probably notice a lot of dust; especially if you’ve never done this before. This was my refrigerator coil! (And don’t let that clean spot fool you… that was me brushing a little dust away to see if my coil was actually under there).
Yours coils may look a little different than mine, but the process for cleaning them is the same. Start by using the crevice attachment on your vacuum to remove as much dust as possible.
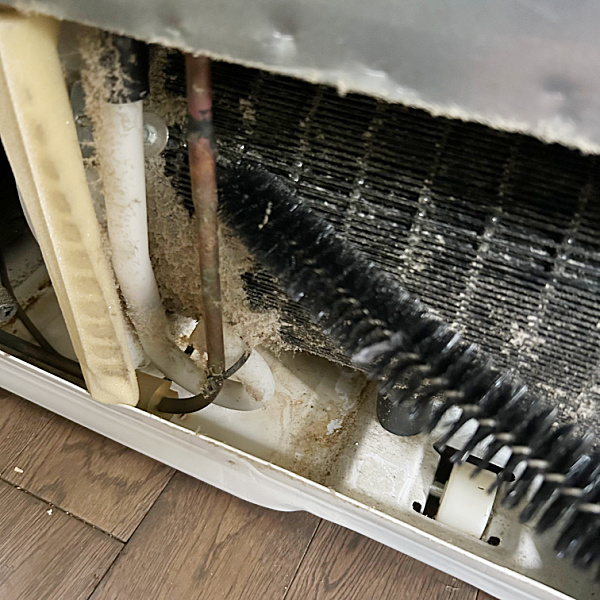
Once you have completed vacuuming as much as you can, use a refrigerator coil brush to continue loosening the dust in as many nooks and crannies as you can. Make sure to stop frequently to vacuum off the coil brush as you go along.
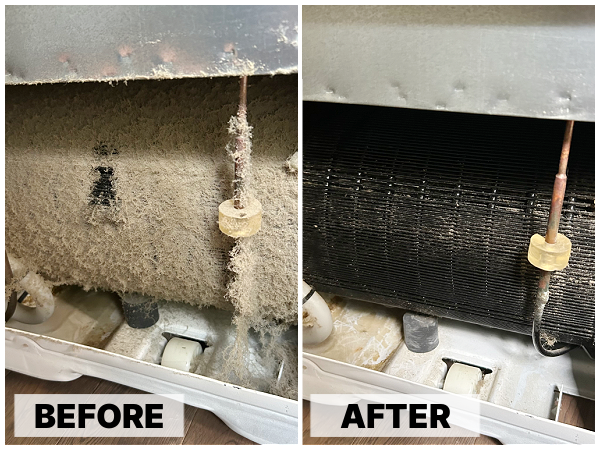
Here’s a look at the difference 2-3 minutes of dusting can make!
Once you have dusted as much as you can, go over the back panel with the vacuum to remove any dust. Then replace the panel and plug the refrigerator back in.

Since the refrigerator is already pulled out from the wall, this is a great time to vacuum up any dust bunnies and clean the floor under the fridge. (Check out our DIY Floor Cleaner to help with the process).
With everything cleaned up and ready to go, push the refrigerator back into place.
We think you might also love these ideas!
How to Clean a Fridge Water Dispenser | How to Clean An Air Fryer | How to Clean A Porcelain Sink

Common Questions About Cleaning Refrigerator Coils
How Often Should I Clean Refrigerator Coils?
The answer to this question depends on whether or not you have shedding pets, since pet hair can build up on the coils. If you do have shedding pets, it is recommended that you clean the refrigerator coils every 6 months. If you don’t have pets, you should clean the coils annually.
Can I Used An Air Compressor to Clean Refrigerator Coils?
While a vacuum and coil brush do well to clean the coils, you simply can’t get all the dust with these two tools alone. Using an air compressor or a can of compressed air is an option if you want a more thorough cleaning, however, if you use this method, know that the dust from the coils will fly out onto the floor and surrounding areas (vs. being sucked up by a vacuum). I would recommend wearing a dust mask if you choose to go this route.
How Do I Clean Refrigerator Coils Under A Refrigerator?
As mentioned at the beginning of this post, refrigerator coils can be found on the back or under a refrigerator. If your coils are located underneath your refrigerator, you should be able to remove the front grill panel at the base of your refrigerator. With the grill removed (and your refrigerator unplugged), you can see if the crevice attachment to your vacuum can make its way under the fridge, but it’s likely you will need a flexible crevice attachment to really get under there. After getting as much dust out as you can with the vacuum, use a refrigerator coil brush to get a more thorough cleaning. You can always inspect how it’s going by using a small flashlight to see under the fridge in the area you are working. Because so much of the dust will fall to the floor, you may want to pull the refrigerator out and vacuum up the dust.
Love it? Pin it!
Leave a Reply