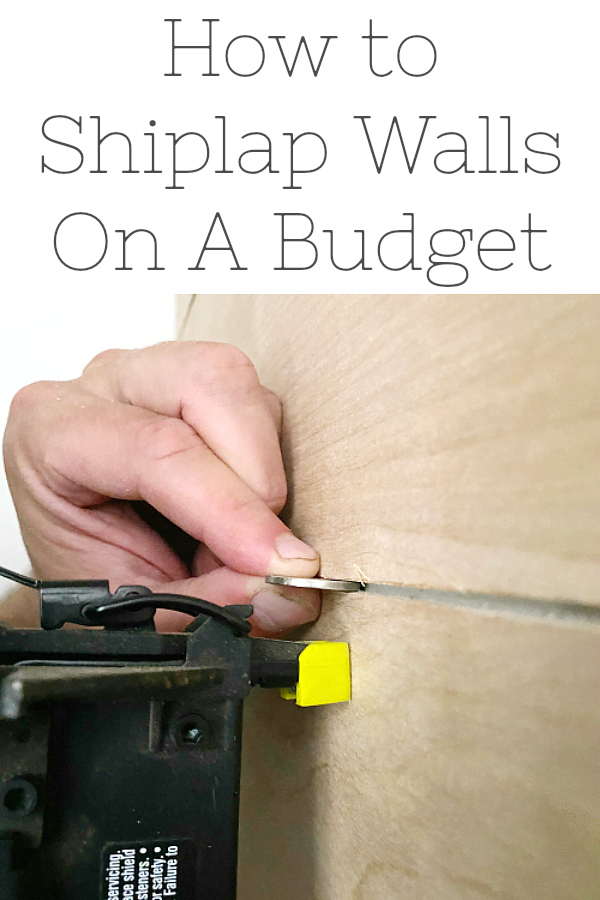
Shiplap became a popular trend thanks to a little show called Fixer Upper. However, the price of buying true shiplap will set you back hundreds, if not thousands, of dollars depending on the size of your space. Since this is part of a $100 Room Challenge, there is no way I could swing that kind of money. Instead, we were able to add shiplap for less than $30. Here’s how to shiplap walls on a budget!
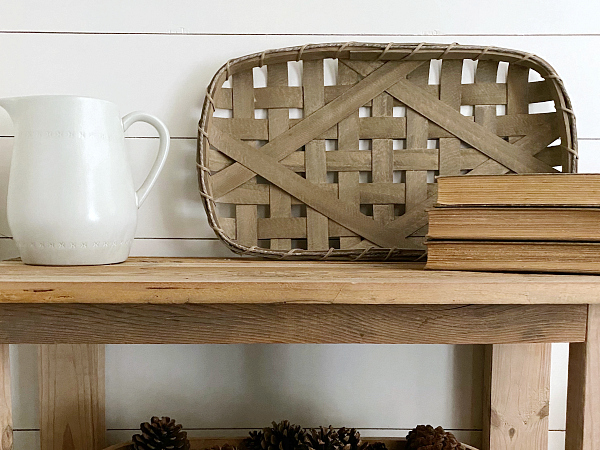
It was a productive week for the $100 Room Challenge. We got the walls in our entry nook shiplapped, which is an easy project, but it takes some time to complete. Today I’m going to take you through the entire process and share how we are doing with our $100 budget.
What You Need to Shiplap Walls
I have no wonderful image with everything needed for this project, but I wanted to include all the items so you know what you’ll need.
Affiliate links may be used. Please see our advertising disclosure for more information.
- Underlayment (4′ x 8′)- Underlayment is a very thin wood you can find in the lumber department of your local hardware store
- Table Saw
- Miter Saw
- Jig Saw
- Tape Measure
- Nail Gun
- Nickel (like the coin 🙂 )
- Joint Compound or Wood Filler
- Putty Knife
- Sandpaper
- Primer
- Paint
- Paintbrush
- Paint Roller
- Dust Cloth
How To Shiplap Walls… Step By Step
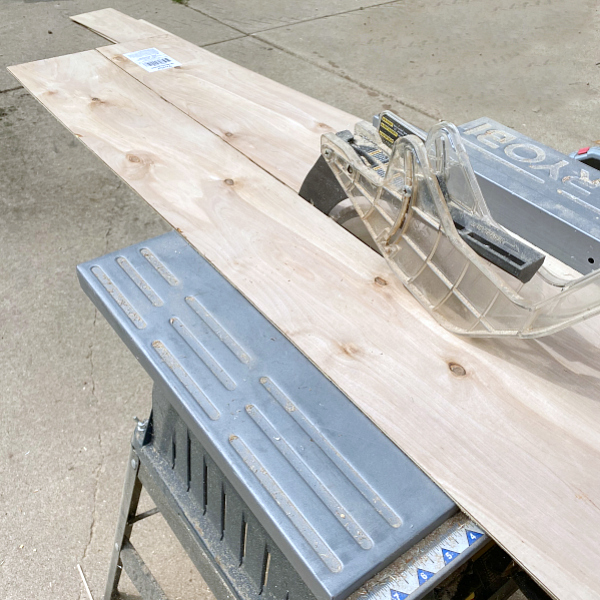
Step 1- Rip Underlayment into 6″ Strips
Underlayment comes in a 4′ x 8′ piece. Each of these pieces needs to be cut down into 6″ strips that are 8′ long. I highly recommend have the underlayment cut in half at the store to make it easier to work with. Then use a table saw to rip them down to 6″ strips. This is really a two-person job. One to run the underlayment through the saw, and the other to catch it on the other side.
Table saws are for experienced users only. Follow all safety precautions prior to using. If you are not familiar with using a table saw, I believe you can ask your hardware store to cut the strips for you, however, there may be an additional cost.
Step 2- Measure & Cut
Once you have all your strips, you are going to need to cut them to the length of your wall using a miter saw. We are shiplapping such a small area that we cut each piece to the length of the wall, but if you are working in a space with walls longer that 8′, you will need to figure our how you want your vertical seams to look. I, personally, like them staggered. We did this in our barn as you can see below.
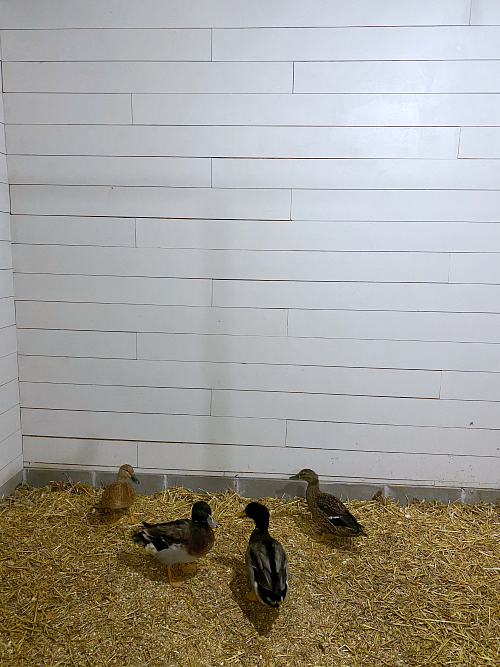
(Say hi to our ducklings that hatched in April)
The hardest part is working around doors (and other things, like outlets). We used a jig saw to cut the piece to fit around objects.
As mentioned above, both a miter saw and jig saw should be used by experienced individuals. Please follow all safety precautions prior to use. If you are not comfortable using these tools, please do not attempt this project on your own.
Step 3- Nail It to the Wall
Using a nail gun, attach each board to the wall. In order to make the horizontal seams even, separate each board with a nickel as shown below.
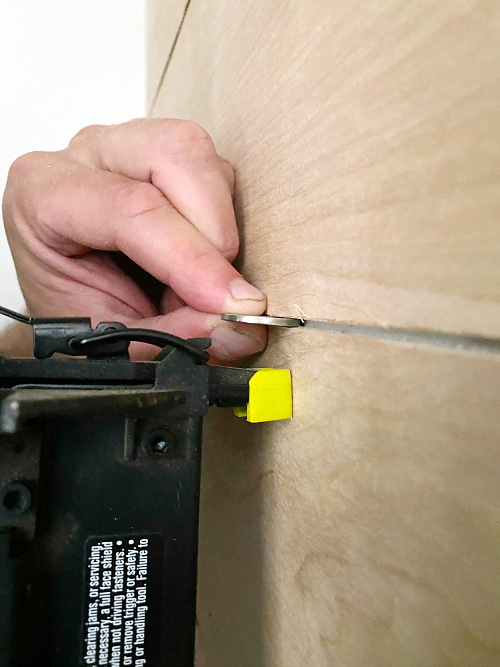
Because underlayment is so light, you don’t have to nail it into a stud, but if you have a stud finder, it would be best to use studs to make sure it is secure on the wall.
Step 4- Fill in Nail Holes
You will notice that you have lots of little holes where you nailed the boards to the wall. Ideally, these should be filled as you will get a much better appearance after painting. I tried using both wood filler and joint compound, and found the joint compound to be much easier to work with. Simply apply it to the hole using a putty knife and slide your putty knife back over it to make sure it’s smooth. If you get any joint compound in the seams, simply use a toothpick to clean it out. After filling the holes, your wall will look something like this…
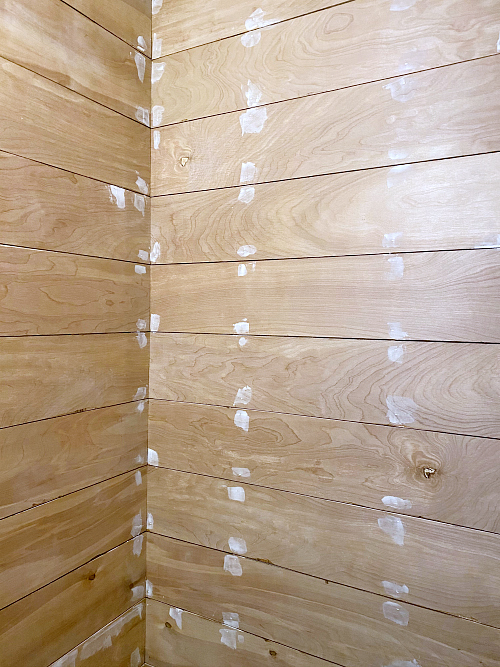
Once the joint compound has dried, go over it with a high-grit sandpaper (I believe mine was 180 grit). This will smooth out the surface prior to painting.
After sanding, make sure to clean up the wall to remove any dust. I used a vacuum to suck the sawdust out of the seams, and then went over the whole wall with a dusting cloth to make sure no dust was left behind.
Step 5- Prime
Because underlayment is darker in color, I would recommend applying a coat of primer prior to painting. If you are going to paint the shiplap in a darker color, you may not need to do this step. Please know that primer never looks good, so don’t be alarmed. Here’s our entry nook after applying primer.
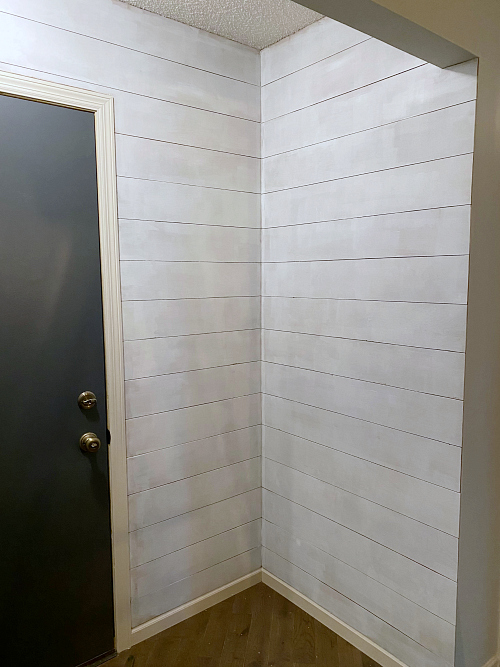
After the primer has dried, go over the whole wall with a high-grit sandpaper to make sure everything is smooth. This is a light sanding. It took me about 10 minutes to do our entry nook. Again, go over the walls with a dust cloth to remove any dust.
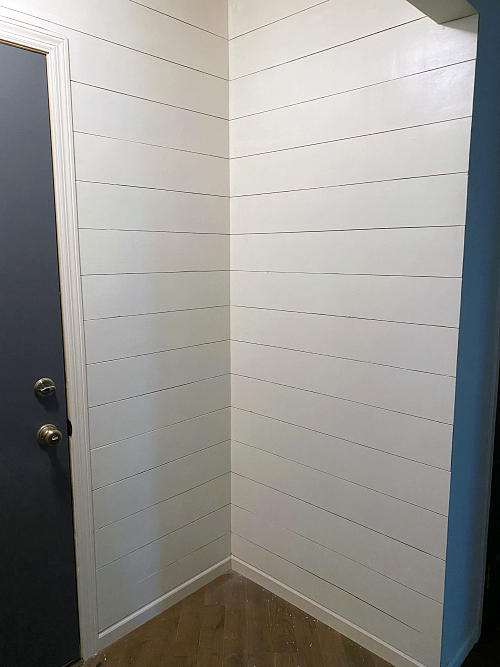
Step 6- Paint
You can now grab your paint and get to work. I have applied one coat of paint so far, but the stuff I’m using requires a dry time of 16 hours before applying another coat, so I’ll be doing that tomorrow. Here’s what it looks like right now.
If traditional white shiplap is not your style, remember, you can paint it any color you want! The great thing about shiplap is it adds texture, creating warmth in any space.
While a bit time consuming to cut all the pieces, this project can be done in a weekend.
Budget… So Far
- Two Pieces of 4′ x 8′ Underlayment- $27.96 ($13.98 each)
- Tools for project- FREE (Already had)
- Primer- Free (Already had)
- Paint- Free (Using leftover paint from when we had our trim painted 2 years ago 🙂 )
Total so far- $27.96
Wanna Catch up or Jump Ahead?
Week 1 // Week 2 // Week 3 // Week 4 // Week 5
Love it? Pin it!
What a great way to make shiplap! I love the idea of accenting this little nook! It is going to be so beautiful.
Using underlayment is a great way to get the same look and save money. Win-Win!! It is looking great Erin. Can’t wait until the reveal. Your rooms always are top notch!
Great job on the shiplap! i lovre the look of ship lap just creates a finished look for your space.
I thought, you had to stagger the seams of the board, or is that something else I’m thinking of ?
Great tips on make shiplap on a budget! And such cute ducklings- what a nice surprise!
Cute! Those duckies are the best.
What a great budget friendly way to do it!! I purchased the actual wood when I did a shiplap wall in my powder room and spent $100 just on that.