It is reveal week for the $100 Room Challenge! I love seeing how everyone used their $100 to create an updated space! As you may recall, this month I took on my cousin’s outdated basement bathroom. Her husband is currently on deployment in the Middle East, so it was an honor and pleasure to work on a room that needed a little love and attention. Because their style is a little more clean, we went with a boho bathroom makeover… are you ready to see the results?
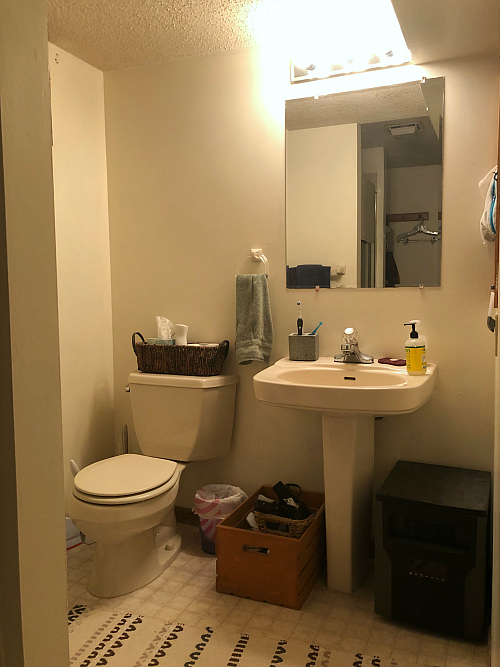
Let’s take a look back at where this bathroom started and then we’ll chat about what we accomplished over the past month…
*Please pardon the lighting in the images… I was never able to photograph in natural light.
Before
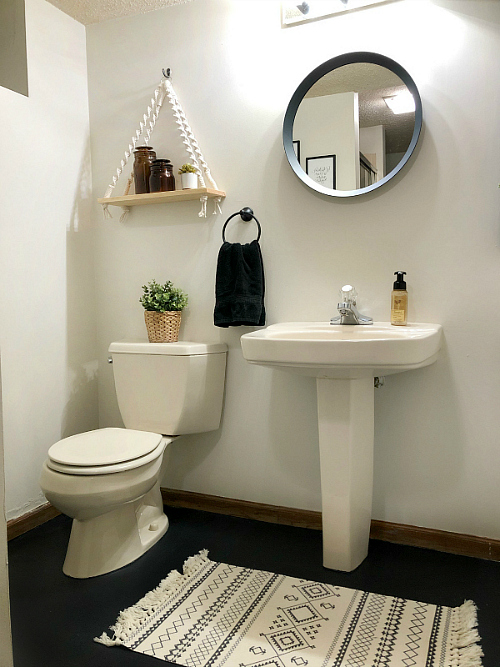
and here’s what it looks like now…
Goals for This $100 Boho Bathroom Makeover
Referring back to week 1, you can see the long list of goals we had for this space… and the first thing on the list was…
Goal #1: Paint (Walls & Floor)
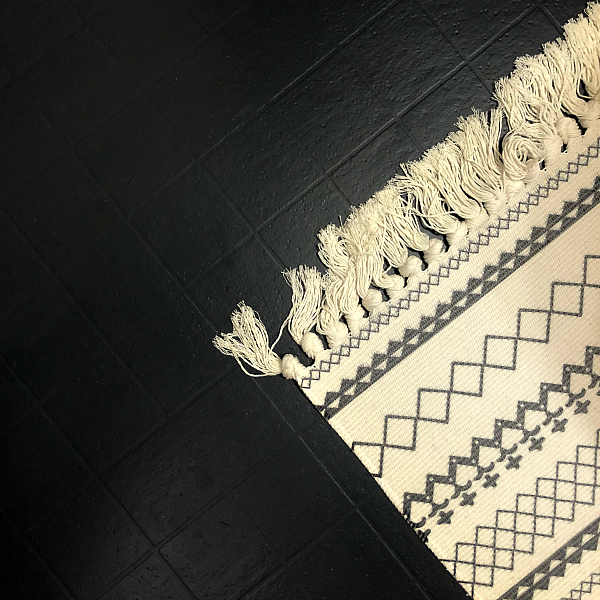
Our original goal was to simply paint the walls, as the previous owners did one of the fastest paint jobs I’ve ever seen. They seemed to have missed a lot of places, so you could see this orange-y salmon color peeking through the thin layer of creamy white paint. We got a fresh coat of paint on the walls, and I knew we had more to do. The freshly painted walls only accentuated how creamy and dated the linoleum flooring was, so I got permission to grab my black floor paint and update the flooring as well.
Goal #2: Update TP Holder and Towel Bar, Ring, & Rack
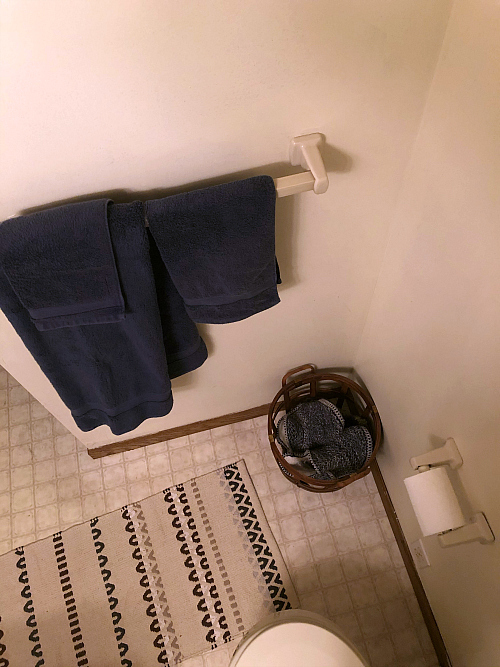
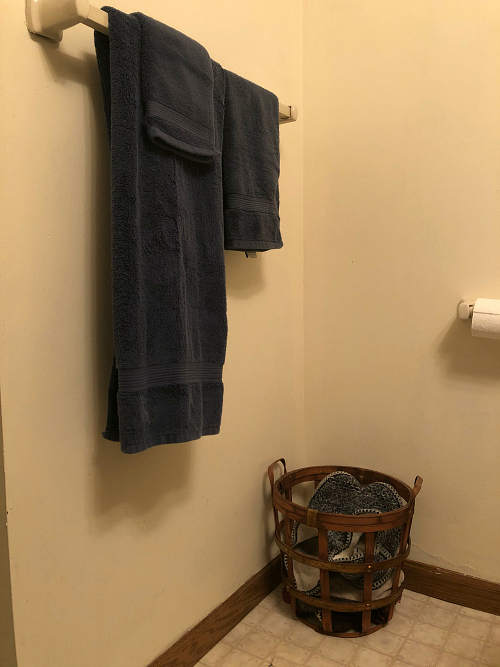
The original “fixtures” were made of porcelain and plastic, so we knew they had to go. Unfortunately, these items can take up a huge portion of the budget, however, I was lucky enough to find a budget-friendly set on Amazon. (Word of caution: if you decide to buy this set, please use different drywall anchors as the ones that come with the set are not well made, and break easily.)
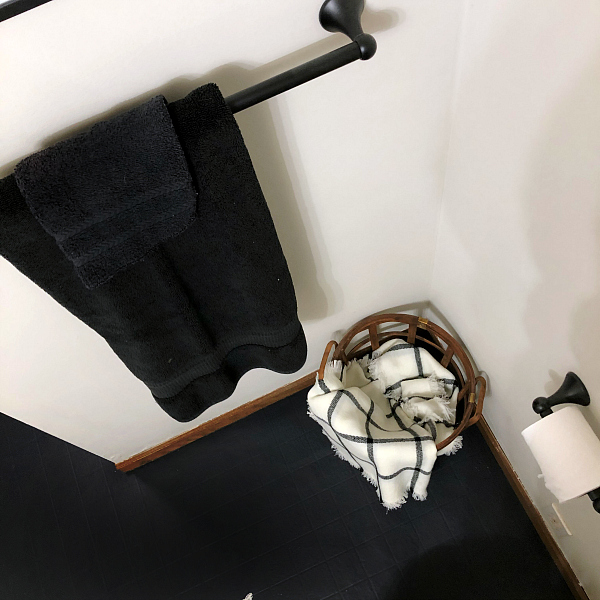
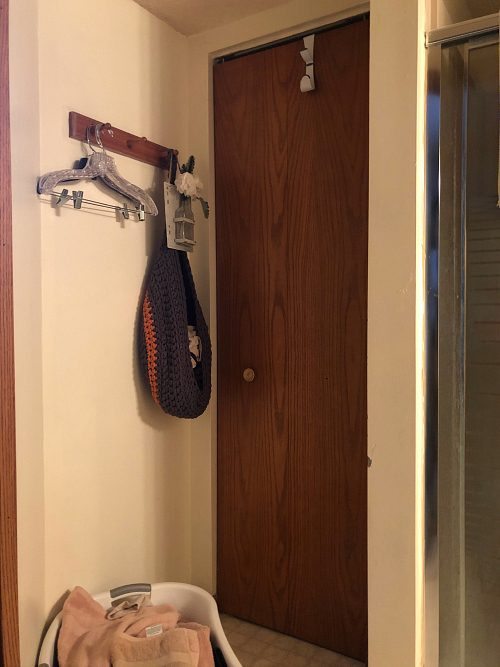
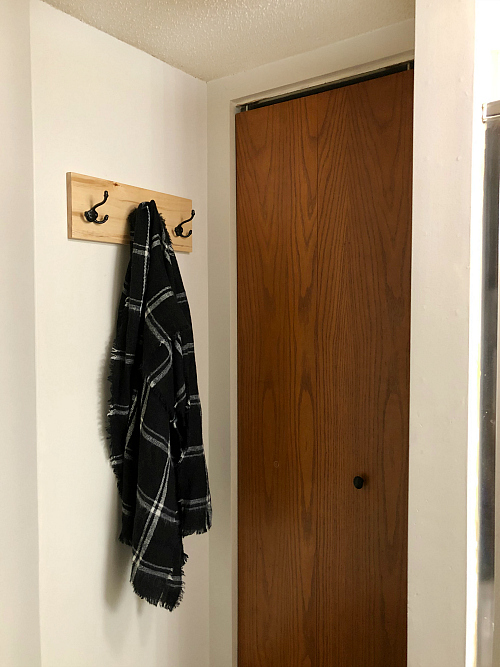
We also took down the wooden peg towel rack and made a new one. You can find a tutorial for making a simple towel rack here.
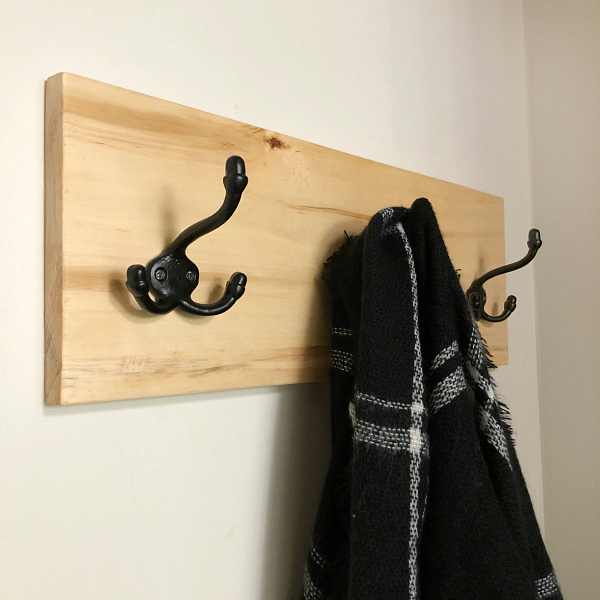
Goal #3: Update Inlaid Cubby
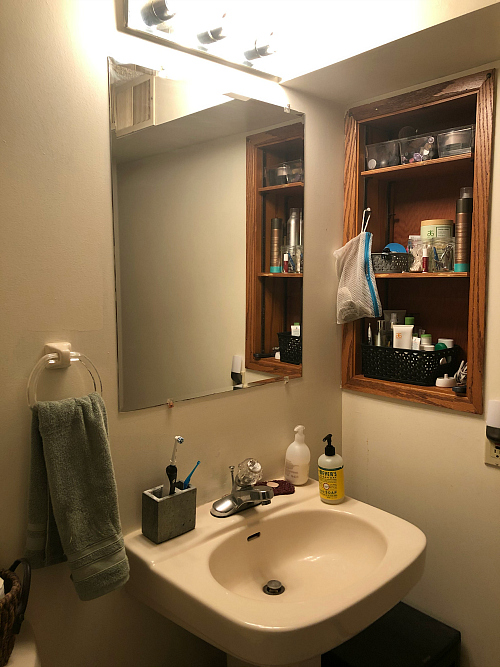
This poor cubby had good intentions, but it didn’t look great. A roll of removable wallpaper, a few small L brackets, and some stained wood completely changed the look.
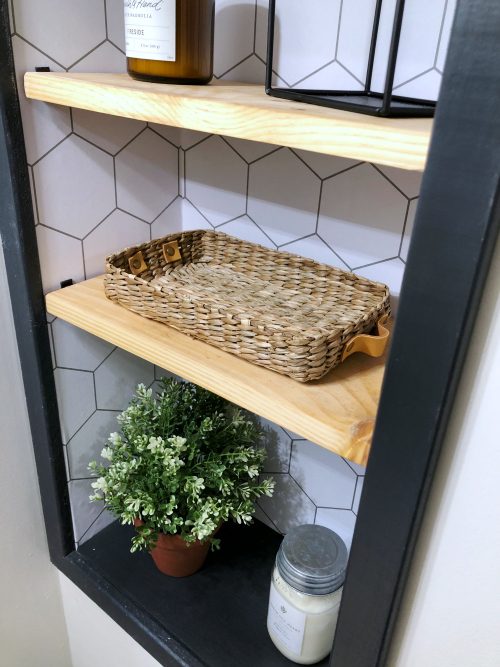
Goal #4: Take Down the Valance & Add Privacy
Done. I don’t have pictures of this, but we did take down the valance, and my cousin had some “privacy film” left over from covering her front and side doors on the main level, so we used that to cover the window.
Goal #5: Add Shelving
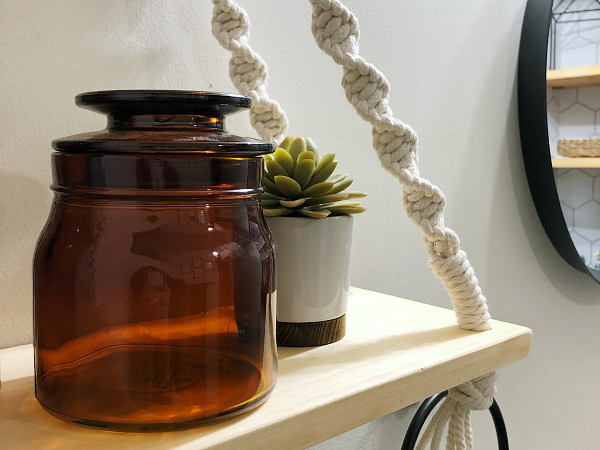
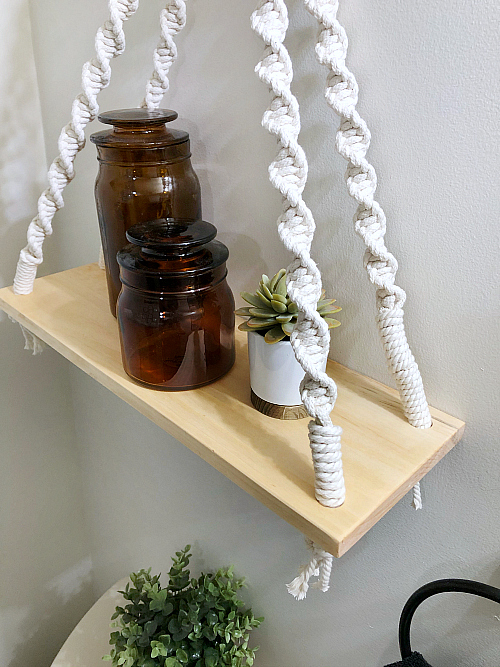
Small bathrooms (especially those with pedestal sinks) tend to lack storage, and this bathroom was no exception. Adding a shelf above the toilet created a place to add a few décor items… or a couple extra rolls of toilet paper. I was able to have my cousin use her macramé skills to create the rope by which we hung the shelf. This might just be my favorite addition 🙂
Goal #6: Add Color/Texture with a Rug
Check! Bought this one off Amazon!
Goal #7: Add Décor
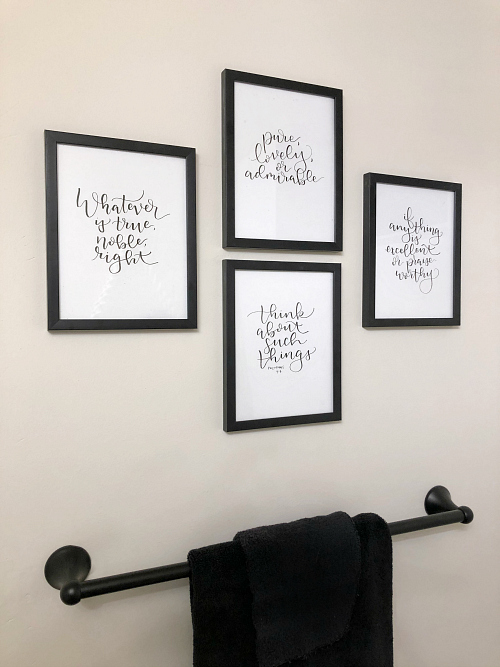
My cousin used her amazing ability to free-hand gorgeous script lettering to create this wall décor… and I love how the verse runs throughout the frames.
Lighting and A Mirror Conundrum
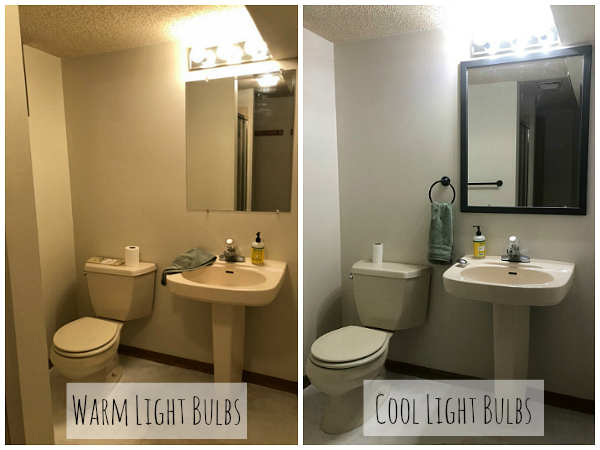
Lighting- Originally I said that I’d love to update the light fixture if the budget allowed. While we didn’t have the money to buy a new fixture, we did switch out the light bulbs; going from a warm yellow light to a cool light, and it made such a huge difference in this space. You can learn more in week 4’s post.
Mirror- Originally we decided to frame the mirror just like we framed the inlaid cubby. You can see what that looked like below…
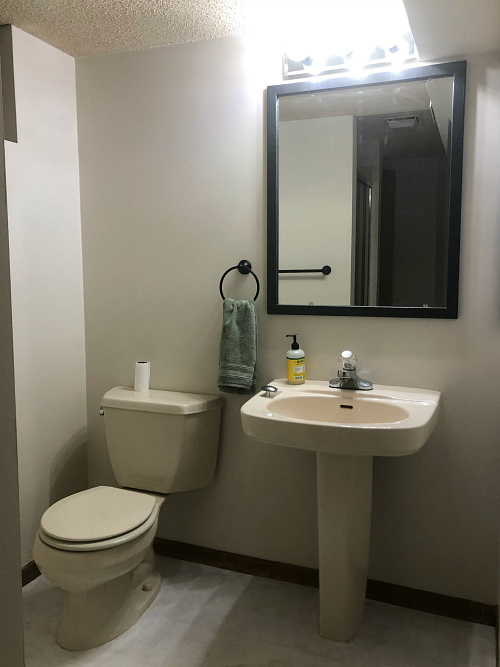
… but I kept stepping back and looking at that mirror and I knew it was too big for the space… I mean it was taking up half the wall! And herein became my biggest struggle. I knew if I bought a new mirror, I’d go over budget, but if I didn’t buy a new mirror, I wouldn’t be as happy with the space. In the end, a mirror that fit the space was worth the additional cost, but a problem arose when taking down the original mirror. The mirror was literally stuck to the wall in the lower left corner… and when I say stuck, I mean stuck! The mirror ended up breaking (seven years bad luck for me) and I had to chisel little pieces off in order to remove that corner of the mirror. This resulted in some of the drywall paper coming off, which meant not only was I going over my budget to buy a new mirror, I was also going to have to invest some money into repairing the drywall.
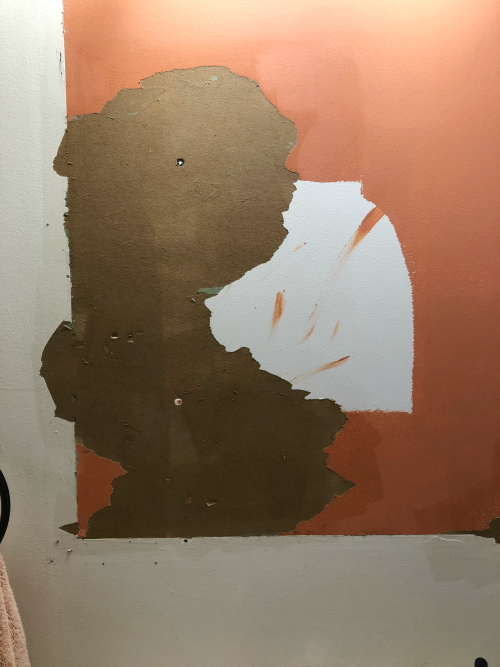
Honestly, it wasn’t this bad to start, but you have to scrape away the paint until it doesn’t scrape off anymore or you end up with problems down the road.
I bought some Zinnser Gardz, which is needed to seal the drywall prior to applying joint compound, and that tacked another $8.80 onto the budget (I only used about 2 Tbsp. of the 1 quart can, but I want to be as honest as possible with the budget). However, the end result made it totally worth it!
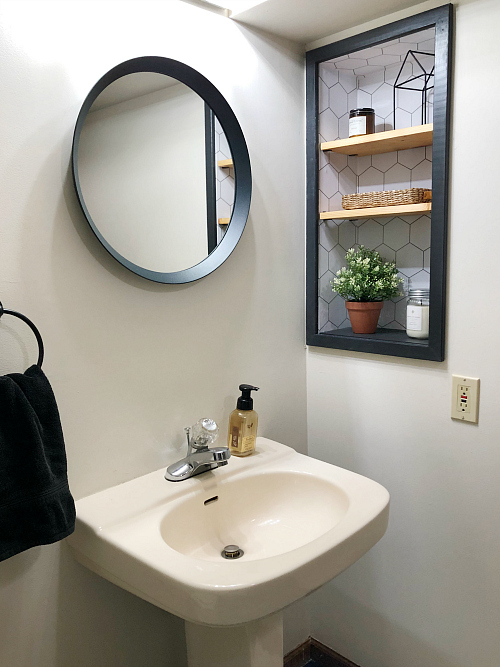
IKEA does not seem to sell this mirror anymore, but you can find a similar one on Amazon.
Here are a few before and after images, because they always do the best job showing you how much a space has changed in 4 weeks.



The Budget
As mentioned, we could have left the mirror framed and stayed under budget, but sometimes you know you need to do something and splurge just a little bit. Here is the break-down of every penny spent.
Wall & Floor Paint: Free
- Wall Paint: Free (Already had on hand)
- Floor Primer & Paint: Free (Already had on hand)
- Paint Supplies: Free (Already had what we needed)
Cubby Update: $23.32
- Wood for trim: $2.36 (2 wood pieces for $1.18 each)
- Paint for trim: Free (Already had on hand)
- Hexagon Removable Wallpaper: $13.98 (I found out later that there’s a smaller roll for $7.88, and I totally would have done that to save some money because we have a lot of the wallpaper left!)
- L-Brackets, Screws, and Spray Paint: Free (Already had on hand)
- Wood for Shelving: Free (Already had on hand)
- Stain for Shelves: $6.98 (Again, I could have bought a very small can of stain and saved $2, but now I have a lot of stain I can use for future projects).
New Bath Fixtures: $29.99
DIY Towel Rack with Hooks: $5.98
- Wood: Free (Already had on hand)
- Hooks: $5.98 (3 at $1.99. Bought the week they were 50% off)
Mirror & Mirror Repair: $45.05
- Mirror: $29.99 (No longer sold at IKEA, but Amazon has something similar)
- Joint Compound: $6.26
- Zinnser Gardz: $8.80 (After mail-in rebate)
Knob for Bifold Door: $2.00 (on sale for 50% off)
Rug: $15.99
Hanging Shelf Above Toilet: Free
- Wood: Free (Already had on hand)
- Rope: Free (Already had on hand)
Light Bulbs: $6.09
Décor: Free– Used What We Had
Total Budget: $128.42
Had we stuck with framing the mirror vs buying new… the total would have been reduced to $90.81.
Wanna Catch Up or Jump Ahead?
Week 1 // Week 2 // Week 3 // Week 4 // Week 5
Love it? Pin it!

You did such a great job! You should open a small biz and help people remodel on a budget- you’ve got a talent with this! 🙂
It looks beautiful. I would have put a small door on the opening, and used the space, paint it same color as mirror.
Great job.
Wow. You are amazing. Found your blog while searching for small bathroom ideas. Will definitely be reading more!!!
I bet your cousin is thrilled with this bathroom makeover, and what a treat for the person who gets to use it every day! I love what you did with that built in! Thanks for hosting another great $100 Room Challenge!
I love how the bathroom turned out! The redone cubby looks amazing. And your cousin has some serious macrame skills, I need a lesson from her. I could use that rope everywhere!
You were totally right to switch out that mirror even if it put you a little over budget! It was the final touch that the room really needed and it makes a gigantic difference. I am also OBSESSED with that macrame shelf!!! The room wouldn’t feel the same without it. You have totally inspired me with this project (and this challenge in general) and next year I may reach out and pass on a fun $100 makeover to one of my neighbors just to say Thank You.
What a huge change! Well worth it to go a little over.
I love the rope shelf!!! You did a great job. I hope your cousins husband gets home soon. God bless him and his family.
Erin, this bathroom looks so pretty and bright now. I am always blown away by your makovers. The shelf is so cute and I want a black floor now.
Erin your cousin’s bathroom turned out so sleek and modern. What a nice change. I love that shelf and her personalized hand-lettered quotes the best!
Erin what a pretty bathroom. I love the floor, the cubby and the bounce lettering art work. Such an improvement and sooooo pretty!
I am in love with that niche, it is so chic and beautiful Erin. I also love the rope shelf too. Your creativity knows no bounds. Love this transformation. Thank you so much for hosting another successful season my friend.
The bathroom came out so nice. Love the Boho look. Wish I had your cousin’s skill on macrame, the shelf looks amazing. I so love the mirror that you decided to go with looks awesome. That was a must have. Great job doing the bathroom redo for your cousin. Looks amazing!
Well now I wanna paint all my floors black! Girl this came out so good! Great job!
As always, such an awesome reveal. The macrame is a really sweet detail! I love the contrast of the dark floor and white rug, it looks so amazing. I hope you enjoy it!
I love the macrame hanger! Such a unique touch. It makes me want to brush up on my macrame skills, I used to do that way back when. It all turned out wonderful.