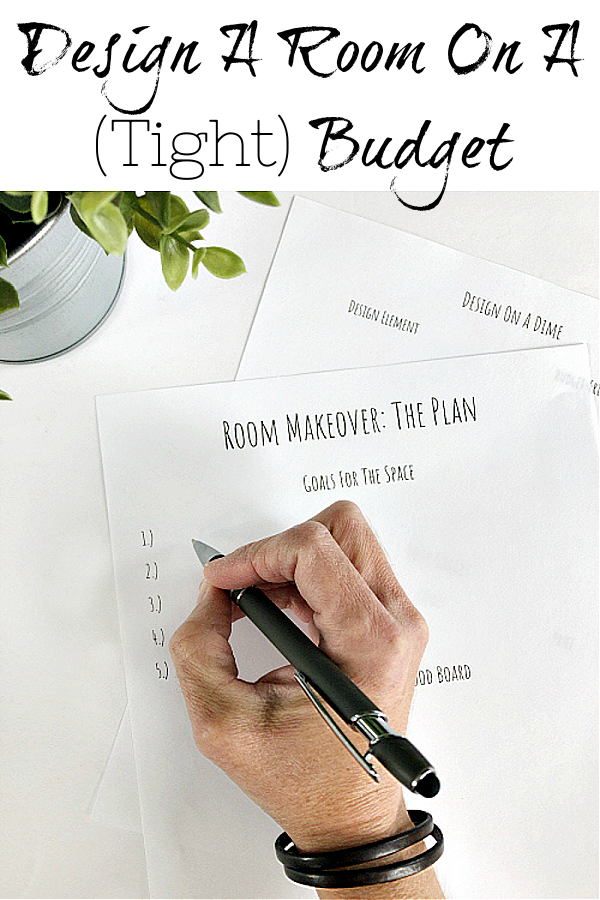
It is week 3 of the $100 Room Challenge! Luckily I was able to head over to my cousin’s house and give the bathroom a fresh coat of paint; and we started prepping the floor… because we’re painting it black! While I spent an entire day working on the bathroom, there isn’t a whole lot to share about the actual room at this point… paint on the walls and primer on the floor are low on the excitement scale, so today I thought I’d share with you the step-by-step process I use to design a room on a budget. And there’s a free printable you are welcome to use.
Every time I start a $100 room makeover, I go through the same steps and they are incredibly helpful in steering the process to make sure I get the look I want without going over budget.
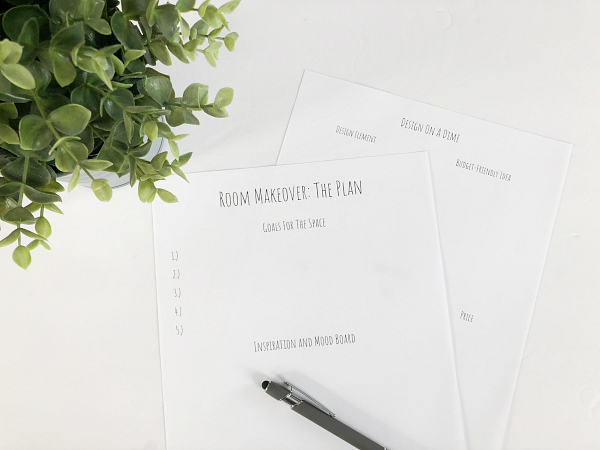
STEP 1: Create Goals for the Space
If you have followed any of my $100 Room Challenges, then you know my first post always consists of the goals for the space. This step is so important because it gives you vision. See the goals for our current makeover here.

Do You!
As you create your goals, remember that this is your space. Just because the world is painting everything gray doesn’t mean you have to follow suit. If you love bright or bold, do it! Create your goals around your unique style.
What’s Working? What’s Not?
I recommend sitting in the room you want to make over in order to scan every inch of the space. Create a list of what needs changing. Need more storage? Write that down. Is something broken and needs fixing/replacing? Write it down. Hate that outdated towel rack? Write it down. Do not worry about cost at this point, just write down everything you would like to change/replace/fix in order to make this space a place you love.
Step 2: Find Inspiration
Once you have written down your goals, start looking for inspiration. My two favorite places to search are Instagram and Pinterest. Again, don’t worry about cost, you are simply looking for ideas. Let’s say that one of your goals is to update a mirror; start searching for mirrors until you find a few you like. It helps to create a board on Pinterest or a collection on Instagram where you can look at all your inspiration in one place.
Keep in mind that this is a brainstorming session. It’s okay to gather a lot of ideas. I often start out with one idea, and after looking around for inspiration, decide to go in a different direction.
Step 3: Create Your Design
Once you have your inspiration gathered, it’s time to narrow it down. I always look at these elements in a room:
- Wall Color
- Flooring
- Furniture
- Lighting
- Storage Elements (Shelving, Cabinets, Vanities, etc)
- Design Elements (Mirrors, Wall Decor, Rugs, etc)
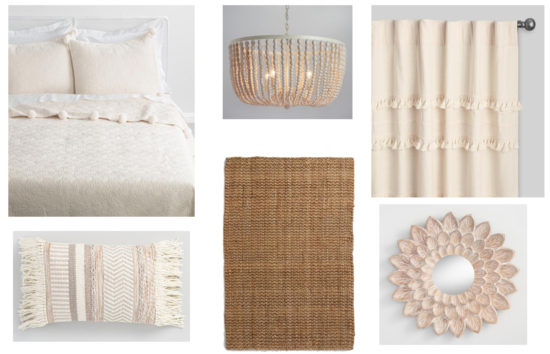
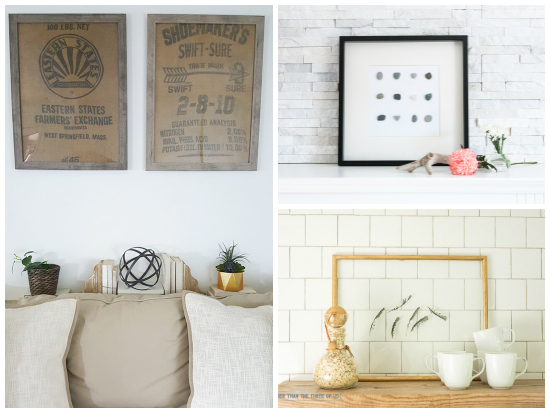
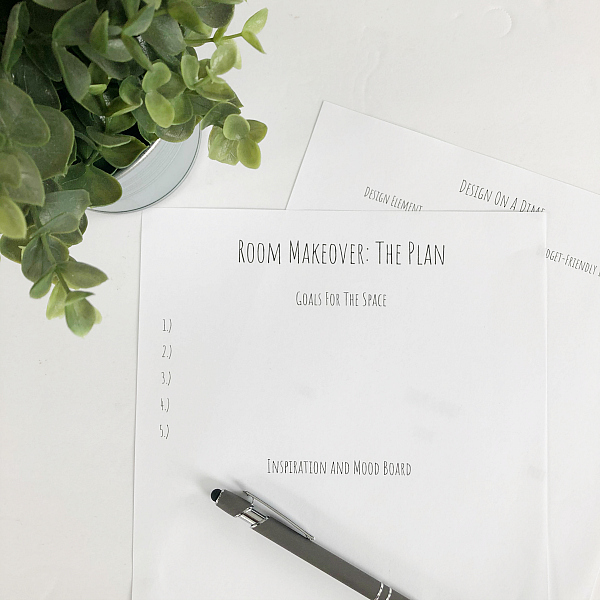
If it’s helpful, you can create a mood board so you can see all your ideas come to life. Here’s an example of a mood board from The Honeycomb Home. (You can find her tutorial for making mood boards here).
Step 4: Figure Out How to Design on a Dime
This step is where you need to get creative. While I am most often working with a $100 budget, you might be working with a little more… or maybe even a little less. Take each of your design elements and think about how you may be able to do each one for less. Here are just a few ideas:
Paint– Did you know you can find free paint at many local recycle centers? Check to see if they have a color that would work in your space. If not, try the “Oops Section” of your local hardware store.
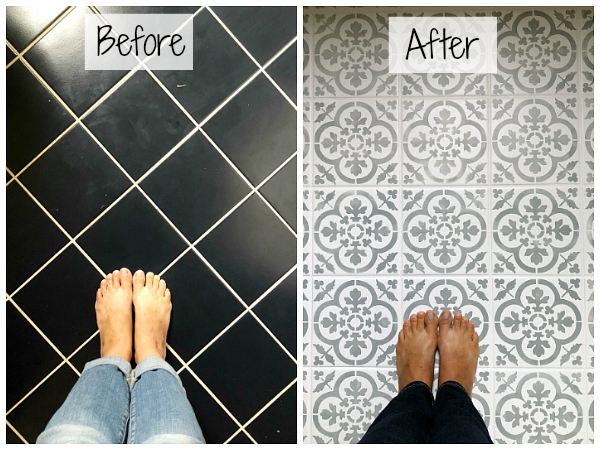
Flooring– Instead of buying new, consider painting your current flooring or using a peel and stick tile. Here is a tutorial on stenciling a tile floor, in case you could use a little inspiration.
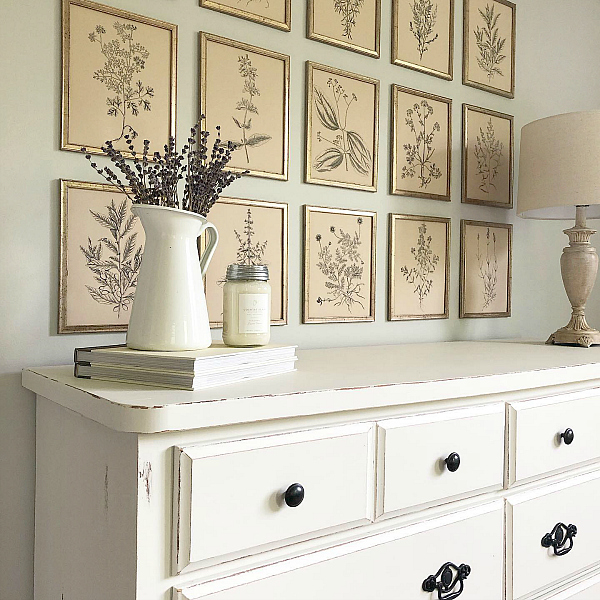
Furniture– Consider the layout of your room first. Often rooms can take on a completely different vibe just by rearranging (or removing) some of the furniture. If you want to update a piece, consider painting it versus buying new. While I have painted quite a few pieces, this dresser makeover was my favorite. You can find the tutorial here.
Lighting- While changing a light fixture may be beyond your skill set, consider painting an outdated lamp (that’s what I did to the lamp in the image above) or simply change out the globes on a bathroom fixture for a more updated look.
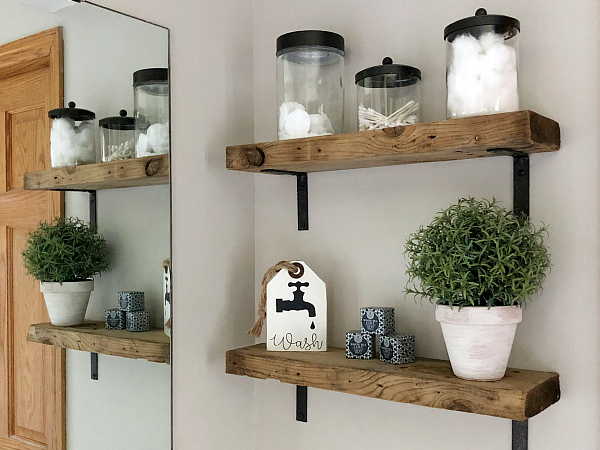
Storage Elements– If you are looking to add shelving, check your local hardware store for discounted lumber (it’s always on a cart in the back; often marked down 70%). Otherwise, check your garage and see if you find some usable wood out there. That’s what we did when we made these shelves for our bathroom makeover.
Design Elements– Think about ways you can use what you already have. Would the rug in your living room work better in the bedroom? You can also make your own décor. Check out these ideas for free (and nearly free) wall art.
For more budget-friendly decorating ideas, check out this post!
Step 5: Shop Smart
In almost every room I have worked on, there are a few items I just need to buy from the store, but when working on a budget, you need to shop smart. Start by checking online garage sale sites (or go to actual garage sales) to see if you can find some of the items you need. Goodwill is another great place to look. If you need to buy from a retailer, make sure to shop around for the best pricing and be on the lookout for sales. I love looking at Hobby Lobby for hooks and knobs, but I only buy during the week in which they’re half off.
Step 6: Be Flexible & Splurge a Little
As you begin to work on your room, remember to be flexible with your design. If you are looking for one specific paint color, the likelihood of you finding that exact color at the recycle center is slim. However, if you are simply looking for any shade of greige, you have much better odds of finding something that would work.
While I have rarely gone over budget, there are times when I believe it’s worth it to splurge on something you love. I know that feeling when you see the perfect item for your room, yet it’s just over your allotted budget. I say, go for it. You will love your room all that much more by spending a few extra dollars.
Hopefully walking through the steps of designing a room on a budget was helpful. For your free printable, just click on the button below the image.
Wanna catch up or jump ahead?
Week 1 // Week 2 // Week 3 // Week 4 // Week 5
Love it? Pin it!
This is so perfect Erin!!! I think this will be so helpful to people looking to take on a room makeover but overwhelmed with where to start
Great post Erin! For real….I have done a lot of room makeovers and this post could help me tremendously. Thanks for sharing. It is so helpful!
Erin, this is such a helpful step-by-step method for tackling a room, and you have been doing this for so long, you have become an expert! Looking forward to seeing your friend’s bathroom come together.
This was the first time I created a mood board (I prefer to call it an Idea Board) and it has been super helpful. I get squirrel brain and start darting off in different directions, the Idea Board kept me centered and focused. Thanks for all the tips!
Your design checklist is spot-on. And your cousin is so fortunate to have you at the helm of this makeover. Best wishes for a productive week!