It is week 2 of the $100 Room Challenge and we are taking a look at how to update a pine dining table for less than $50.
You guys! Did you see all the rooms that are being made over for this $100 Room Challenge? Twenty four! Twenty four amazing bloggers have taken on this challenge. Woot woot! I am so excited. There are bathrooms and bedrooms and powder rooms and entryways. So fun! (In case you missed any of the participates, no worries, they are linking up each week to share their progress. Just scroll on down to the bottom of this post and you can watch their rooms transform.)
This week I’m sharing a table makeover. We actually had a little head start on this project, and I am amazed at how it turned out. (My apologies. My husband seriously worked so fast, I hardly took any pictures, but I’ll do my best to show you the progress.)
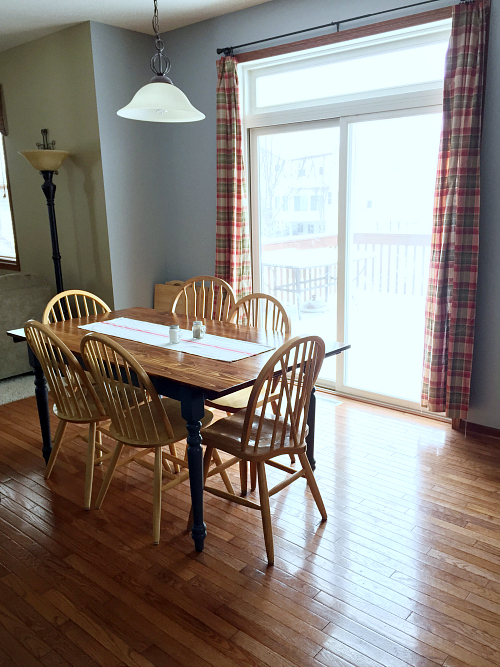
You may remember last week’s picture of our dining space. If not, here you go…
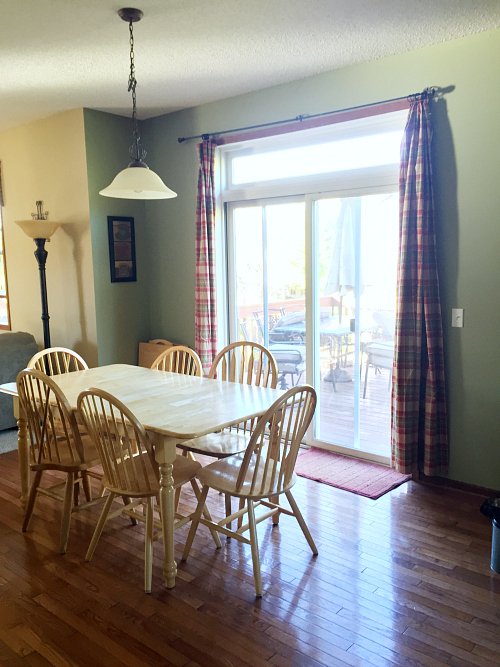
That pine table matches nothing… I take that back. Do you see those TV trays in the corner? I guess they are also pine… in need of their own makeover. Now, keep in mind that I only have $100 to spend in here, therefore a new dining set is not in the budget; so we used what we already had.
Our initial thought was to sand down the top of the table and restain it, but it was just not working out. Instead, we removed the tabletop and my husband (bless him) made a whole new top for the table using cedar planks. We did, however, reuse the base of the table (the legs and frame).
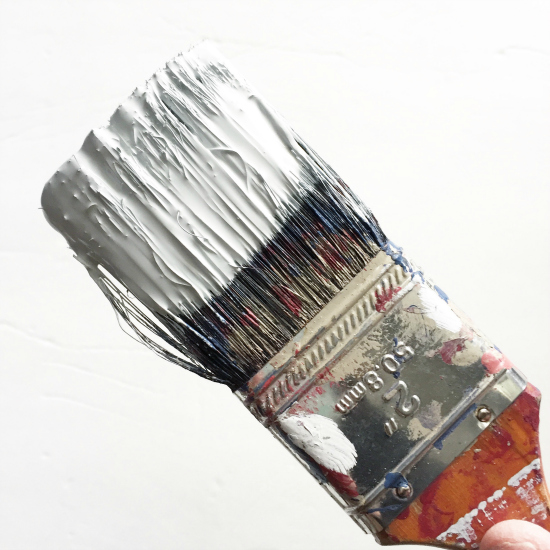
Because the legs are filled with so many nooks, we used a liquid sander/deglosser to strip it for painting.
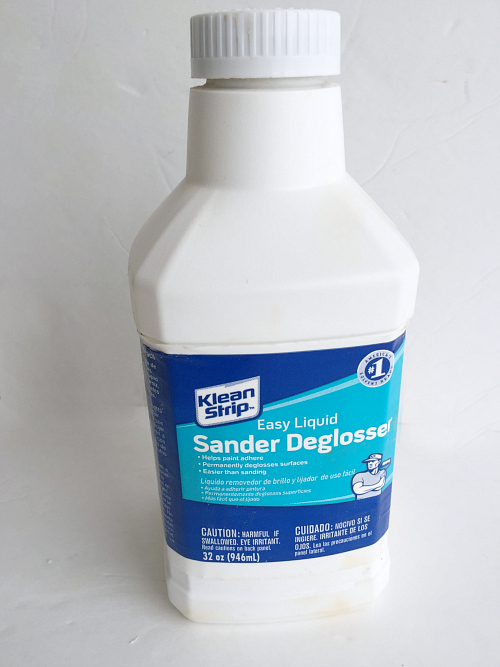
You pretty much apply, let dry, and paint over it. Super easy.
Then we grabbed our paint sprayer (best thing ever!) and set up our paint shelter in the basement.
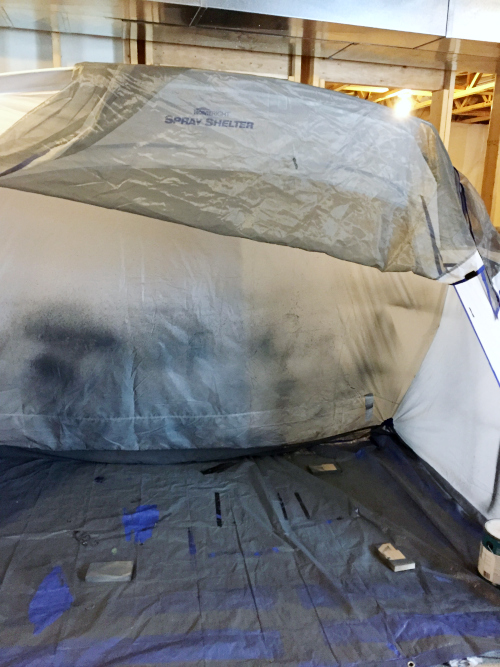
Thank goodness our basement is big and unfinished because it provides us a place to paint when outdoor temperatures are too low.
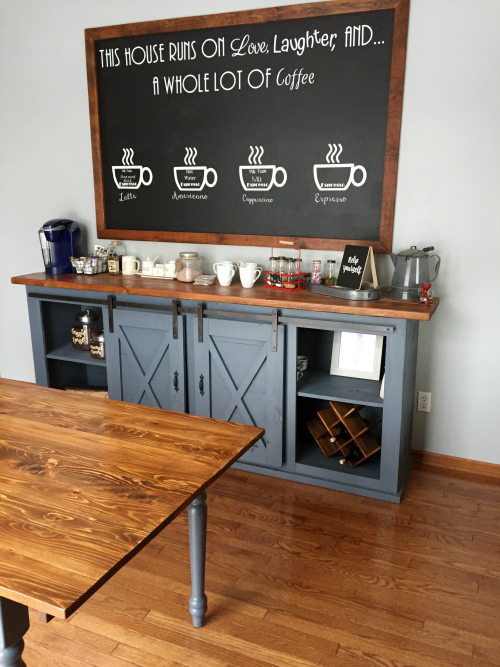
We wanted a cohesive look to match the coffee station, so we used the paint and stain we had leftover from the buffet; painting the legs Outerspace (by Sherwin Williams, but color matched in Behr) and staining the top in Varathane’s Golden Mahogany.
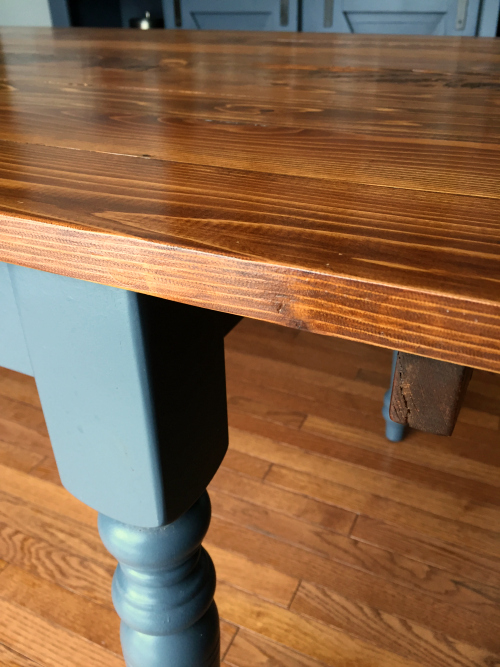
To create the top of the table, we the hubby used 10 pieces of cedar that were 1″ x 4″ x 6′ and connected them using supports evenly spaced along the length of the table. (Basically a wood strip screwed across the width of the planks).
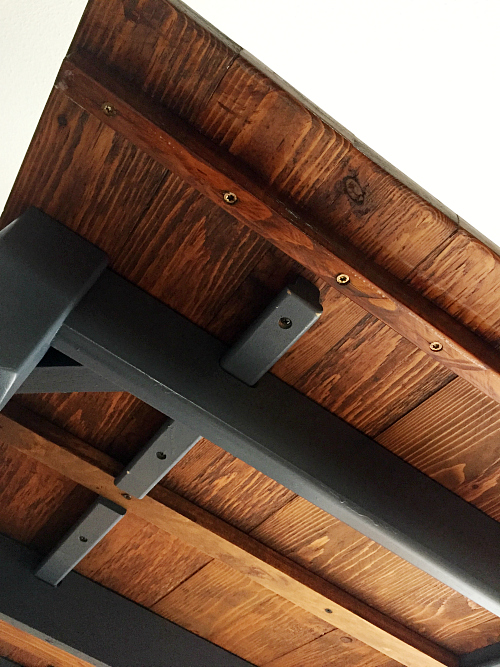
My hubby would advise using dowels and wood glue instead (like we did with our wood wire shelving overlay), but we’re showing you what we actually did, not what we (maybe) should have done 🙂
After sanding, we stained them, and then sealed them with several coats of Minwax Polycrylic in a clear gloss finish. I love, love, love a little rustic touch, so I was happy to see that the character of the wood still made it through all the sanding.
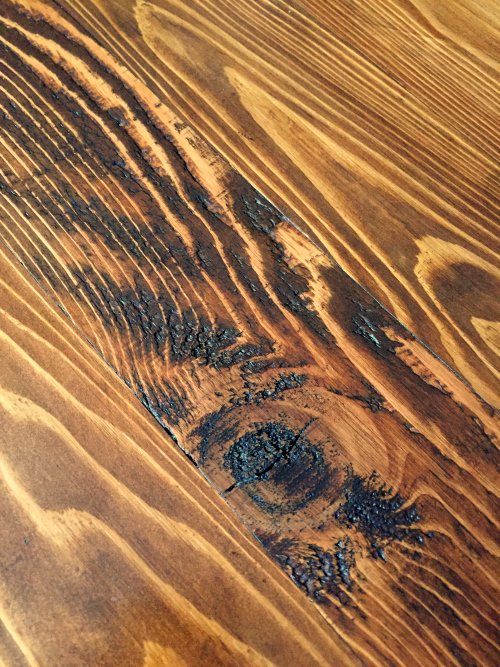
We then screwed the top to the base using the screws we had from removing the previous top.
Check out how amazing this table looks now! My husband never, ever ceases to amaze me.
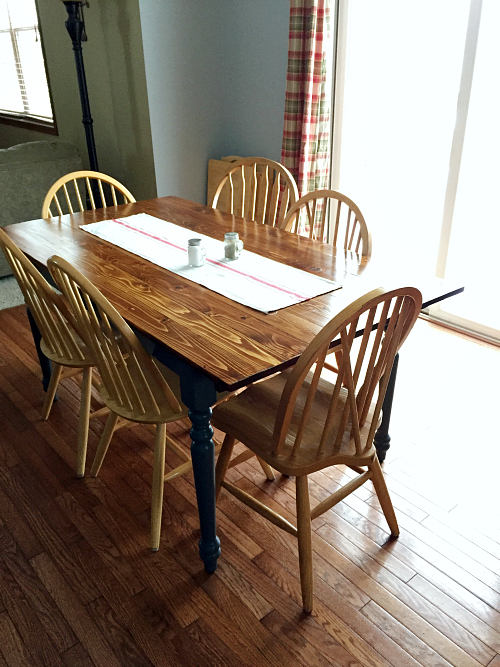
Yes. We still have the pine chairs… One week at a time.
And here you can see a bit of the table in relation to the coffee station.
While the table is certainly the best part of this space, I also painted the remainder of the walls in Lunar Surface by Behr.
Budget… So Far
Table: $49.87
- Liquid Sander/Deglosser: $5.98
- Paint: Free (Leftover from the Coffee Station)
- Cedar Planks (1 x 4 x 6) x 6: $23.34 ($ 3.89 each) We ended up using 10 for the table top, but had some leftover from a previous project.
- Stain: $6.88 (Unfortunately, we ran out of the small can we bought for the coffee station and had to buy more)
- Polycrylic: $13.67
- Wood Supports and Screws: Free (Already had the wood for the supports and used the screws from the old table top.)
Paint for the Walls: Free (Leftover from the Coffee Station)
Paint Supplies (Roller, Tape, etc): Free (Already had.)
Total So Far: $49.87
Let’s see if we can’t figure out some cheap curtains and seating for this space, right? (I’m a little worried.)
Remember to follow the progress on all the other rooms being made over with a mere $100 budget.
Check Out Other Participants Here
Wanna Catch Up or Jump Ahead?
Week 1 // Week 2 // Week 3 // Week 4
Love it? Pin it!

Your table turned out great! I love using the liquid deglosser. It’s such a time saver! Can’t wait to see the rest of your updates!
I love that deglosser. We used it before on a door in our powder room. So much easier than sanding it all down.
Oh my gosh, that table is stunning!! Love that you used the same paint as the buffet. It’s very pretty. Can’t wait to see more!
Thanks Kathy! I am so much happier with this table. Much more “us”.
Wow, that table turned out great!!
Thank you Sara! Matches SO much better now 🙂
Wow! What a difference! I love the refinished table!
Thanks Tracy!
The table looks absolutely wonderful! Tell your hubby “Great job”! The color on the legs which coincides with the coffee bar is a beautiful blue.
Thanks Kristen and Vicki. I’ll pass on the encouraging words to the hubby 🙂
Wow, your husband did a great job! The table looks even prettier when seen next to the coffee station. I wish we had a basement. I only have our small balconies for painting, when the weather allows it.
The basement is so amazing for these winter months, but we plan to finish it at some point… then what am I going to do? 🙂
The table looks great! Your hubby rocks. This challenge is so inspiring!
Thank you so much Carol! I agree that my husband is pretty amazing. I wouldn’t be able to do half the stuff I do without him.
Wow, the wood grain really looks spectacular. I know the table legs match the coffee cabinet, but I prefer the original dark legs. The dark legs also matched the wood floor.
That table is a serious upgrade. It looks fantastic and that Outerspace color, goregous!
Thank you Jillian! I feel like it works so much better in this space.
Wow, just wow!! What a difference. you are creating your own matching dining set before our very eyes. Can’t wait for more. Go hubby!!
Thanks Amy! My husband deserves a whole lot of credit for this.
That table looks great! I love how it ties in with the coffee station.
Thanks Colleen!
This is my favorite makeover of the hop yet! I like the color you chose for the base – and I love how the new stain warms up the whole thing.
Awww… thank you! I agree that the table really warms the space and matches things so much better.
I have the same picture problem when my hubby gets involved in my projects. But it’s a small price to pay for having help! I LOVE your new table top, the wood adds so much character to the room.
I know. They get to work and when I walk down to check on things, it’s almost done. So appreciative for the help though!
The table turned out gorgeous, love how the darker stain brings out the grain in the wood! Love the gray painted legs, great combo Erin!
Maria
Thanks Maria! I am lovin’ the wood top as well; so much warmer in the space.
Love the table! So, I don’t think the chairs are bad. Would you consider painting them the dark color of the coffee station?
We thought about painting the chairs the blue/gray, but I’m afraid the color will start to overwhelm the space. I also am hoping for a bench on one side. We’ll keep thinking.
Wow Erin this is a great makeover! I’ve actually never used a stripper that you just have to put on and then paint over…good solution for a table with all of those curves and nooks.
Thanks Brittany! I have to give my husband credit for finding that liquid sanding stuff. Seems to have worked well, and much easier than trying to sand by hand.
Your table looks amazing! I am jealous of your handy husband!
Thanks Carrie! I am SO incredibly grateful to have a husband that can figure out all the wood-working projects I come up with.
WOW!ZERS! That’s fantastico! Great job!
Thanks Deborah!
Hi Erin,
Your table looks great and goes well with the coffee station. God Bless handy husbands.
Have a great week. Looking forward to seeing what you do next.
Thanks Patti! I absolutely agree… handy husbands are amazing!
Wow! Love the table makeover. What a difference! I am lucky to be blessed with a handy hubby too, so give yours a high five for me! I can only imagine how the whole space is going to turn out!
Thank you Maureen! We truly are lucky to have husbands that are willing to help use out. I’ll definitely pass on the high five 🙂
That looks AMAZING!! Now you have me wondering if I can do something similar for our island. I wanted a butcher block top, but can’t find one I like. This is exactly what I was envisioning! Great job!
I’m sure you could do something like this, but I wouldn’t recommend cedar. It’s a pretty soft wood which probably wouldn’t do well for a butcher block counter, but I think you could definitely change out the wood type and do it.