We needed a lamp for our bedroom, but I didn’t want to spend a ton of money… so off to Goodwill I went. I found a super outdated silver lamp base for $5 and gave it a farmhouse makeover.
I am always looking for ways to decorate on a budget, so while shopping at Goodwill, I saw an outdated lamp base for $5. While I wasn’t a fan of the silver color, it had a great shape, so I decided to bring it home and give it a farmhouse style makeover.
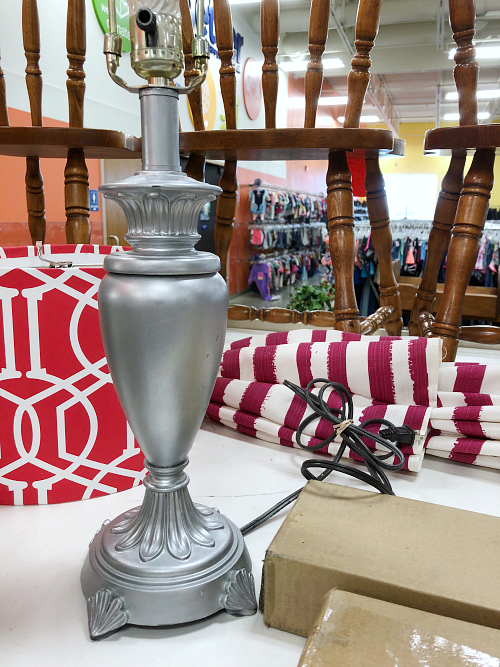
Here’s what the lamp looked like when I bought it… it didn’t even come with a lamp shade.
What You Need to Create A Farmhouse Style Lamp
Affiliate links may be used. Please see our advertising disclosure for more information.
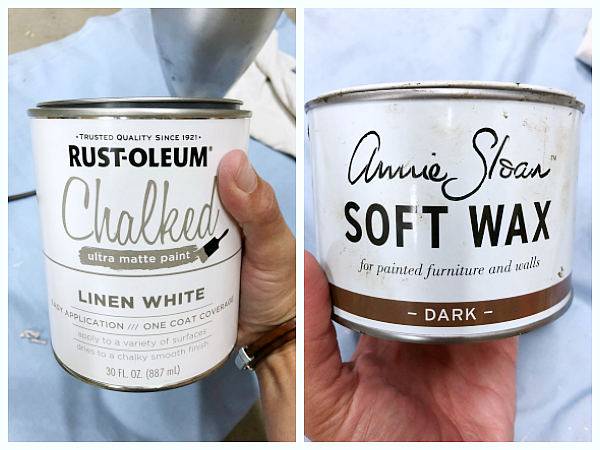
- Chalk Paint- While I used Rustoleum Chalked in Linen, I would recommend something a little darker. When I made over our bathroom vanities using this technique, I went with Behr Chalk Paint in Pale Sepia and I think that color produces a better “weathered wood” look.
- Dark Wax- I used Annie Sloan’s Dark Wax, however, this is sold mainly in specialty stores. You can find something similar here.
- Paintbrush
- Clean Rag or Old T-Shirt
- Cotton Swabs (If your lamp base has any nooks and crannies)
- Cork or Felt Pads
- Lamp Shade (if needed)- I bought mine at Target for $7, but can no longer find the link to the one I bought. Here is something similar.
How to Make A DIY Farmhouse Lamp
Step 1: Clean the Lamp Base
The first step in any project that requires paint, is to give it a good cleaning. Because this is electrical, do not submerge it in water! Simply dip a clean cloth into some warm, soapy water and give it a good scrub; then dry it off with a clean cloth.
Step 2: Paint the Lamp Base with Chalk Paint
Grab your chalk paint and a paintbrush and simply go over your piece, making sure everything is covered. Feel free to tape off the top with a little painter’s tape if you are concerned about getting paint on the neck or socket.
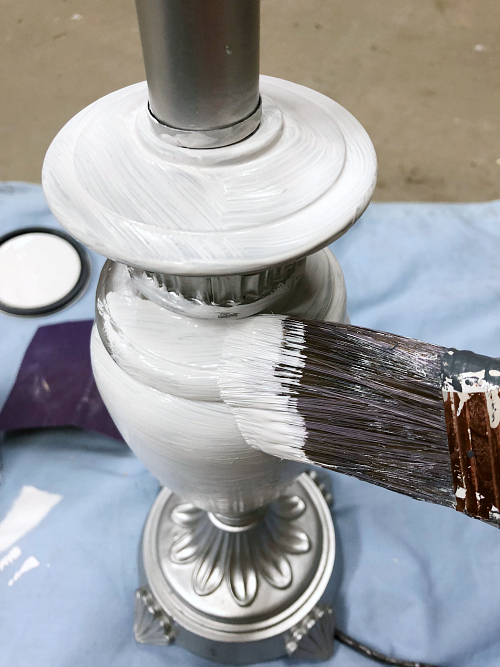
Allow the paint to dry and then apply another coat if needed. I ended up doing two coats of paint for a thorough coverage.
Step 3: Apply Wax to Lamp Base
Grab a clean cloth (or old t-shirt) and use it to apply the dark wax. While there are wax brushes available, I have found it easier to apply wax with a t-shirt. It allows you to have more control so the wax doesn’t get gloppy. Wax dries rather quickly, so work in small sections, applying the wax and wiping off the excess.
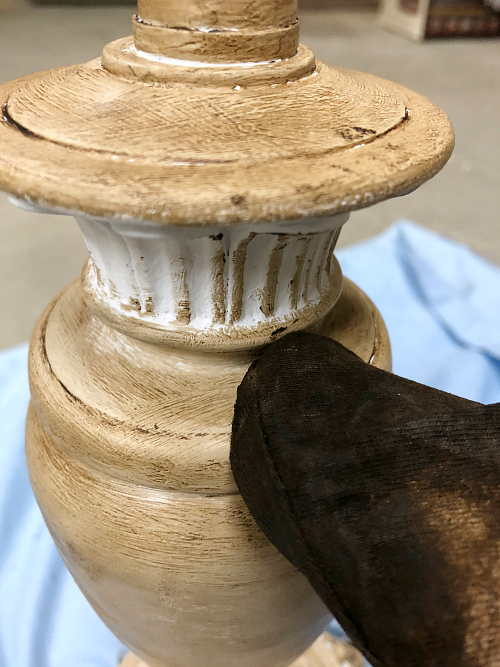
If your lamp base has any nooks and crannies (like mine), use a cotton swab to apply the wax in the crevices.
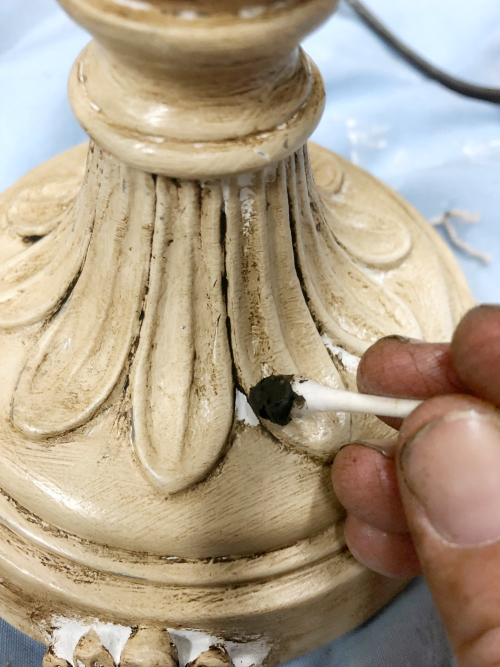
Step 4: Apply Cork or Felt Pads To the Bottom of the Lamp Base
Once your wax has thoroughly dried, apply some cork or felt pads to the bottom of your lamp base, especially if this will be sitting on a piece of furniture that can easily scratch.
Step 5: Add A Lamp Shade
If your lamp didn’t come with a lamp shade, or the lamp shade is outdated, you can simply add a new one in a style that works for you. I was able to find one at Target for $7 (here’s a similar one), so don’t think you have to spend a ton of money.
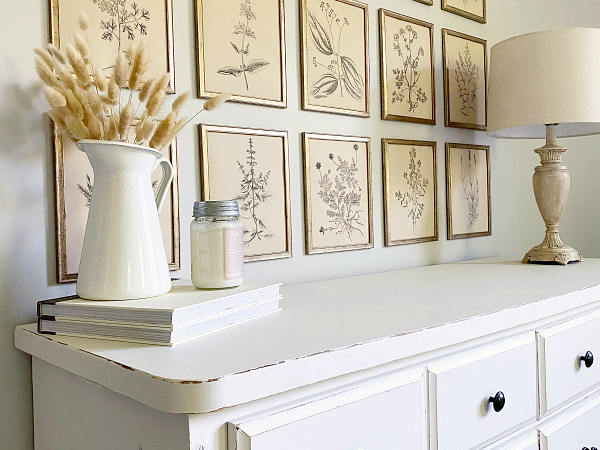
For a total of $12 I was able to turn this outdated lamp…

…into this farmhouse-style lamp!
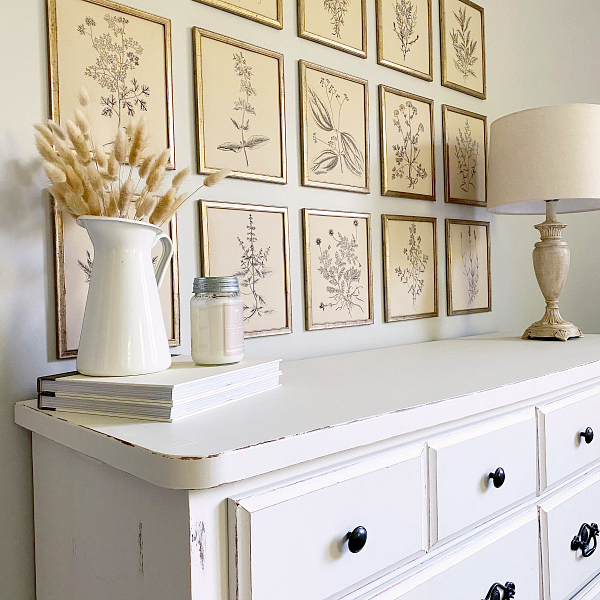
It fits perfectly on our bedroom dresser.
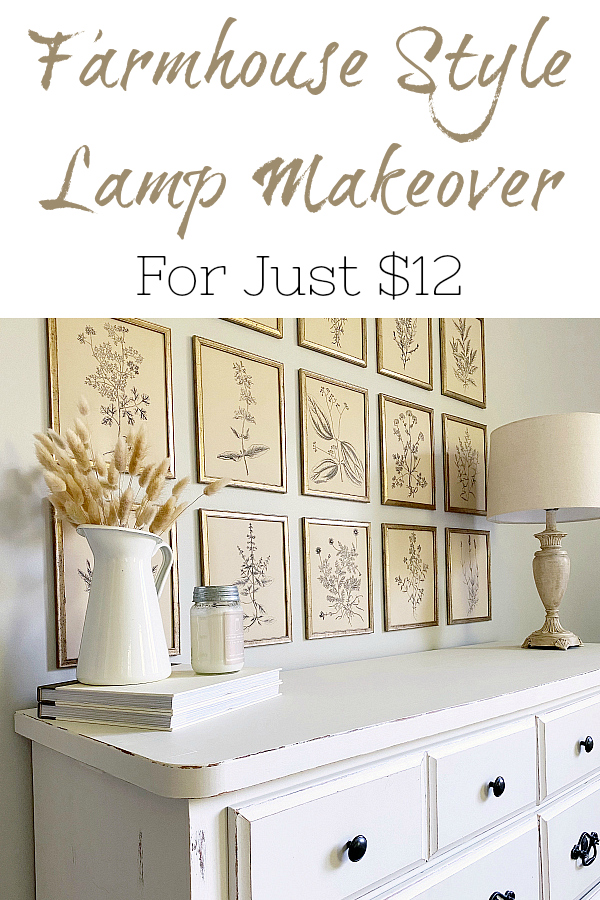
Love it? Pin it!

Your lamp is bellisimo! I happen to have a lamp base much like this in my stash! Thanks so much for the great idea! I’m going to do the same to mine!😀 To think I almost gave it away. One can never have enough lamps! Oh, question… Did you do your natural prints on your wall? I think those are amazing.
Hi Stacy-
The prints on my wall are actually printables framed in Dollar Tree frames! Here’s the tutorial if you’d like to see it:
https://www.lemonslavenderandlaundry.com/herb-garden-botanical-gallery-wall/
Its perfect and I love it! What a great deal you got even with having to purchase a shade.
Love it! I have created a similar finish with beige paint and dark antiquing glaze, I need to try wax sometime. So pretty! Thanks for sharing.