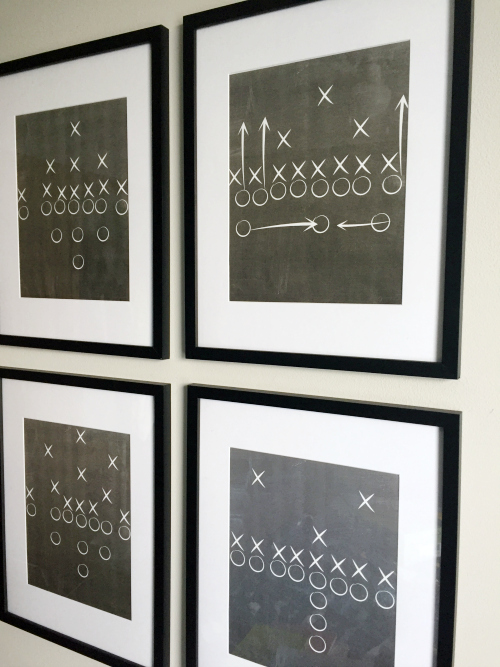
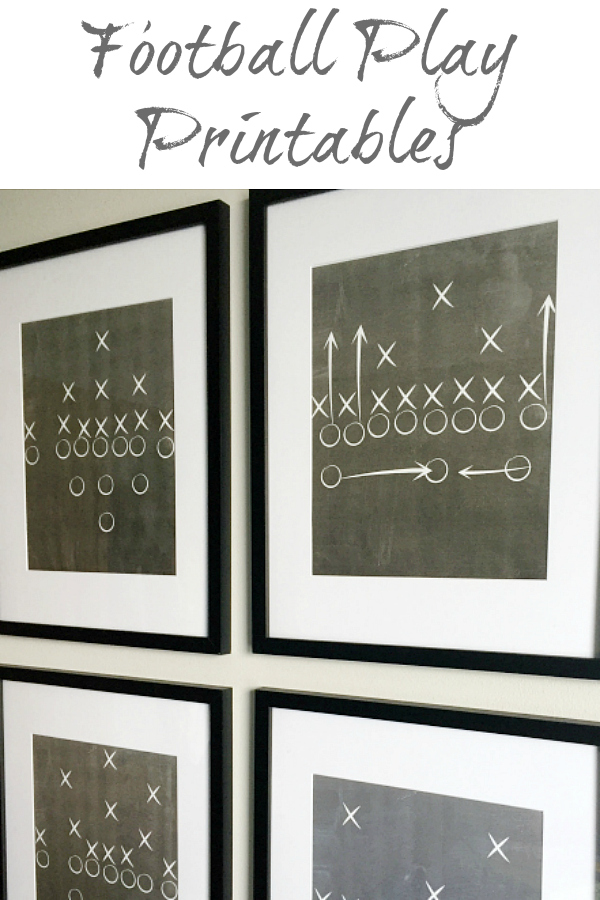
It is week 2 of the One Room Challenge, and we are working on my son’s football themed bedroom. This room really needed something on the walls, so this week I allowed him to create his own DIY Football Play printables
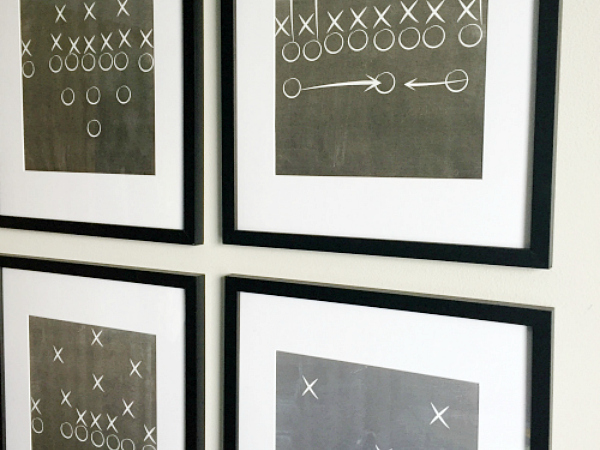
Let me begin by saying that I know these football plays don’t actually make sense 🙂 My son is only 9, but I wanted him to feel like he had a part in the makeover of his room, so I allowed him play around with all the x’s, o’s, and arrows in order to create whatever football plays he could dream up.
What You Need to Create Football Play Printables
- PicMonkey or other photo editing site- The tutorial below uses PicMonkey, however, you may be able to do this with a similar site, like Canva.
- Matted Frames– You can certainly do what you want with the prints once you are done, however, I chose to frame them and create a gallery wall.
How to Make Football Play Prints in PicMonkey
Step 1: Chose A Print Size
Start by going to the PicMonkey website. You are going to be designing your own creation, so start by clicking the “Create New” Button and then select the “Blank Canvas” from the drop-down. At this point, you will see that you can create your own size image using pixels. This conversion table will help you to create the correct size (converting inches into pixels) for your frame. After you have entered your pixel size, click “Make It”.
Step 2: Create A Chalkboard Background
The next things you will need to do is create the chalkboard background. This can be done by selecting “Textures” from the left column. Scroll down until you see “Boards”. Click on Boards and select the blackboard background. (Feel free to adjust as desired).
Step 3: Create Your Football Plays
To create the plays, you will need x’s, o’s, and arrows. To find the o’s and arrows, click on “Graphics” in the left column, and then select “Basic”. As you scroll down, you will see “Doodly Arrows” and “Doodly Shapes” (which is where you will find the o’s). Choose as many arrows and o’s as you want by simply clicking on the images you want to add. The x’s can be found by clicking “Graphics” and searching for “Marker X”.
*When choosing these shapes, you will need to change the color to white. When the “doodle” is added, you will see a box pop up with color options. For the circles, select the black “color circle” in the text box (which is the outer edge), and change it to white by using the color code #ffffff. Select the white circle (which in the inside of the circle) and check the box that says “transparent”. Both the arrows and x’s only require you to change them from black to white (again, use the color code #ffffff).
Once you have all your shapes added to your design, you can move them around and adjust the size by clicking on each image.
Step 4: Save & Print
Once you have your design exactly as you’d like it, click the “Download” button to save it to your computer. To print, open the image file from your download folder and select “Print”.
In Other News…
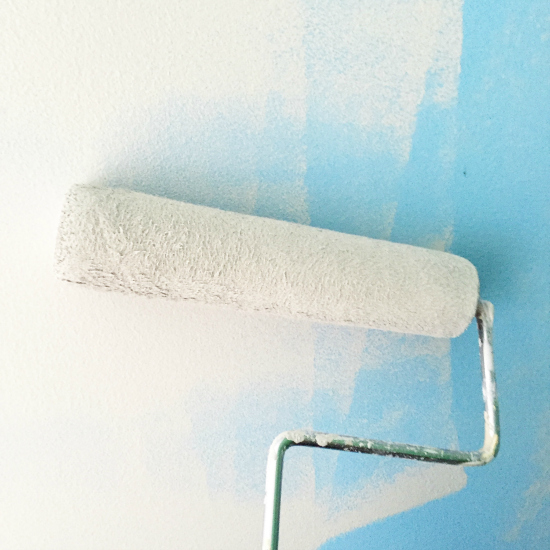
In addition to creating the football play printables, I also covered the blue walls with Sherwin Williams Silverplate.
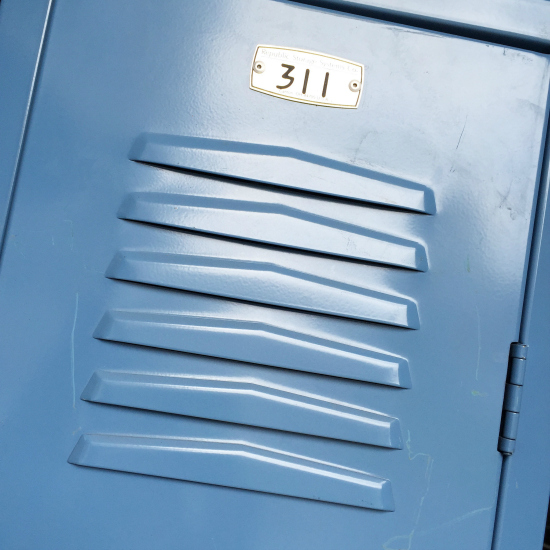
I found a locker at our local vintage shops and I will be turning it into a dresser. (You can see the tutorial here)
Wanna Catch Up or Jump Ahead?
Week 1 // Week 2 // Week 3 // Week 4 // Week 5 // Week 6
Love it? Pin it!

How did you create the football play pictures. You mentioned PicMonkey but I’m not sure how you got the perfect X & O plus the arrows?
I don’t see those in the app unless you have to pay for a premium one??
I want to create that for my sons room.
Thanks in advance.
Hi Lisa-
I actually, pay for the premium membership to Picmonkey, which is about $5/month. This works well for me as I am often editing photos for this blog. However, if you want to make similar prints, you could just pay for one month, make your prints, and then cancel your membership; paying only $5 to get what you’re looking for.
How did you get the yard lines on the chalk pictures? I have been trying to remake this and have had a really hard time. Also did you use a chalk pen and stencil for the x’s and o’s they are all so perfect? Thanks
Hi! I am loving the artwork! Was it easy to make? Would you still have the file? I don’t mind purchasing! I think this would be perfect for my son’s wall-he’s a huge football fan and has played for 6.5 years so far. I’m redoing his room to an older, but still themed room.
Those sheets and comforter would have been perfect but of course they’re so expensive. I’m excited to see what you find.
I completely agree. That bedding would have been perfect. Why must things cost money? We decided to go with some simple bedding from Target. It’s not quite what I had in mind, but it works, and costs about 10x less, so…
Ooou! I want you to try to make those sheets — they would turn out amazing, I’m sure! Loving the art prints… and can’t wait to see next week!
I actually might still attempt making those sheets one day, but for now, we went with a gray patterned sheet from Target. I’m thinking I might be able to do some images on transfer paper and iron the football plays onto white sheets. We shall see.
I love the wall art you created-what a brilliant idea! And I think any boy would love to have an actual locker in his room-what a fun idea!
Thanks Kristin! The locker was such a fun find, and I was happy to let Isaac create his own signature pieces for the room.
Erin, I love the locker and I absolutely think you can make that bedding. And I hope you do, I love it! I love how you account for every expense. It’s always the little things that add up.
I just realized that Isaac, long ago, removed the flat sheet from his bed because it would always end up in a crumpled mess at his feet. That means I’d only need to do a fitted sheet and pillow case. I’m thinking this might actually work!
Oh wow – your budget is awesome and you’ve really done a lot for a small amount so far. Love that bedding!
Thank Sarah…If only the bedding was 75% off, I’d be set 🙂
That locker was a fantastic find, Erin! I’m curious to see how you turn it into a dresser. I also LOVE the art your son created for his room – it’s perfect. Now to find that bedding elsewhere or figure out how to make your own. I think you definitely could DIY with plain sheets and fabric markers, but it would probably be pretty time consuming – oh wait! Have your son do it! 😉
Although I actually like the idea of Isaac doing the bedding, I’m thinking he may not be very excited about it… maybe my daughter would do it; she’s extremely artistic, much moreso than I am! We’ll see what happens.
I LOVE the football artwork you made. SOOO cute!! This room is coming along great. Can’t wait to see the locker in place 🙂
I just need a beautiful, warm, sunny day to get that spray paint out! Hoping to have the whole thing ready by next week so I can share it.
Oh man, those sheets would be awesome if you can pull them off! I am imagining myself bald from pulling my hair out if I tried to do them! Good luck and the room is coming together so well!
I know. I’m thinking the same thing. I am not an artist, but how hard can circles, x-s and arrows be? We’ll see what happens…
I love the idea of a $100 room challenge. What a great way to challenge yourself! I love the prints you had made and I love that Isaac got to help! The room is looking so fun!
Thanks Tilisa! I absolutely LOVE the challenge of redoing a room with $100, but it’s nice to expand my budget just a bit for this room 🙂