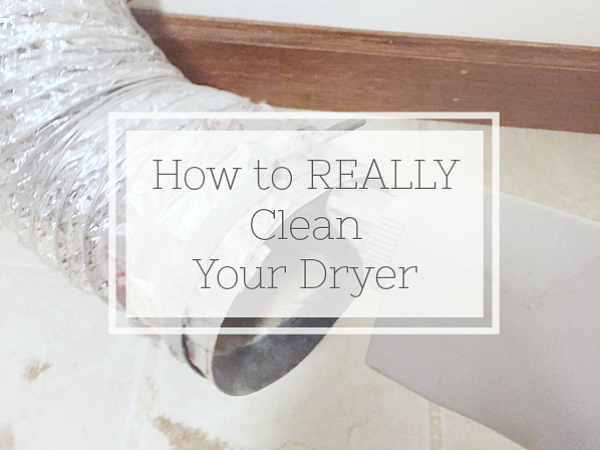
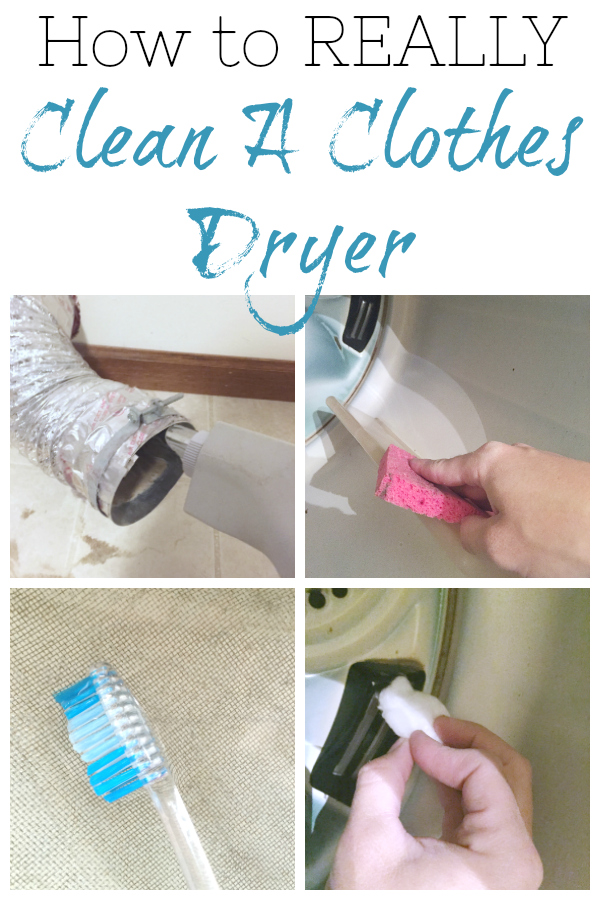
Alrighty… how to clean the dryer. As you may have heard by now, I am working on our laundry room for the One Room Challenge, so I thought I’d share some cleaning tips that directly relate to the laundry room. Cleaning a dryer is something I have never done. However, every time I put a load of clothes in the dryer, I think about it. Why? Because if you don’t clean the dryer, you are risking a fire. Lint runs rampant in your dryer and could eventually block airflow which could lead to a fire. We’ve been living in this house for 5+ years, and it is time to get this done. (It is recommended that you do this annually… oops!)
Since I’m painting the dryer to match the washer, it was the perfect opportunity to get it all clean and ready for its makeover.
What You Need to Clean A Clothes Dryer
Affiliate links may be used. Please see our advertising disclosure for more information.
General Cleaning Inside & Out
Cleaning the Lint Filter & Trap
Cleaning the Drum & Sensors
Cleaning the Dryer Ducts
- Shop Vacuum OR ↓
- I later discovered a Dryer Vent Cleaning Kit that appears like it would do a much more thorough job!
Cleaning the Floor Under the Dryer
I know this looks like a lot, but it’s really not too difficult, nor time consuming.
How to Clean A Dryer
This is not a job to be done in a pencil skirt and stilettos, so put on some grubby clothes.
This is Important!
Before you start cleaning your dryer, you need to determine which type of dryer you have: gas or electric.
If you determine you have an electric dryer, you will just need to unplug the dryer prior to starting the cleaning process.
If you have a gas dryer, not only will you need to unplug the dryer, you will also need to turn off the gas and cap your gas line.
If you determine you have a gas dryer, I strongly recommend calling a professional for this job as working with gas lines poses a fire risk, amongst other dangers.
Therefore, the following tutorial is intended to be used with electric dryers only.
With the dryer unplugged, move the dryer out so you can work your way around the whole thing easily. When you are able to get behind the dryer, unclamp the duct from the back of the dryer.
How to Clean Behind the Dryer
There are about 5-6 screws holding the back panel of your dryer in place, so those get unscrewed and the back will come off, revealing lint and dust like you’ve never seen.
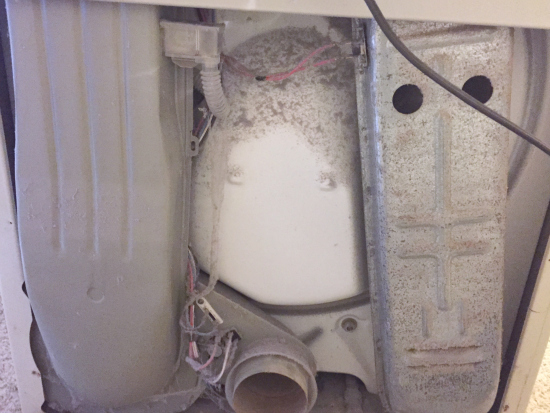
Using a shop vacuum, clean up all that stuff in there. Be very careful around the wiring.
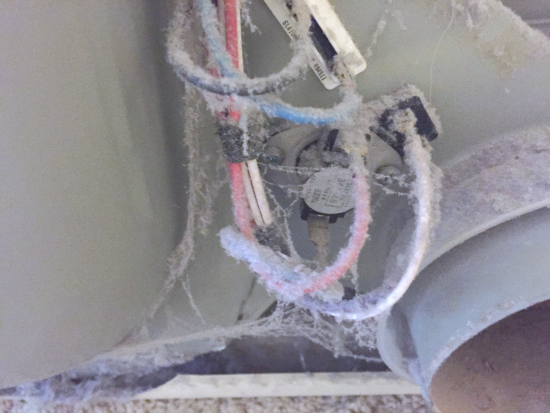
Also, vacuum the back panel itself, as it will have a whole lot of lint on both sides. Depending on where your lint trap is located (and which cleaning method you use), you may need to keep this back panel off just a bit longer. (See below.)
How to Clean the Lint Filter and Lint Trap on A Dryer
Remove your lint filter. My lint filter is on top of the dryer, but many dryers have this inside the door. You should be removing the lint from the filter after each dry cycle. If you don’t do this… start now!
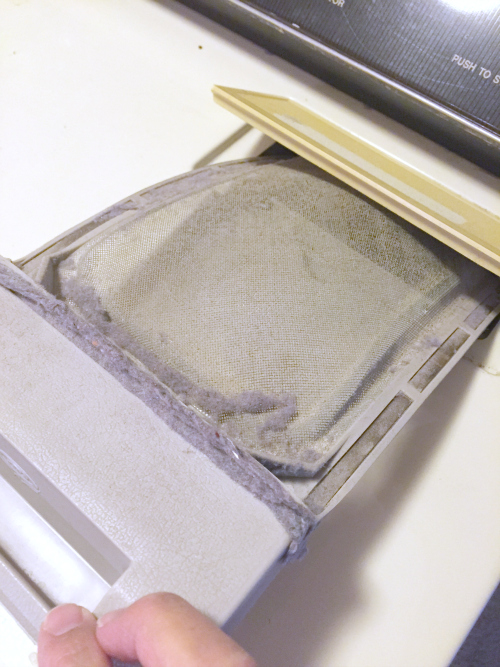
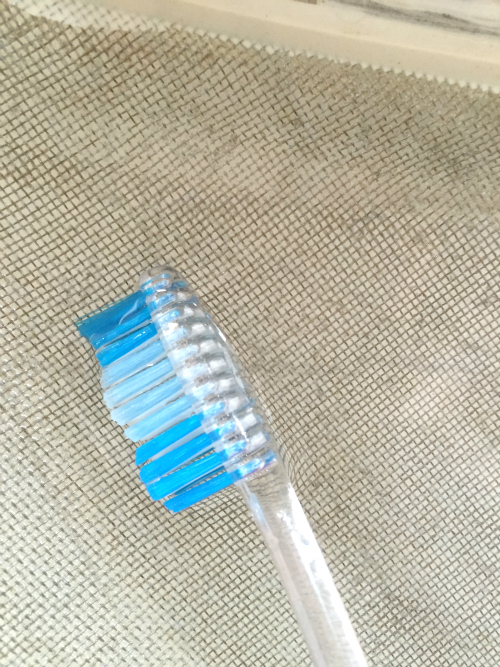
For a more thorough cleaning, place the lint filter into the sink with some warm soapy water. Allow this to sit while you finish cleaning the rest of the dryer. When ready, use a toothbrush to scrub the filter. Rinse thoroughly and let it air-dry before placing it back in its spot.
While your lint filter is soaking, clean the lint trap. My dryer is apparently too ancient to make this easy. I started the process only to find that there is an upper panel on the back of my dryer that I could not get off. However, being me, I dropped a screwdriver down the lint trap in the process, so after some blood (yes, cut my hand) and screams I was able to loosen the trap enough to retrieve the screwdriver as well as a fist-full of lint. If your dryer happens to be newer, you can follow this tutorial video (for lint filters on the top of the dryer) or this tutorial (for those with the lint filters behind the door).
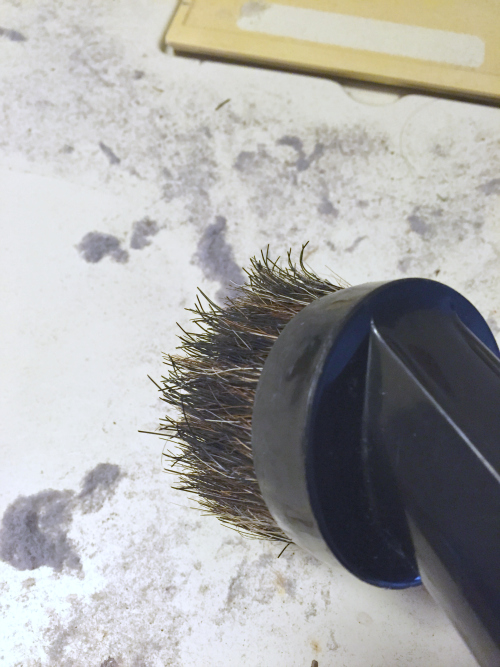
UPDATE: I found out about some tools that make this process a whole lot easier, but of course I found them after I got my dryer all cleaned. There is a vacuum attachment and lint trap brush kit you can use, so years later, I gave it a try. You can find the video on how it worked here.
You are now done with everything in the back, so you can reattach the back panel.
How to Clean Under the Front Panel of A Dryer
Next, we’ll clean underneath the dryer. The bottom panel of my dryer was attached with a small latch on either side, so I used a Philips screwdriver to push the latch and release the panel. Your front panel may be attached in a different way, such as with screws that you will need to remove.
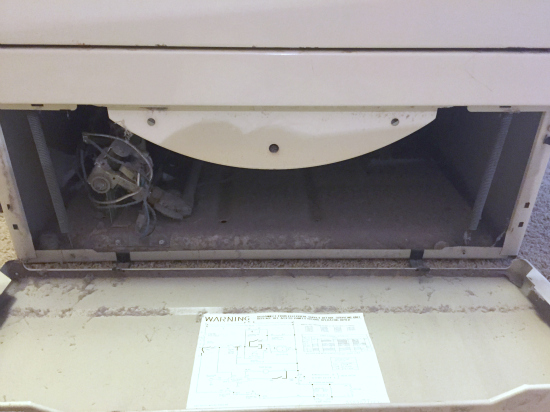
I was greeted by a half-inch layer of lint… and 35¢ (for a job well-done, I’m sure). Vacuum, vacuum, vacuum. Again, careful for the wiring. Once done, re-attach the panel.

How to Clean the Dryer Drum and Sensors
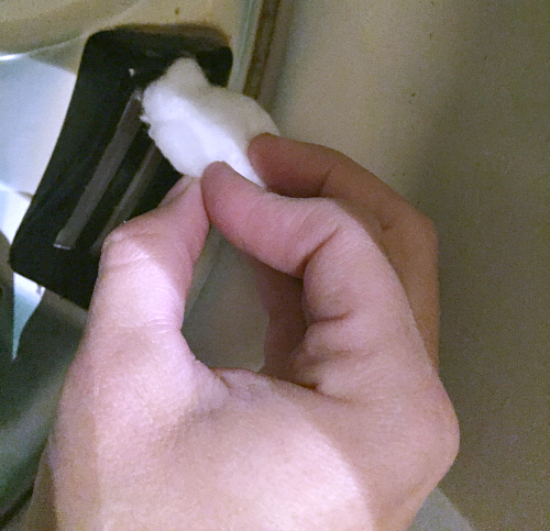
Open the door to the dryer and clean the drum and inside of the door with warm soapy water and sponge. To dry, use a clean towel to wipe down the surfaces.
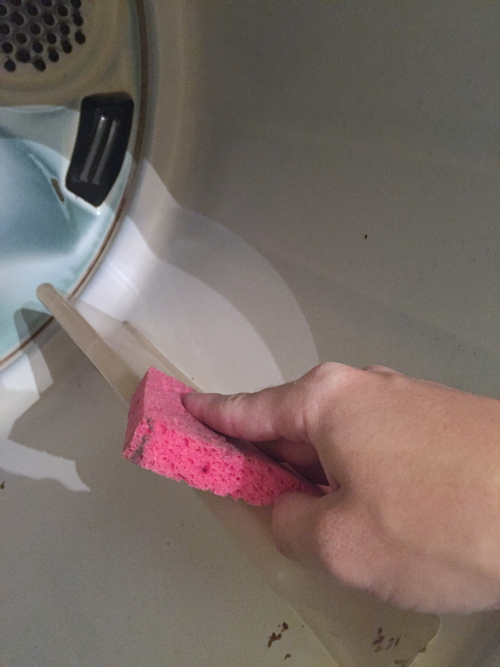
Inside the dryer there are sensors that let the dryer know when your clothing is dry; make sure to clean those as well. Your sensors may be located in a different place than mine, but should be easy to spot.
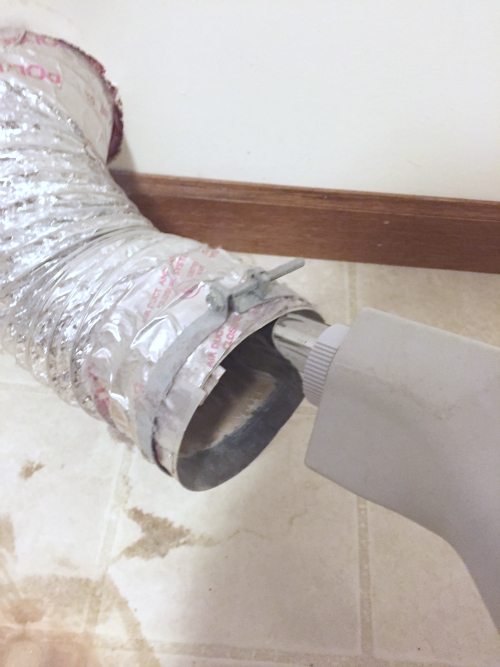
How to Clean A Dryer Duct
There is a duct that leads outside. If you haven’t yet done so, unclamp the duct from the back of the dryer. I just vacuumed the vent out with a hose attachment. However, I later found out there are dryer vent cleaning kits you can buy that weave through the entire vent. This is a much better plan for a more thorough cleaning. Please read the instruction on the cleaning kits carefully as some will have you start outside and clean the lint into the laundry room (where you can then vacuum it up), and others may have you start from the laundry room and work your way outside.
This is an opportune time to check the vent for any cracks or kinks.
How to Clean the Outside of the Dryer
The last step is to wipe down the outside of the dryer. Vacuum up any lint and wipe it down with soapy water and a sponge. Simple.
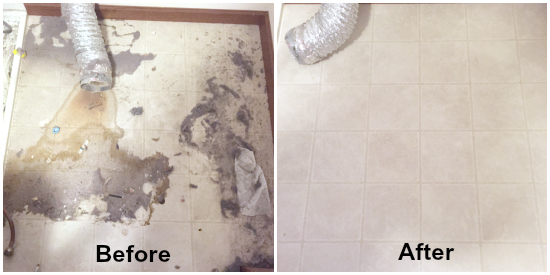
How to Clean the Floor Under Your Dryer
While not technically part of cleaning the dryer, you will notice the floor under the dryer is pretty disgusting. I started by vacuuming up all the lint, and then I made some of my DIY floor cleaner and used a sponge to clean it.
You’re done! Go ahead and reattach the vent, plug in the dryer, and move it back into place.
Love it? Pin it!
This is awesome. I am reading your blog for the first time and was considering painting my dryer too, so I google it and your blog comes up – and not only that I have THIS EXACT DRYER. AMAZING. thanks!
This is awesome. you are one of my fav blogs to read. i just voted for you too!
Well, you sure know how to put a smile on my face! 🙂 Thank you so much for you sweet words… and thank you for voting!