Let’s talk about one of my favorite kitchen appliances: the coffee maker. I start every day with a cup (or two) of coffee, so our coffee maker gets a lot of use. Over time, the oils in coffee, paired with the minerals in tap water, can create quite a mess in the coffee maker. Luckily, cleaning a coffee maker is an easy process. The following tutorial will walk you through how to clean a coffee maker using one simple ingredient: vinegar.
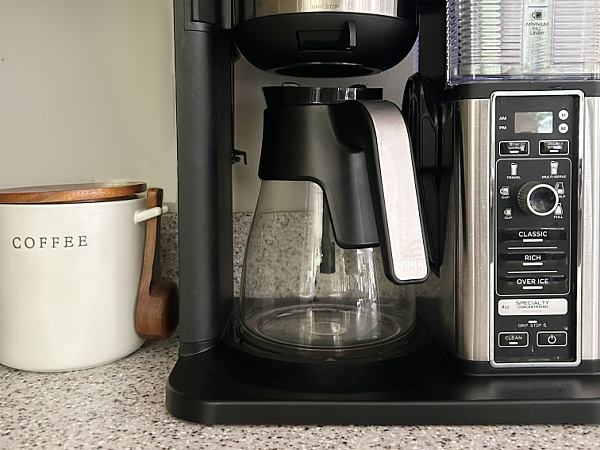
I am about to make a confession: despite knowing I should regularly clean our coffee maker, it has been a very long time since I’ve done so… like, really long. I figured today was as good as any. The following tutorial cover everything from descaling a coffee maker with vinegar to cleaning coffee residue from the pot.
What You Need to Clean A Coffee Maker
Affiliate links may be used. Please see our advertising disclosure for more information.
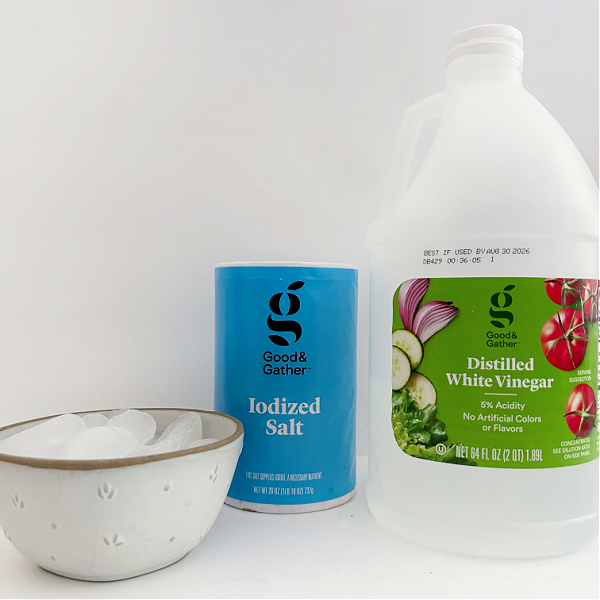
Ingredients Needed to Clean & Descale A Coffee Maker
Ingredients Needed to Clean & Descale A Coffee Pot
Supplies Needed to Clean A Coffee Maker
How to Clean & Descale A Coffee Maker
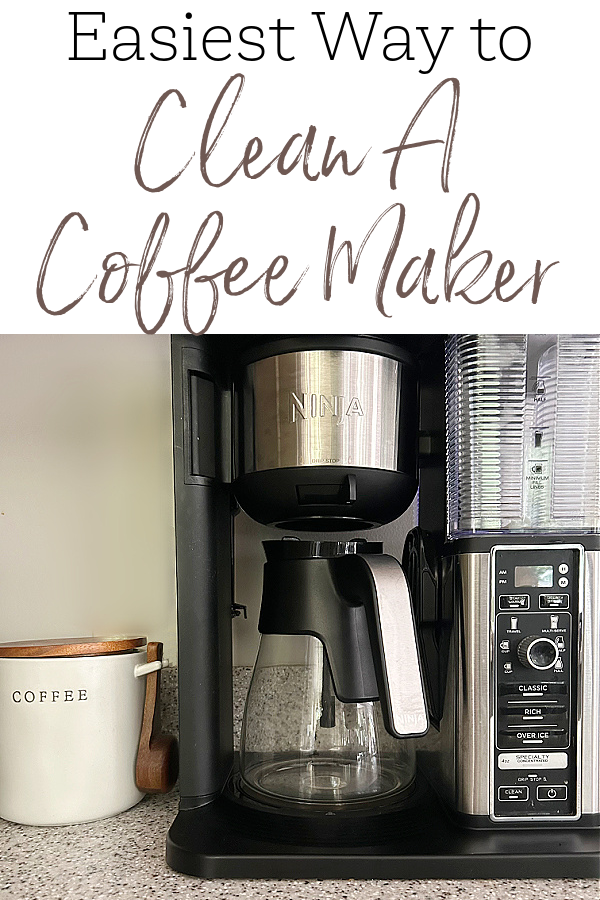
I am doing this step-by-step tutorial with our Ninja Coffee Maker, which states vinegar can be used as a natural descaling agent when cleaning. Always check your coffee maker manual for proper cleaning instructions to make sure the method described below will not negatively affect your coffee maker.
Empty Out the Coffee Maker
Prior to cleaning a coffee maker, make sure to remove the paper filter (and any used coffee grounds), as well as any water in the reservoir and/or coffee in the coffee pot.
Clean & Descale the Coffee Maker with Vinegar & Water
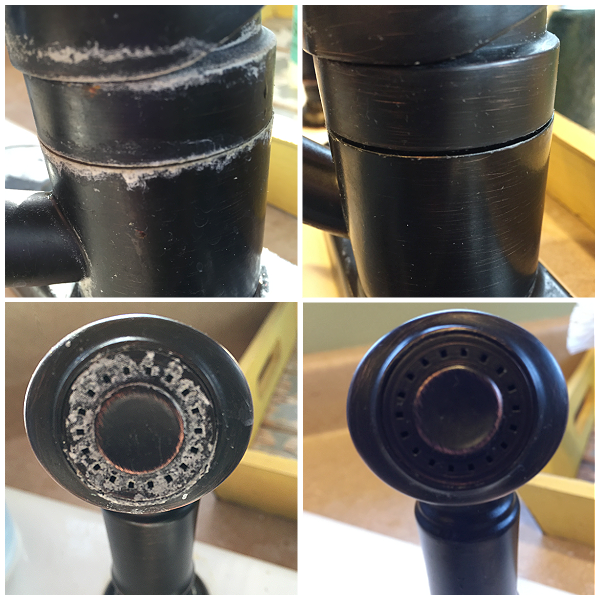
As mentioned above, coffee has a lot of natural oils which can build up inside the tubing of the coffee maker over time. Along with the oils, tap water contains a lot of minerals that can calcify in the tubing. We don’t really see the inner workings of the coffee maker, so it’s easy to forget that some pretty serious grime could be building up inside. For a picture of what calcified water build-up looks like, check out this image of our kitchen faucet…
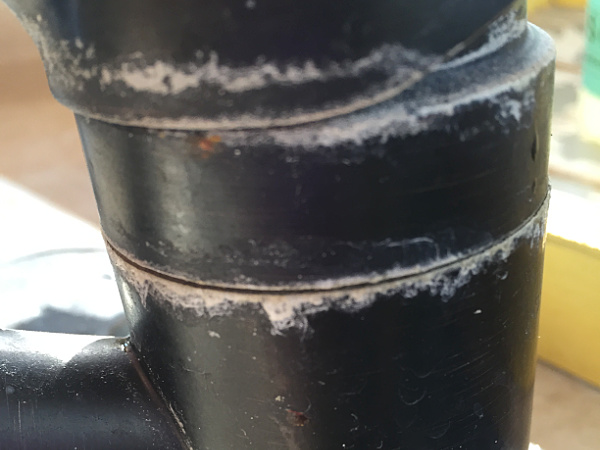
Just think: that same mineral build-up could be inside your coffee maker! This is why it is so important to regularly clean and descale your coffee maker.
Luckily, cleaning a coffee maker is pretty simple. Start by filling the water reservoir of the coffee maker with equal parts vinegar and water.
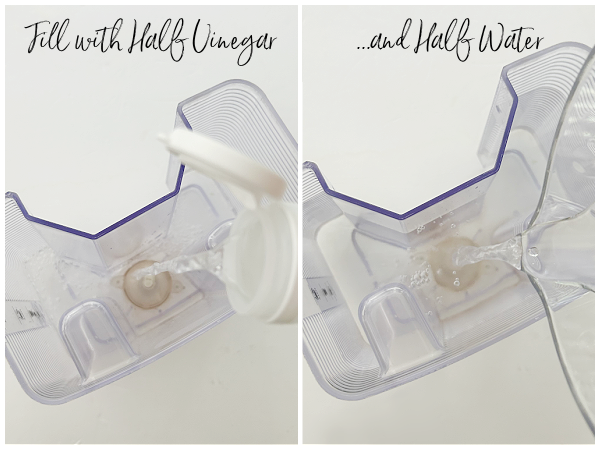
Replace the reservoir and start to “brew” this vinegar/water mixture. Depending on your coffee maker, there are two ways to clean and descale it.
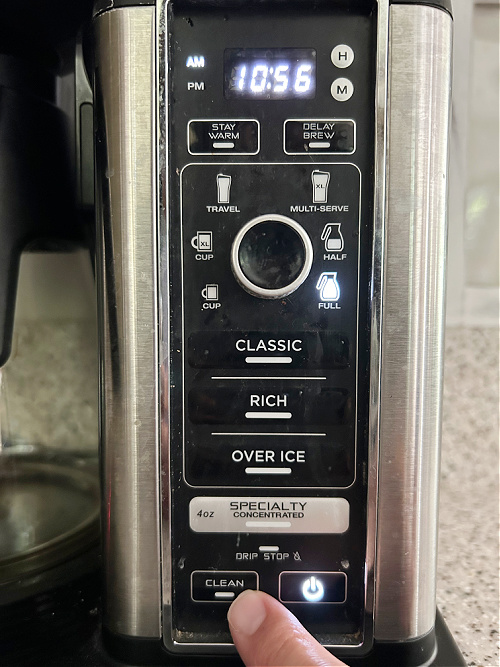
1.) Use the Clean Button– If your coffee maker has a clean button, set your coffee maker to brew a full pot and press the clean button. This will automatically run the vinegar/water solution through the coffee maker, pausing along the way to allow the vinegar to descale. The clean cycle on our coffee maker takes approximately one hour to complete.
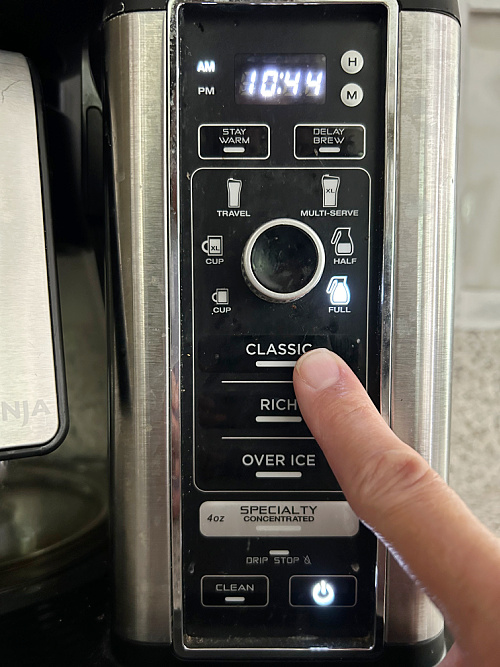
2.) Run Half, Pause, Run the Other Half– If your coffee maker does not have a clean button, you can simply set the coffee pot to brew a full pot (don’t set it for half or the solution will fully empty into the coffee pot and none will stay in the tubing to descale it). Watch the reservoir, and when it’s about half empty, pause or stop the cycle. Allow it to sit for an hour, then run the rest of the brewing cycle.
As the vinegar sits in the tubing of the coffee maker, it should start breaking down the mineral deposits. Remember that faucet I showed you above? Check out how well vinegar worked to remove the water deposits.
Rinse the Coffee Maker
After the vinegar mixture has finished “brewing”, you’ll need to do several rinse cycles; this not only removes the vinegar smell, it also helps clear out the hard water deposits that broke down from the vinegar. In order to rinse out the coffee maker, you’ll want to empty the vinegar mixture from the coffee pot and start a fresh brewing cycle with just water in the reservoir. If your coffee maker has a “Clean Button”, you may only need to rinse once or twice since the coffee maker’s “clean cycle” continues to run the vinegar solution through the coffee maker at regular intervals. If you used the “Run Half, Pause, Run the Other Half” method, you will probably need to repeat the rinse cycle 3-4 times. You’ll know you’re done when the vinegar smell is gone and no more mineral deposits are floating in the water.
How to Clean the Oily Film on A Coffee Pot
Now that the inside of the coffee maker is clean, it’s time to wash the individual coffee maker parts, starting with the coffee pot. The coffee pot can often be cleaned in the dishwasher, however, if you notice an oily film on the coffee pot, you’ll need to remove that first, as dishwashers don’t seem to do well with cleaning this film.
While I haven’t noticed much of an oily film on my coffee pot, a reader sent me this little tip on how to remove the oily film on a coffee pot with salt and ice. First, make sure the coffee pot is at room temperature. If you add ice to a hot pot, it could crack the glass.
Simply add a single layer of ice cubes to the coffee pot (about one cup) and then pour in a generous dose of salt (1-1 1/2 Tablespoons), along with a splash of water (about 1 Tablespoon).
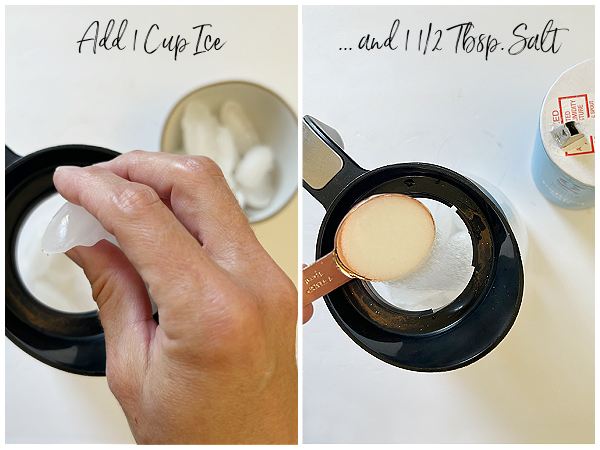
Gently swirl the ice and salt around in the coffee pot until the film is gone.
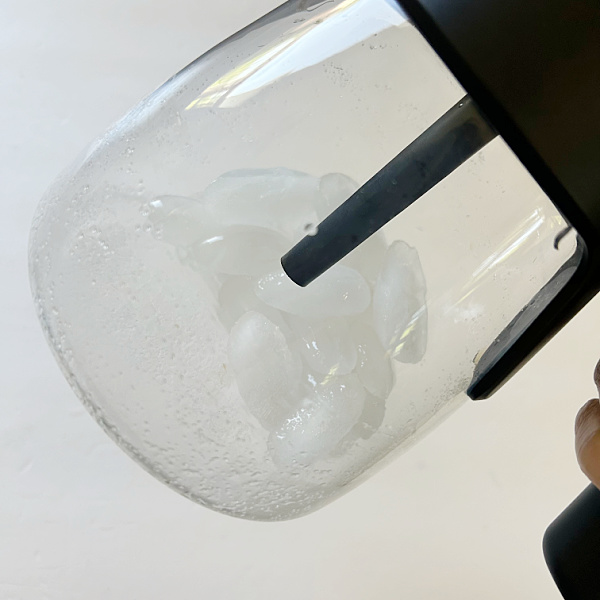
Dump the ice and salt out and give the pot a rinse with cold water. (You don’t want to rinse with hot water as this could cause the glass to crack due to the sudden change in temperature.)
Once the oily film is gone, you can wash the coffee pot in the dishwasher.
While I did this to my coffee pot, there wasn’t a noticeable difference since I didn’t have the oily film to begin with, however, I did notice an area at the top of the pot, so I added a little salt and ran an ice cube over it.
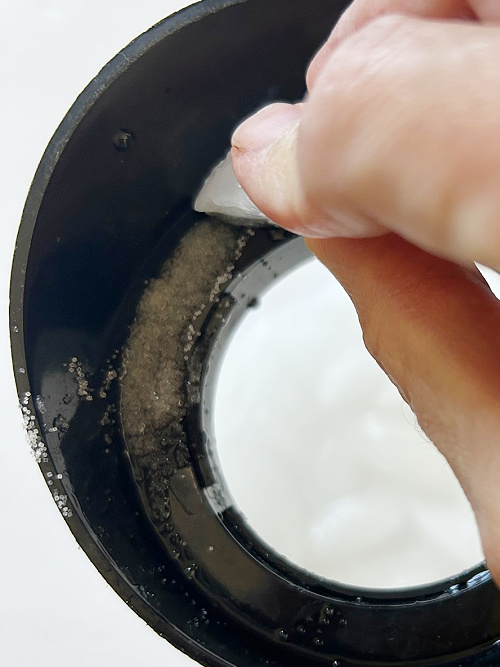
Here’s the results.
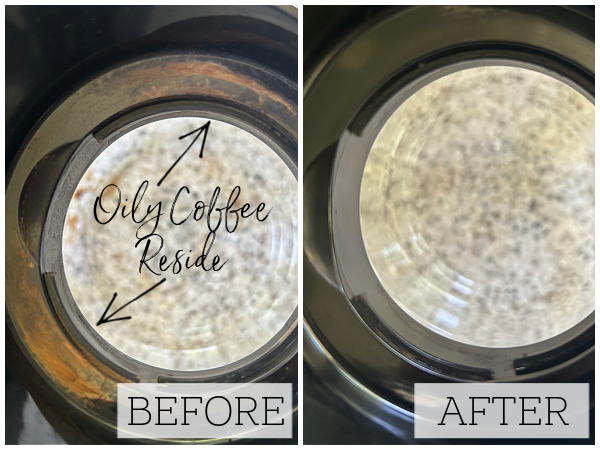
I can definitely see why this would work: the salt creates an mild abrasive and the ice creates the friction. This is also a great way to clean a coffee pot as the opening can be quite tight for larger hands to reach in and clean it.
How to Clean A Coffee Filter Holder & Water Reservoir
Depending on the material, most coffee filter holders can also be washed in the dishwasher on the top rack. The water reservoir, however, should be washed by hand. The type of plastic used for many coffee reservoirs can crack and break down with repeated exposure to the high heat of the dishwasher. Simply grab a dish cloth and wash with dish soap and warm water. It’s best to let the water reservoir air dry so no lint from a dish towel gets left behind.
How to Clean A Coffee Maker Hot Plate & Exterior
Prior to cleaning a coffee maker hot plate, make sure it has cooled to room temperature. The hot plate on a coffee maker can be washed with a DIY All Purpose cleaner or mild dish soap and water. I would recommend using paper towels to clean the hot plate as it’s often quite dirty from all the coffee drips and can make quite a mess on a dish cloth.
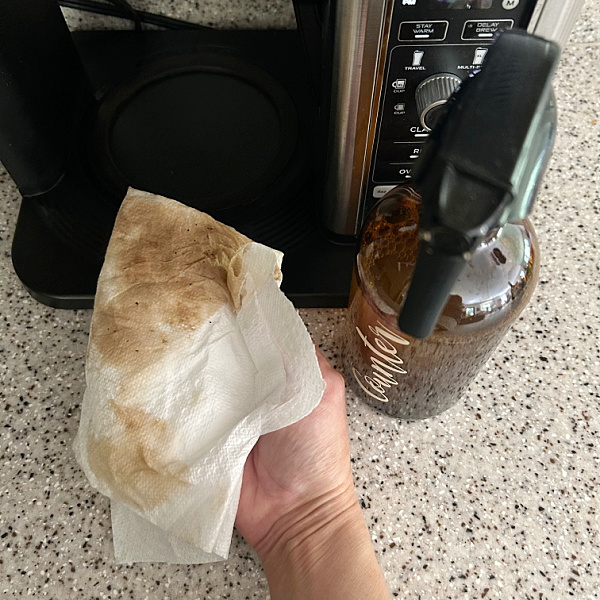
The exterior, along with the buttons and dials, can also be washed with a mild dish soap and water or a DIY All Purpose Cleaner. If you choose to use a cleaner, spray it directly onto a cloth or paper towel to avoid getting it into areas where the coffee is brewed. If any part of the coffee maker is made with stainless steel, you can effectively clean it up with a stainless steel cleaning cloth and olive oil. See our full tutorial on how to clean stainless steel appliances for more.
Once everything is clean, reassemble the coffee maker and you’re ready to go.
We think you might also love these ideas!
How to Clean An Air Fryer | How to Clean A Microwave | How to Clean A Fridge Dispenser
Common Questions About Cleaning A Coffee Maker
How Often Should You Clean A Coffee Maker?
How often you clean your coffee maker will depend on how often you use it. If you are a daily coffee drinker, you should clean your coffee maker every month. If you use your coffee maker more sporadically, you can get by with a good cleaning every 3-6 months. Regardless of how often you use your coffee maker, if you notice a build-up of oils from the coffee, or mineral deposits from the water, it’s time to clean it.
Can This Method Be Used to Clean A Keurig?
We used to have a Keurig and I would clean it using the method described above, but this was years ago. I am sure most K-cup type coffee makers have come a long way since that time. I am going to refer you to what Keurig recommends for cleaning and descaling their machines.
How to Clean A Keurig | How to Descale A Keurig
Love it? Pin it!


Leave a Reply