When I originally created the plan for our $100 bathroom makeover, I thought I would update the tub surround in the same way I updated the vanities (with chalk paint and wax); but then my husband suggested using the barnwood in our garage instead. Updating the tub surround with barnwood was a much easier process; taking just a couple hours to complete.
Got oak? We had a ton of it in our bathroom: vanities, medicine cabinets, tub surround, trim… all oak. While some people are fans of oak, I am not one of them, so we took down the medicine cabinets, painted the vanities, and updated the tub surround with barnwood. (You can see the whole transformation here.) I certainly cannot take much credit for this tub surround project, as my husband completed the whole thing while I took my son to his football game. I literally left with oak paneling and returned to a barnwood surround. It was an amazing transformation!
What You Need to Create A Barnwood Tub Surround
Affiliate links may be used. Please see our advertising disclosure for more information.
- Barnwood (Is that a given? 🙂 )- If you don’t have a stash in your garage (like we did), you can find barnwood on Etsy, or check your local selling sites.
- Tape Measure
- Table Saw
- Miter Saw
- Nail Gun
- Dark Wax (Optional)
- Crowbar (If removing panels)
How to Update A Tub Surround
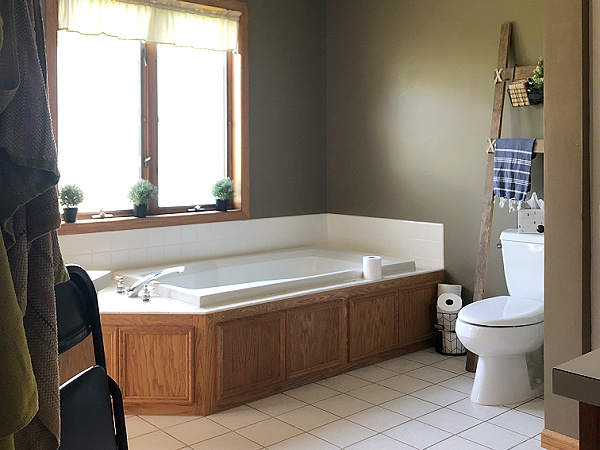
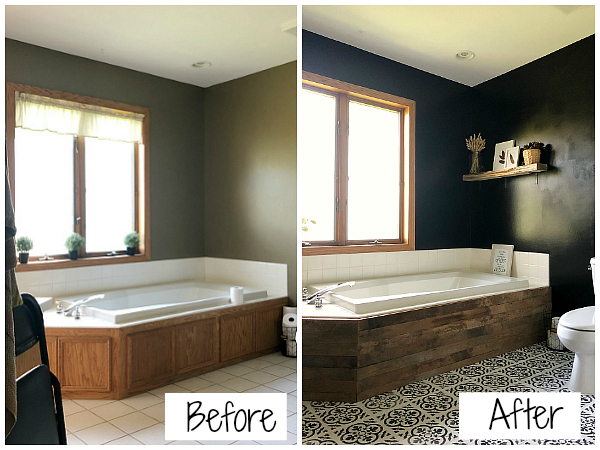
Let’s take a look at where this project started. This was our tub. It screams 90’s bathroom, doesn’t it?!
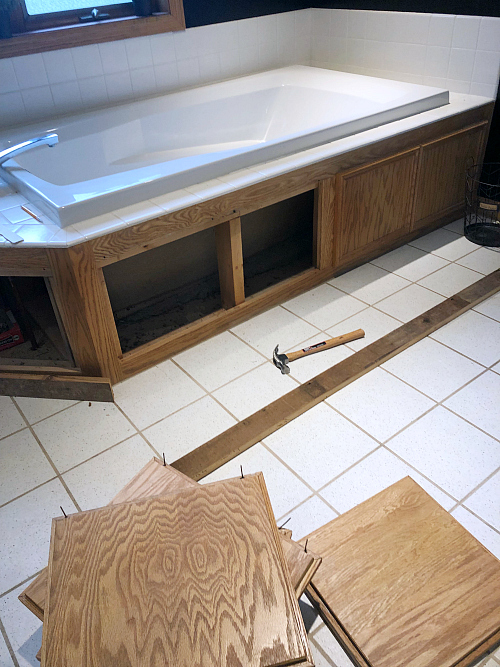
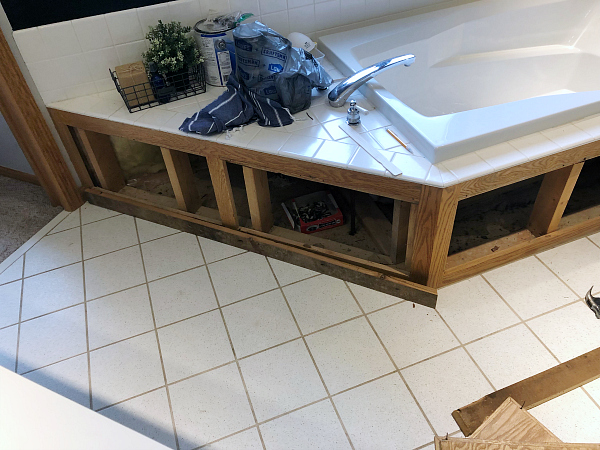
The first step will really depend on your current tub surround. Because ours consisted of oak paneling, we started by removing the panels with a crowbar. This allowed us to nail the barnwood directly to the frame of the tub.
Next, measure the side(s) of the tub and cut your barnwood strips to length. For reference, we cut our barnwood into 2 1/2 inch strips first (using a table saw) and then cut to the correct length with a miter saw. We also have an angle in our tub surround, so it required measuring each side and cutting each piece of wood to match the angle. When I asked my husband how he figured out the correct angle, he said he simply held the wood up to the tub and used a pencil to draw the angle, then cut each slat to match the angle. (Not sure how helpful that is, but that’s what I got 🙂 ).
Once the wood pieces have been cut, simply nail them to the existing surround with an nail gun.
The last step was to darken the cut edge. Because we used true barnwood (off my husband’s grandma’s barn), it was old and weathered. When the cut was made on the top piece, the wood was lighter and “newer” looking. This was easily remedied with a coat of dark wax applied to the cut edge.
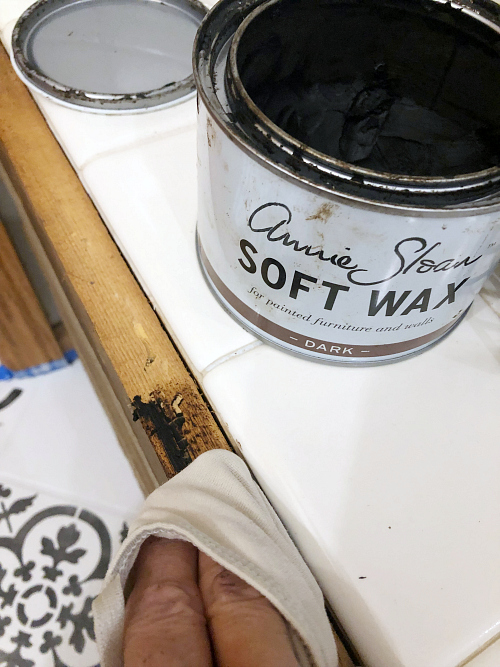
Simply apply the dark wax with a clean rag, and wipe off the excess. You can see the difference below.

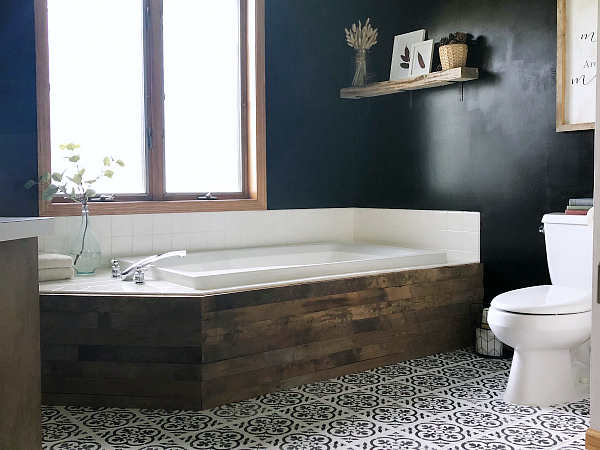
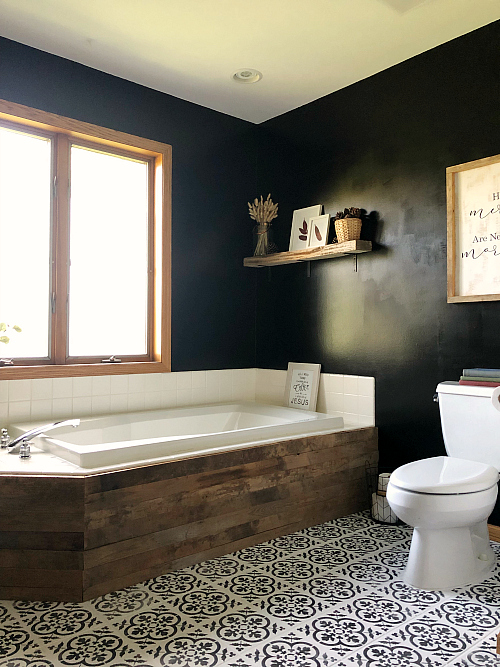
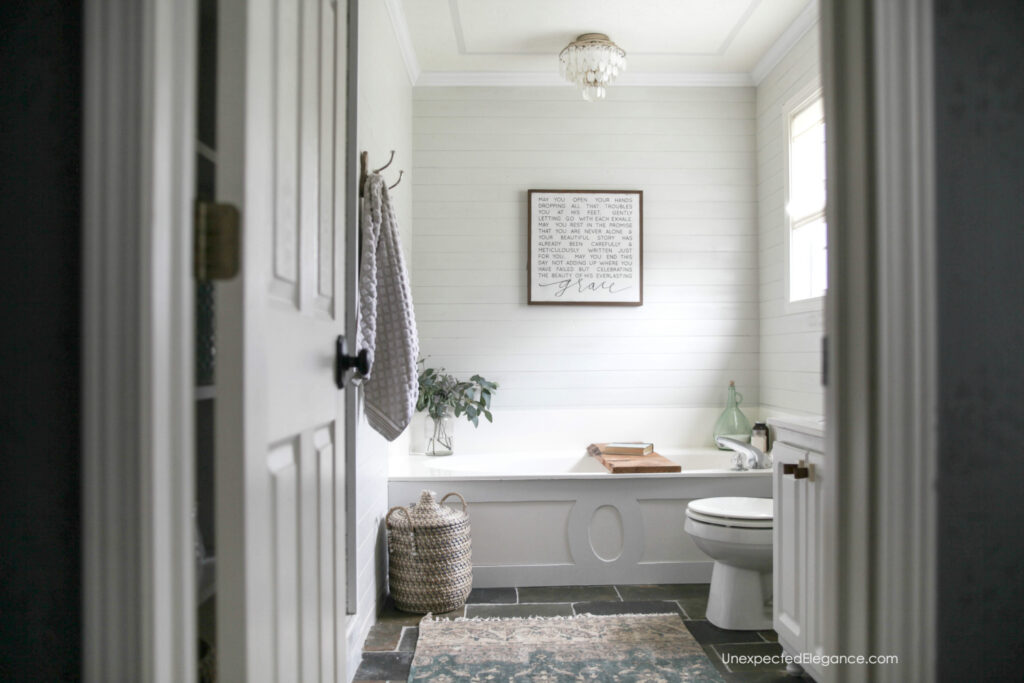
That was it. We went from an outdated, oak-panel tub surround to a barnwood surround in a matter of hours. I couldn’t be more excited!
… and for a side-by-side.
More Ideas for Updating A Tub Surround
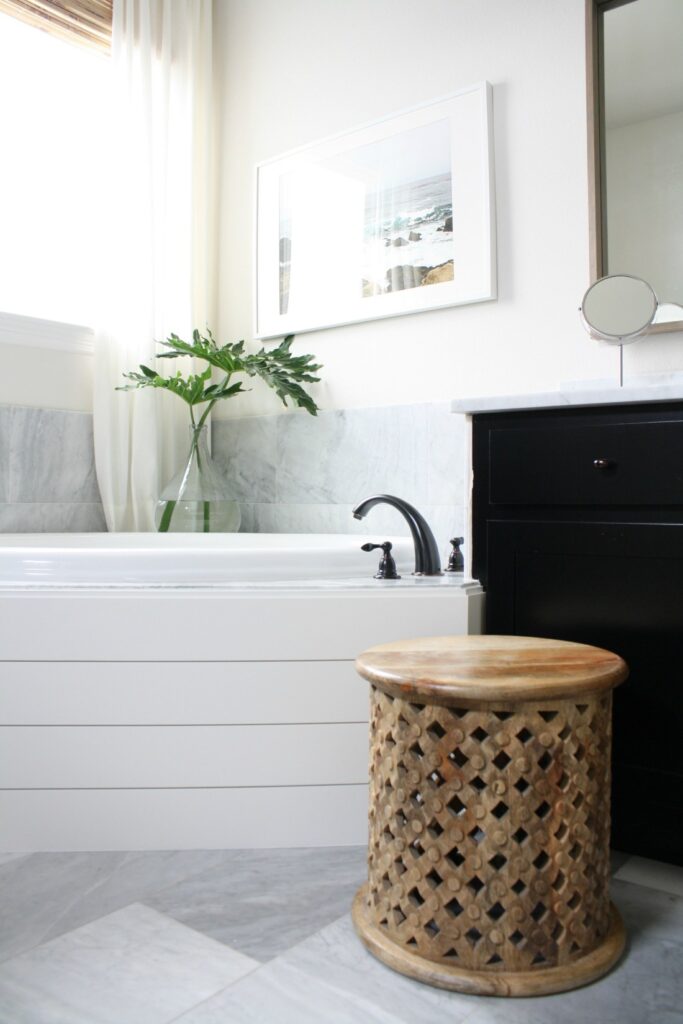
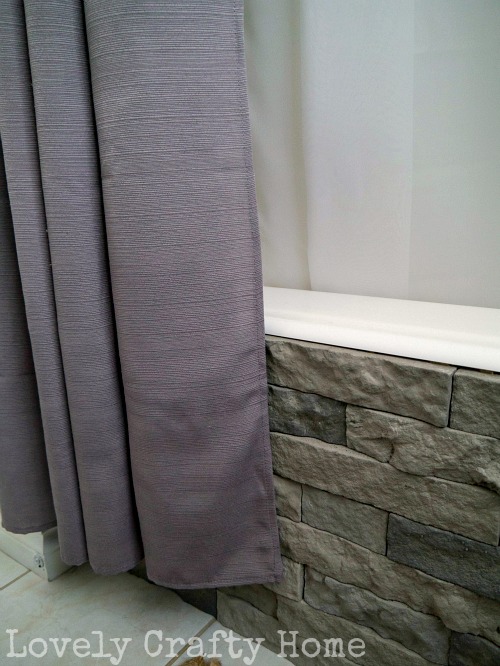
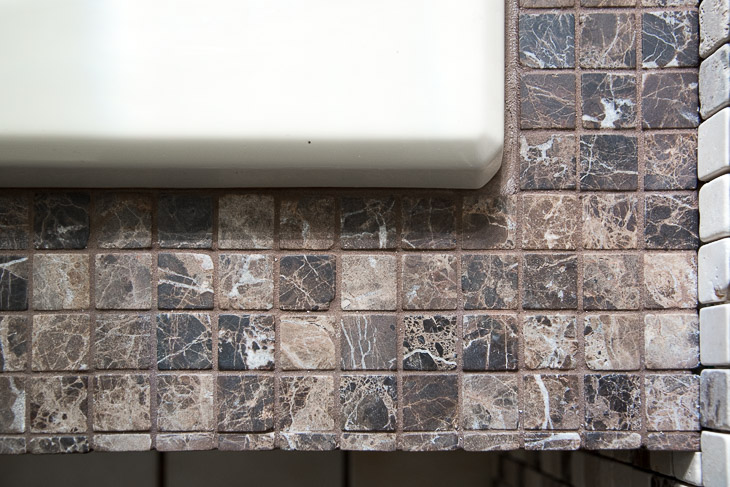
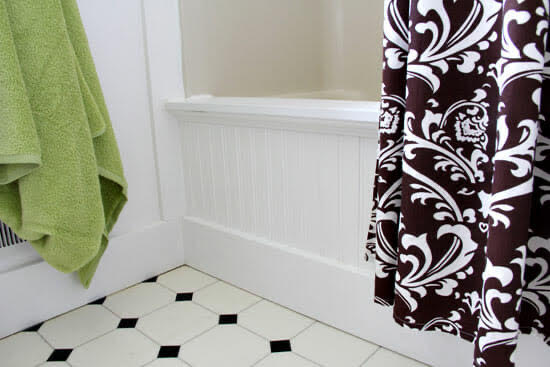
We think you might also love these ideas!
$25 Vanity Makeover | How to Update A Tile Floor | How to Hide Oak Grain When Painting

Love it? Pin it!

Leave a Reply