If you have tile floors in your house, chances are you deal with dirty grout. Perhaps those white grout lines have turned brown; or almost black. Not to worry, there is an easy way to whiten grout, and you only need two ingredients: baking soda and hydrogen peroxide. This tutorial will walk you through how to clean grout with a DIY grout cleaner.
I have made a lot of cleaning recipes over the years, and I can honestly say this DIY Grout Cleaner is one of my favorites. The results are truly incredible! I am not kidding when I say it works like magic. My grout went from dirty brown to “like new” status with just a little scrubbing.
What You Need to Make DIY Grout Cleaner
Affiliate links may be used. Please see our advertising disclosure for more information.
Ingredients Needed for Homemade Grout Cleaner
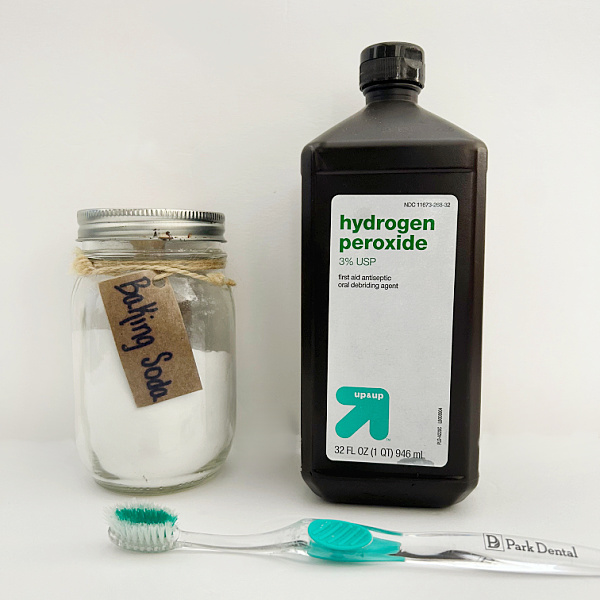
- Baking Soda– Baking soda has the ability to pull dirt and grime out of so many surfaces (check out how well it worked to clean a greasy, grime-y oven door!)
- Hydrogen Peroxide– The wonderful thing about hydrogen peroxide is it not only works with the baking soda to clean grout, it is also a disinfectant.
The mixture of hydrogen peroxide and baking soda works to whiten and brighten dirty grout. It also works to clean a porcelain sink!
Supplies Needed to Clean Grout
- Bowl
- Toothbrush– Or you can get fancy and use a grout cleaning brush; or get even fancier and use an electrical scrub brush made for cleaning grout
How to Make Grout Cleaner
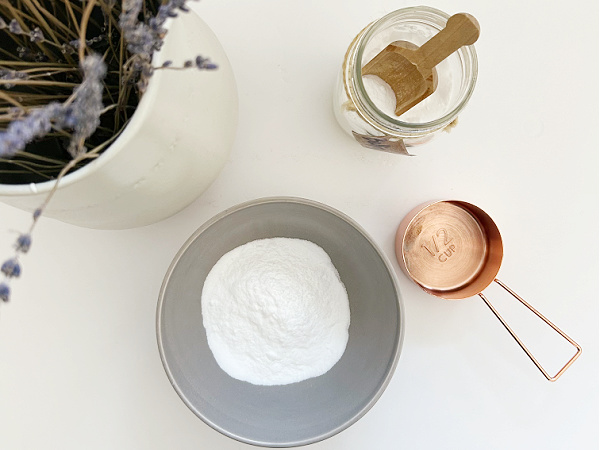
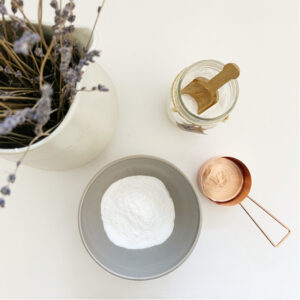
Start by adding baking soda to a bowl. The amount you add will depend on how much grout you need to clean. I started with a 1/2 cup, which may be enough for a small entry area. If you are cleaning grout in a bathroom (or another larger area), you will need more than that.
Remember, you can always make more grout cleaner if you run out, so go with a smaller amount to start.
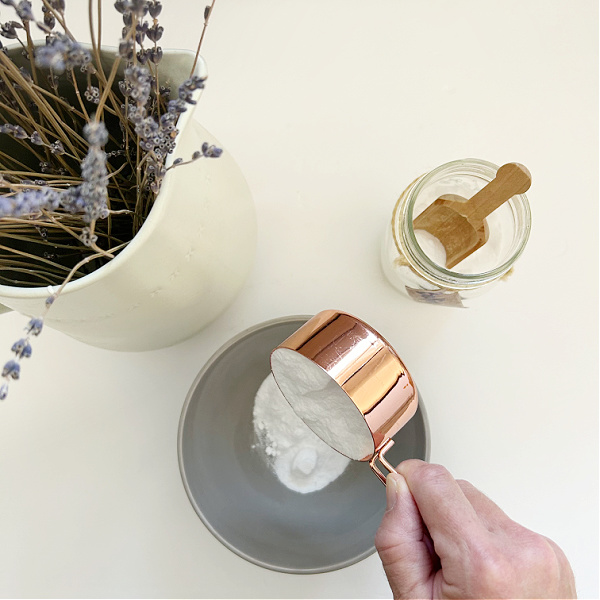
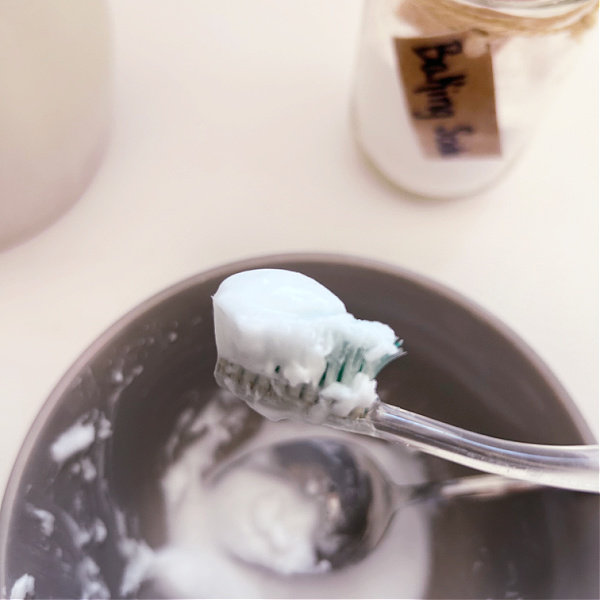
Now stir in some hydrogen peroxide until you get a pasty consistency. Start by dribbling in a little hydrogen peroxide; then stir. Add a little more. Stir. If you accidentally add too much, just stir in a bit more baking soda.
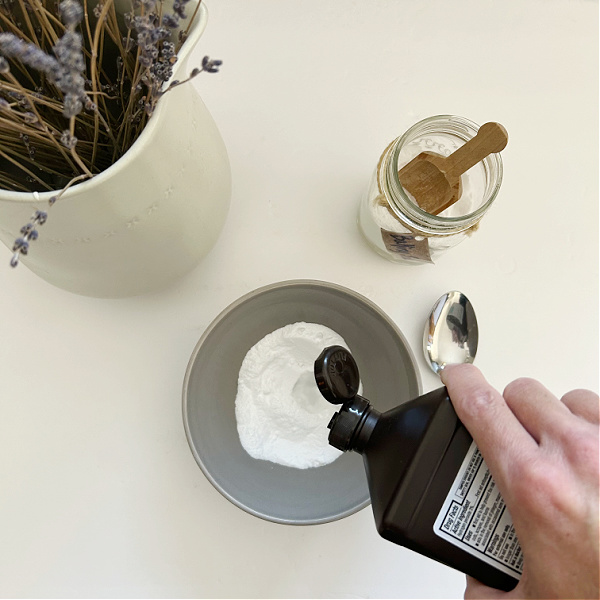
In the end, you want a consistency that will sit on the toothbrush (or grout brush) like soft toothpaste, and not run off.
How to Clean Grout
Prior to using any cleaning product, it is highly recommended that you test the solution on a small area to make sure there is no undesired change to your finish. For more, please see our disclaimer statement.
I have found it easier to work in small sections of the floor so you can keep track of where you have cleaned and not end up with the grout cleaner mixture all over the place.
Start by scooping up a bit of the DIY Grout Cleaner onto your brush and simply start scrubbing your grout. You will see a change almost immediately!
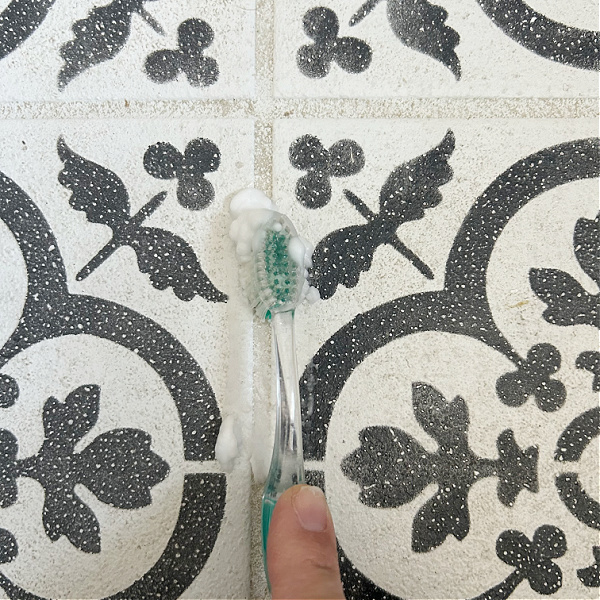
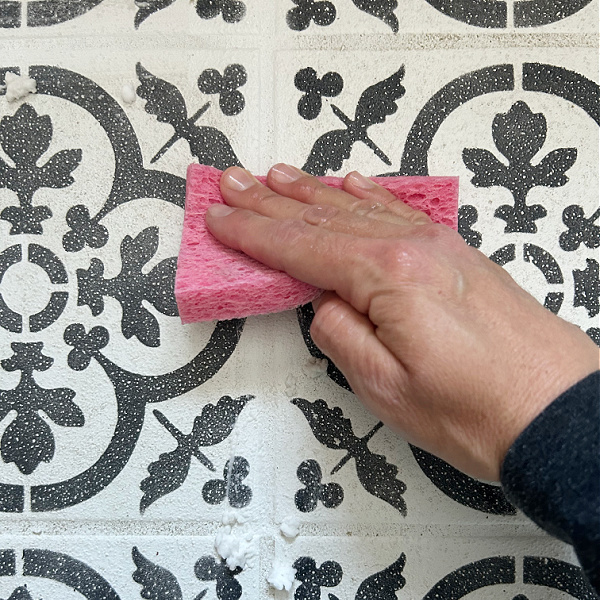
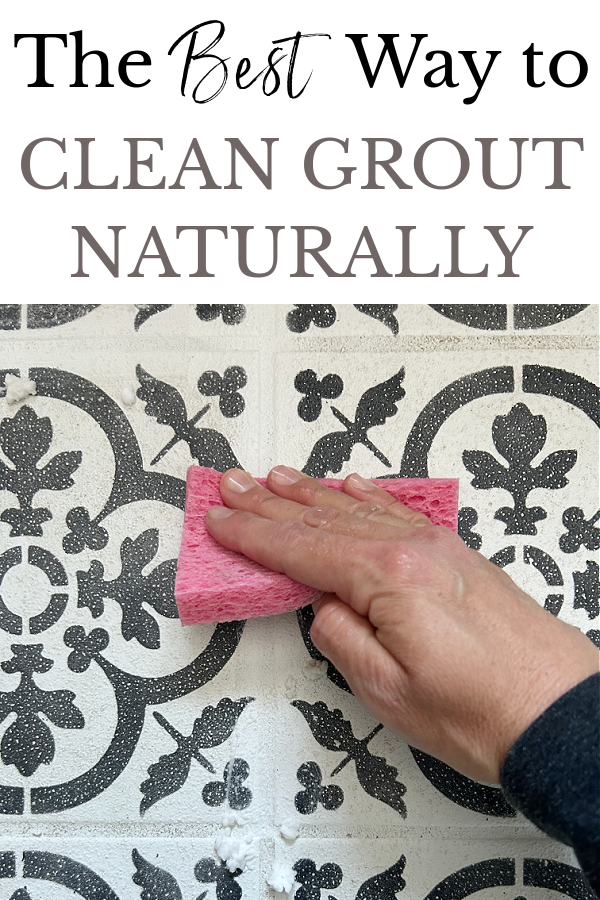
After scrubbing a section of grout, go over it with a wet sponge to remove the excess grout cleaner. Then repeat the process in the next section.
When you are finished cleaning the grout, I would recommend using our DIY Floor Cleaner to wash the floor to remove any baking soda residue that remains on the tiles.
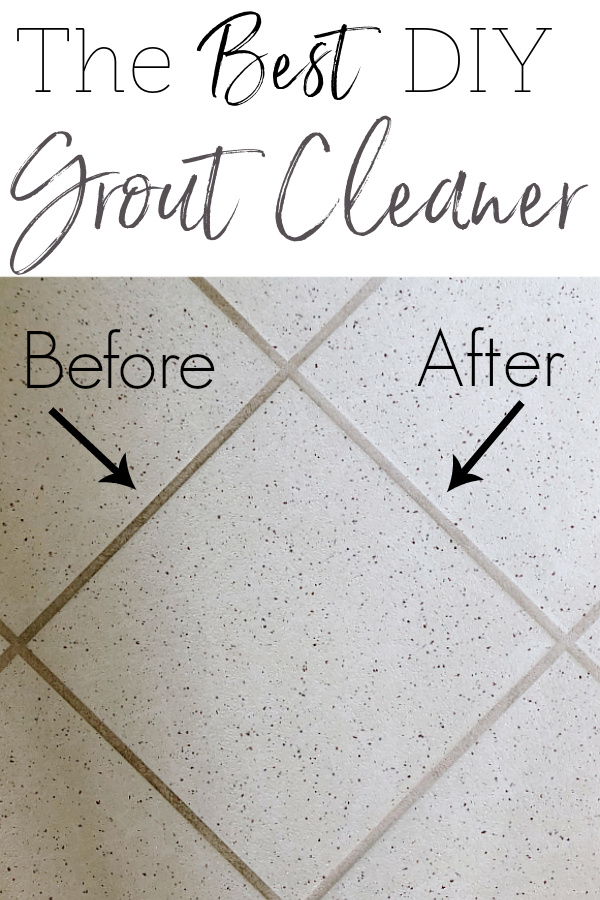
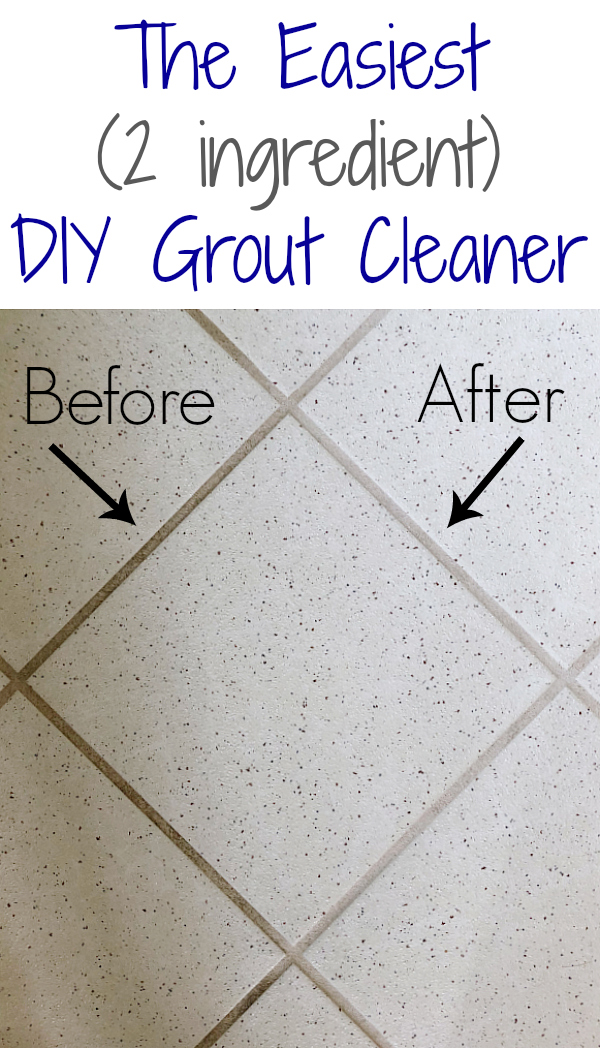
DIY Grout Cleaner Results
Let me link to a Real Time video so you can see just how fast this DIY Grout cleaner works to whiten dirty grout lines.
And here are the results on this same floor; just at another time prior to stenciling the floor 🙂
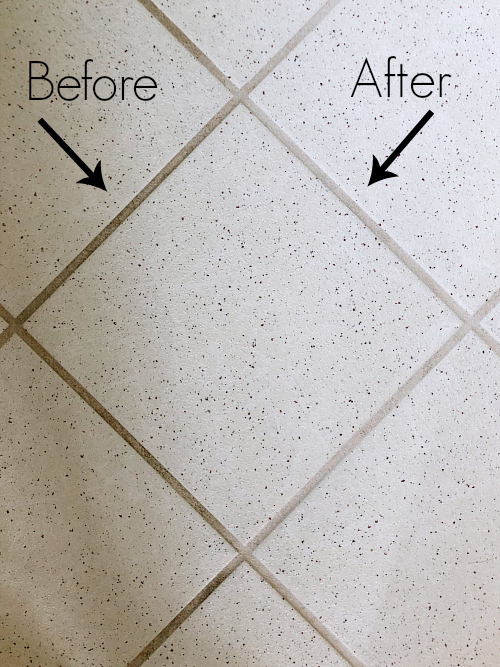
Isn’t that crazy? I love a good cleaning hack!
We think you might also love these ideas!
DIY Floor Cleaner | How to Clean A Porcelain Sink | Ways to Clean With Baking Soda
Common Questions About How to Clean Grout & DIY Grout Cleaner
Does This Grout Cleaner Damage Grout or Tiles?
While this DIY Grout Cleaner shouldn’t damage your grout or tiles, I always recommend testing a small “out of sight” area to make sure there is no unwanted change to your surface. I have read mixed reviews about using hydrogen peroxide on dark or polished marble, so if that is what you are working near, it would be very wise to test before using this recipe.
Can I Use Bleach to Whiten Grout?
Do not use bleach to clean grout. Bleach can damage and discolor both grout and tile over time.
Will This DIY Grout Cleaner Work on Really Dirty Grout?
Yes! I am not a scientist, so I don’t know exactly how this DIY Grout Cleaner pulls out dirt, but I can say it definitely works on really dirty grout.
Can I Make A Larger Batch & Store It?
No. This needs to be made and used right away. Hydrogen peroxide loses its effectiveness when exposed to light for too long (which is why it’s stored in a dark bottle). Not only that, I once tried making my DIY Stain Remover with a natural dish soap that contained baking soda; because I mixed that dish soap with hydrogen peroxide, the bottle pressurized and all my stain remover leaked out. Another reason not to store this.
DIY Grout Cleaner
Ingredients
- Baking Soda
- Hydrogen Peroxide
Supplies
- Bowl
- Toothbrush or Grout Brush
Instructions
- Start by adding baking soda to a bowl. The amount will depend on how much grout you have to clean. For a small entry, start with about 1/2 cup. For a larger bathroom floor, try a full cup. (Remember, you can always mix up more if needed)
- Add hydrogen peroxide to the baking soda and stir. I recommend adding a few squirts of hydrogen peroxide, then stir. Add a bit more. Stir. Repeat this until you get a consistency that resembles soft toothpaste. You want it to stay on the brush and not drip off. If you ever feel the consistency isn't right, you can always add more baking soda if it's runny or more hydrogen peroxide if it's too dry.
- To use, scoop up the mixture with a toothbrush (or grout cleaning brush) and scrub onto the grout lines.
- Wipe excess with a wet sponge.
Love it? Pin it!


Does this work on dark colored grout?
I am excited to try this! Will let you know how it turns out. I am a new subscriber and can’t wait to see and try everything!
I agree with the formula. We purchased a bottle of harsh chemicals and I freaked out thinking about the fumes and residual chemicals in our home. Try it on a small section to see if the DYI is for you. Note, it does work. Good luck.
Have you tried using an electric toothbrush, either a cheap battery one or the cheap
chinese heads available on ebay etc. It should make application and scrubbing easier.
Steve
I need to try this. The house that we bought has tile in both bathrooms, kitchen, living room and the utility room!!
I recently used this two ingredient method and it worked perfectly. I sealed the grout twice since it has been a long time. I also will be using a steam cleaner or swiffer in between steam cleaning. If you use a sponge mop and bucket, it just leaves dirty water in your clean grout which makes the grout dirty faster. Just saying.
Our grout is beyond cleaning so I wiped up as much dirt with a magic eraser and then painted it with that grout renew paint. I wanted all new tile and grout but the budget wouldn’t allow at this time so I just changed the color of the grout. No matter which route you take – it’s a tedious job!
It really is tedious which is why I’m glad we don’t have much tile in our house 🙂